by Dr. Talia Marcheggiani, ND | Jun 6, 2013 | Detoxification, Diet, Elimination Diet, Food, Food Sensitivities, Gluten Free, Health, Healthy Baking, Nutrition

So, your naturopathic doctor or 4th year intern has suggested that you do a 3-6 week elimination diet? While at this stage it might seem like a daunting task to give up all of your favourite foods, here is a run-down of some of the tools you’ll need to get it right. Pretty soon, you won’t even miss ice cream (that much)!
The WHY:
The elimination diet is often prescribed to patients who exhibit symptoms of digestive distress (irritable bowel syndrome, inflammatory bowel disease, diarrhea, bloating, flatulence or constipation) and for autoimmune or inflammatory conditions such as arthritis, migraines, asthma, allergic skin conditions or frequent colds and flus, to name a few. The idea is that when there is chronic inflammation in the gut, as a reaction to foods we are sensitive to, the barrier between our gut lining and the rest of the body opens up, allowing particles that shouldn’t be in our blood stream to get in. This can cause widespread inflammation, resulting in symptoms of some of the previously mentioned conditions.
Here is a video posted on a classmates wonderful blog that explains the phenomenon in depth. And here is another post, explaining food sensitivities.
The elimination diet can also be used as a general cleanse or a weight loss tool. Because the diet consists of eating more fruits, vegetables and protein and less processed foods, it often results in the consumption of fewer calories and many patients lose weight on it.
The WHAT:
The Elimination Diet consists of completely removing several foods from the diet for a number of weeks. During this time, usually 3-6 weeks, symptoms of inflammation should resolve as the gut heals. There is a long list of foods that are removed from the traditional elimination diet such as gluten, dairy, eggs, soy, caffeine, sugar, nightshade vegetables (tomatoes, potatoes and eggplants), to name a few. However, some practitioners simply start by removing one or two food-types, often gluten and dairy, in order to eliminate the main perpetrators and to make the task less daunting for the patient.
After the initial period of elimination, foods are reintroduced one at a time, for a few days, to observe if old symptoms return. If the past inflammatory symptoms return with the introduction of a certain group of foods, patients are then advised to stay away from these foods, as they are sensitive to them. Some people, once the gut has healed completely, will eventually be able to return to eating these foods again, but many will not and will have to accept a lifetime free of gluten, for example, in order to prevent their old symptoms from returning. Many foods, when reintroduced, will not cause a negative reaction and both the patient and their naturopathic doctor will deem these foods safe to eat again.
The HOW:
Embarking on a diet where the main staples of many Standard American Diets (bread, cheese, milk, etc.) are banned can be incredibly challenging. For the initial stages of the diet, it is acceptable for patients to replace their old food staples with allergen-free varieties – for example, buying gluten-free bread to make your morning toast. However, in order to promote health and detoxification, the idea is to eventually replace the old habits of eating processed foods with a whole foods diet, ingesting foods that exist in their natural forms with little to no processing. That being said, it is more important to refrain from allergen-containing foods primarily, and explore new ways of eating as you begin to adapt to the diet.
Grocery List:

When given a list of the things you can’t eat, I find it helps to focus on the things that you can, however small it may seem at the beginning. In order to do that, it might help to do an initial grocery shopping trip, removing from your fridge and cupboards the foods that are banned and replacing them with new, healthier, allergen-free varieties.
At the grocery store, stock up on:
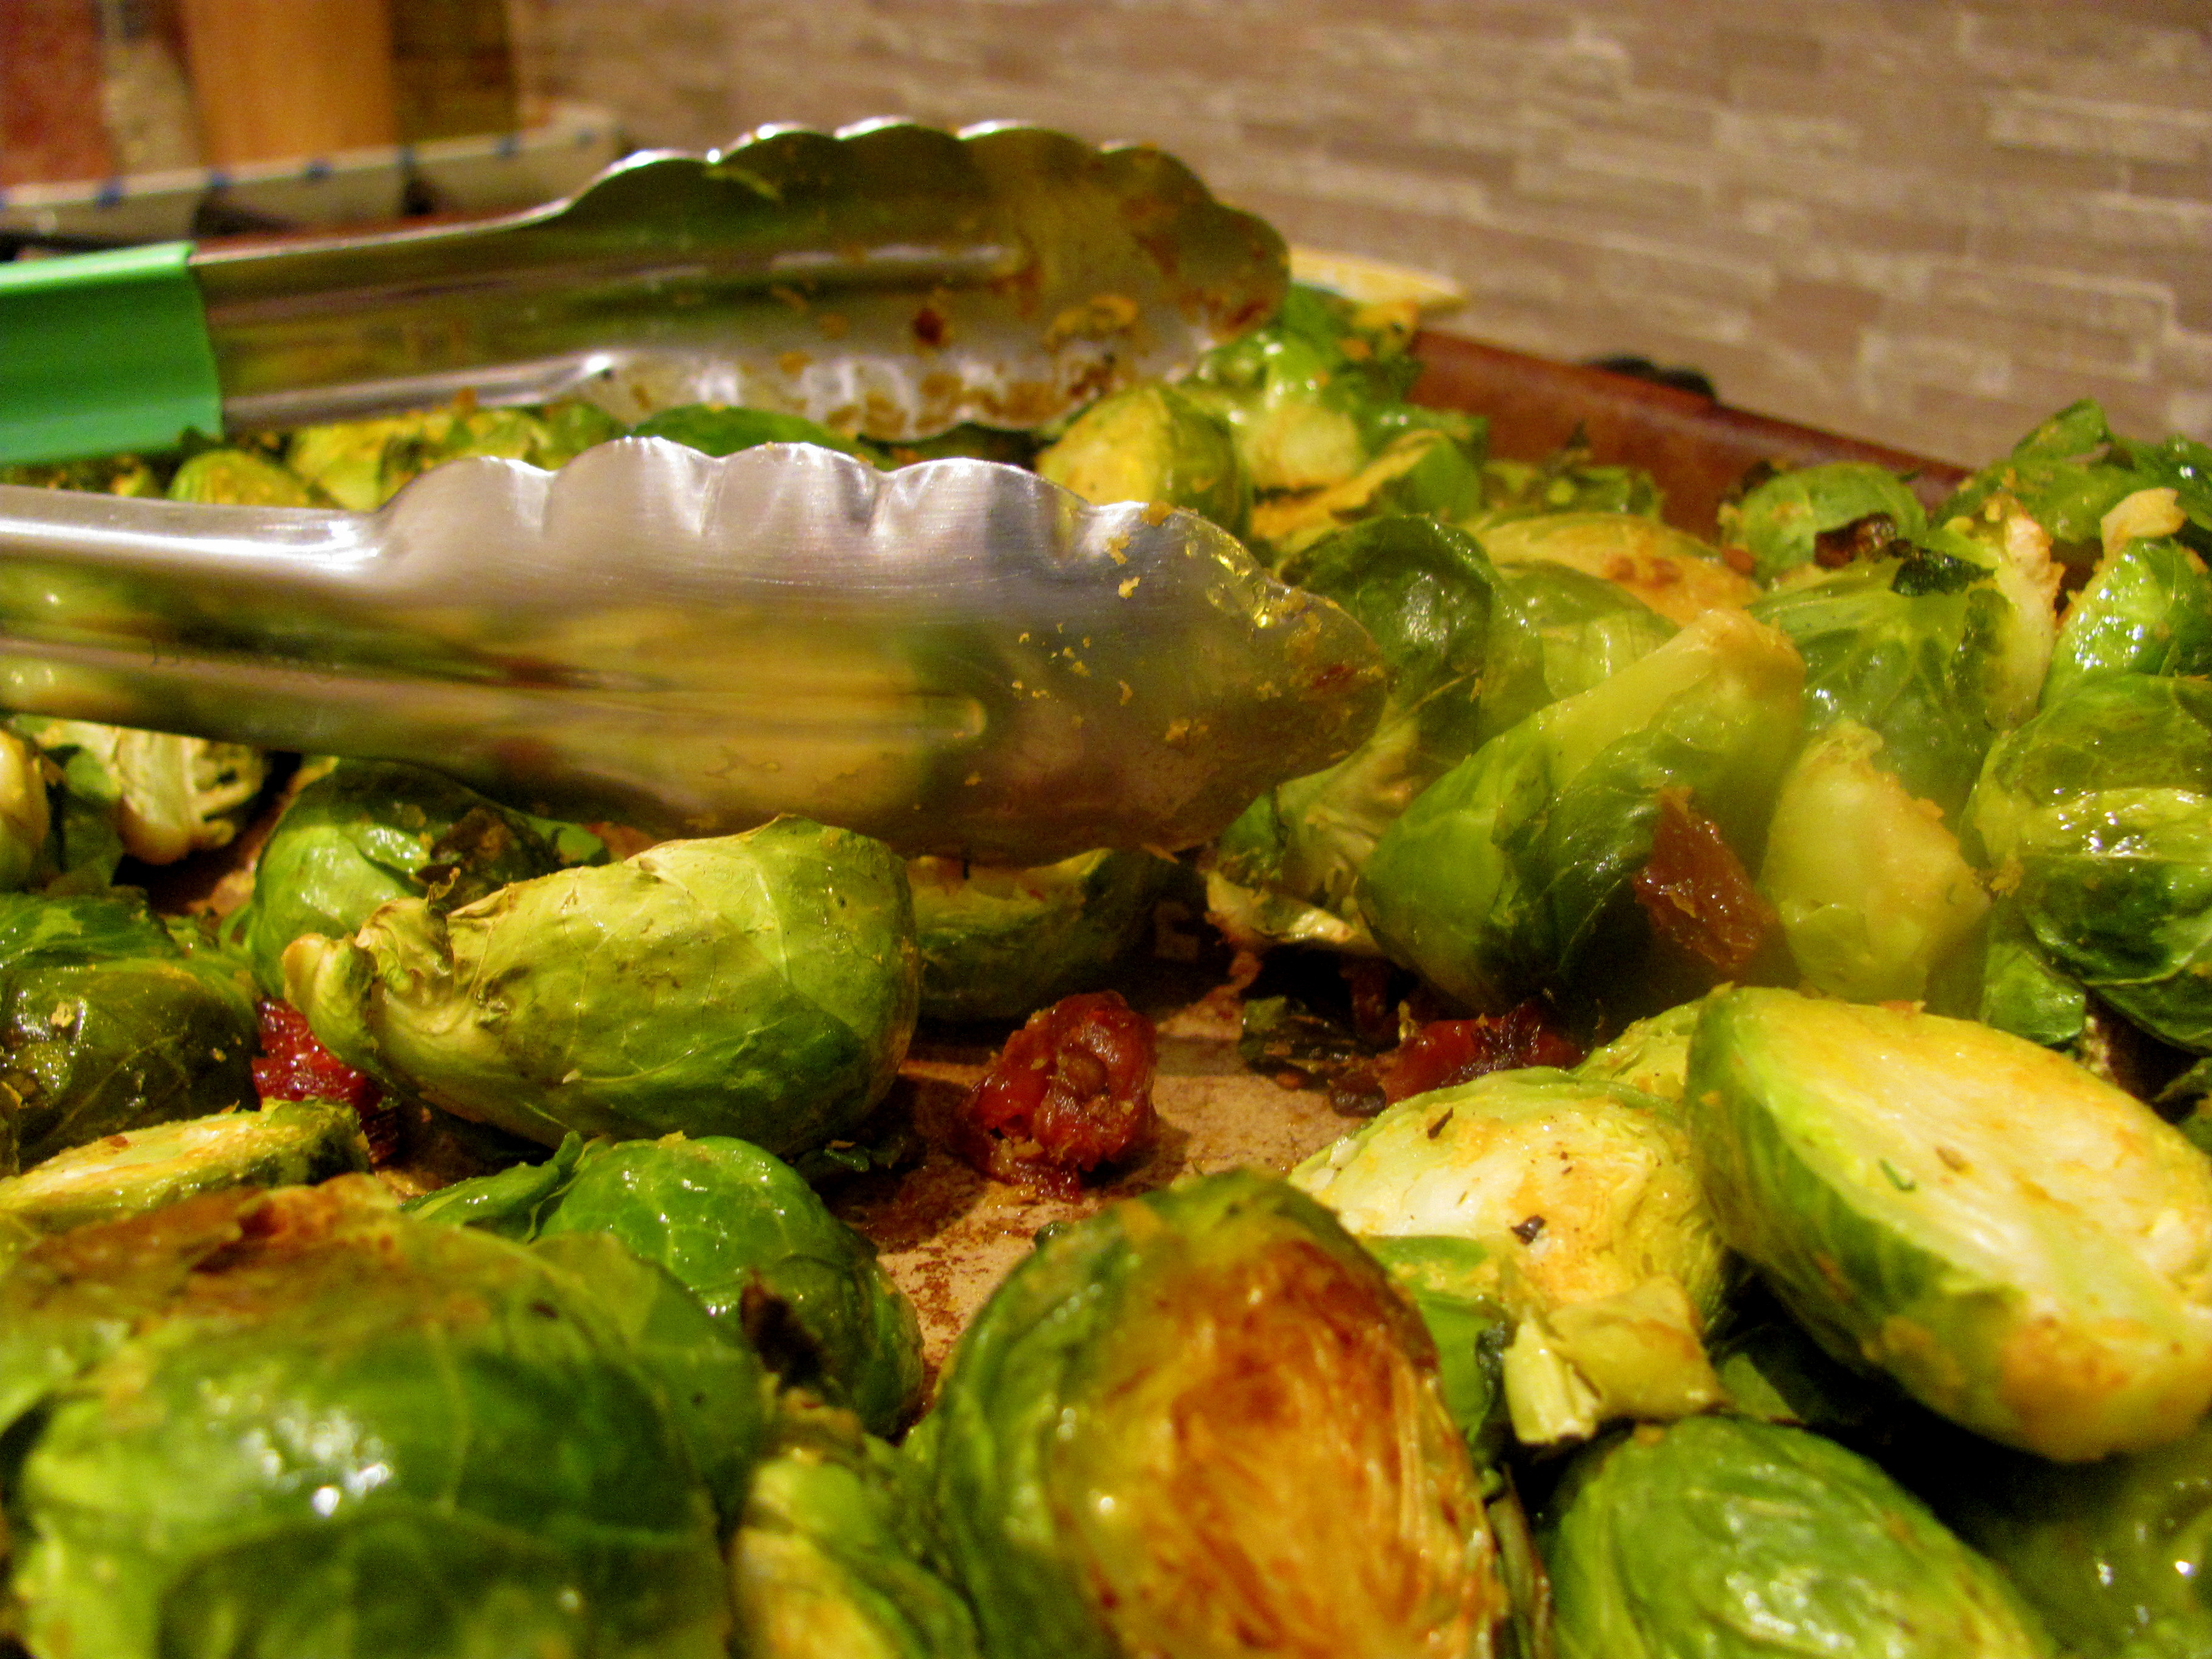
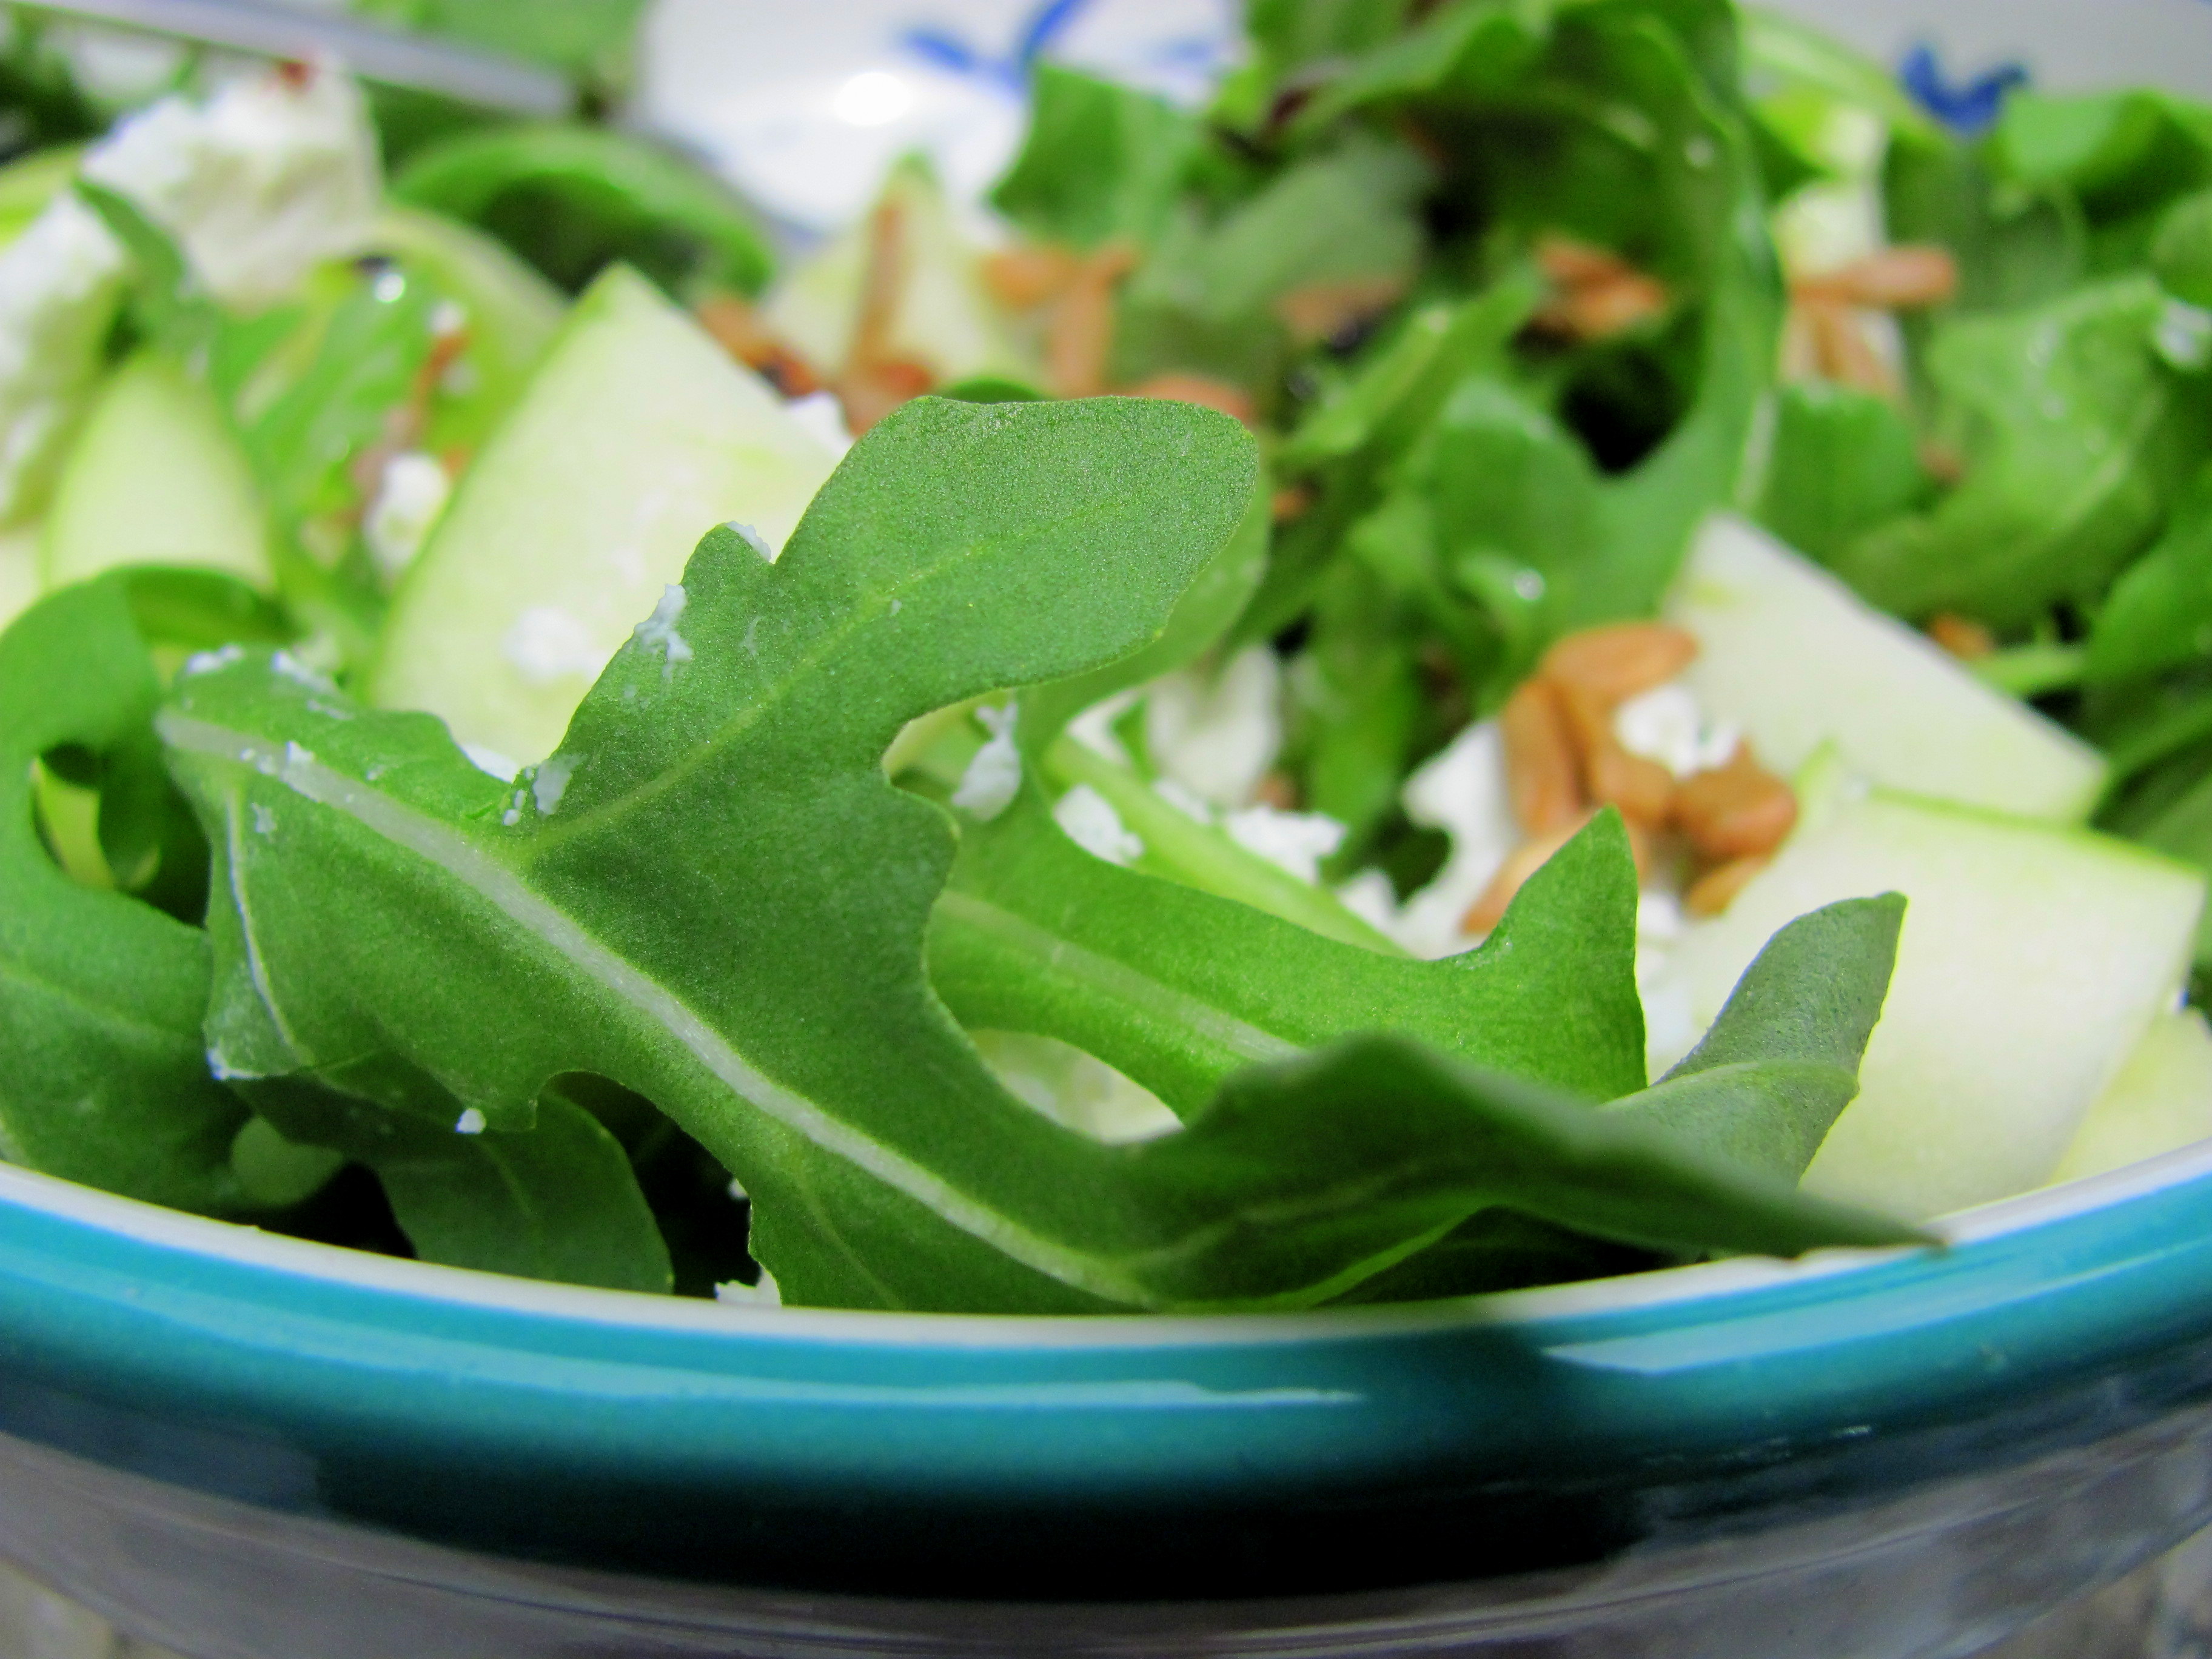
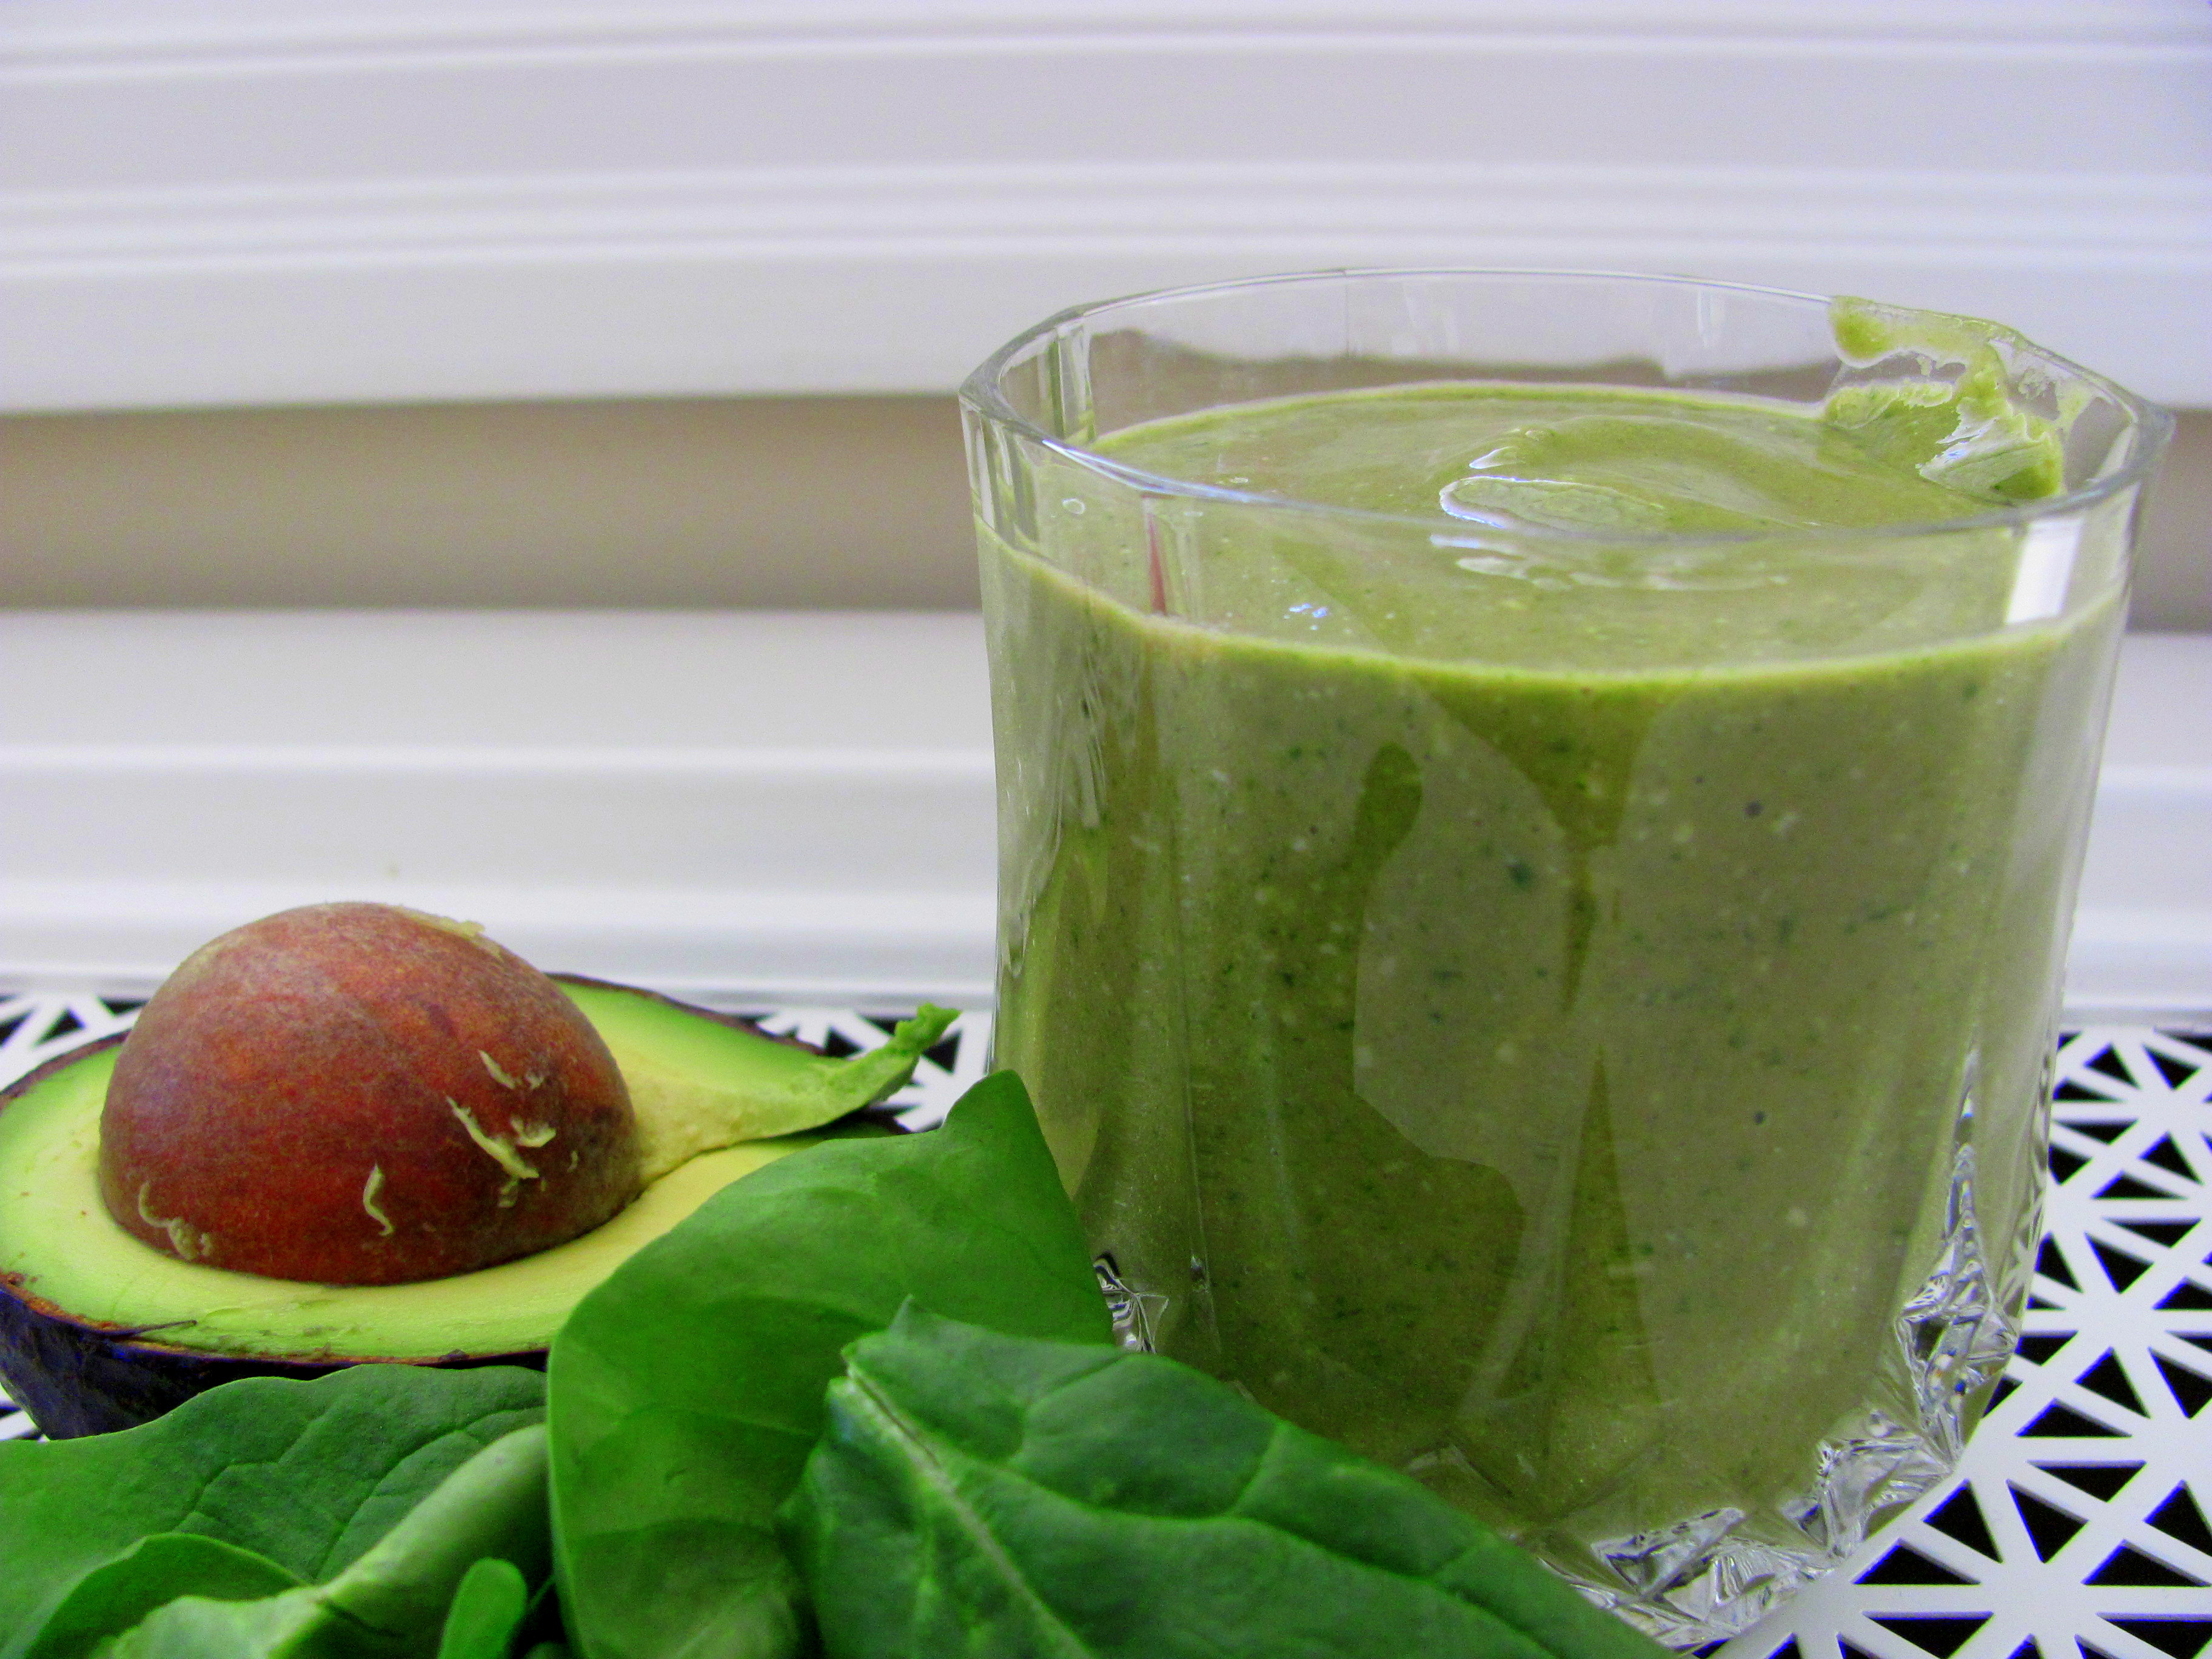
Lots of colourful fruits and vegetables of your choice: Start at the periphery of the store and pick up everything that looks good: carrots, celery, kale, spinach, arugula, salad mixes, onions, apples, pears, bananas, avocados, beets, grapes etc. Pick up some frozen vegetables and frozen berries as well, as these come in handy when preparing meals. Read the diet handout carefully for information about what vegetables are allowed on the diet and which ones are to be removed during the initial stages.This is a great opportunity to try new vegetables you’ve never tried before, discovering their health benefits, experiencing their interesting flavours and adding more variety – and nutrients – to your diet.
Meats: Choose your favourite cuts of chicken, lean pork, beef, turkey or whatever else you enjoy eating.
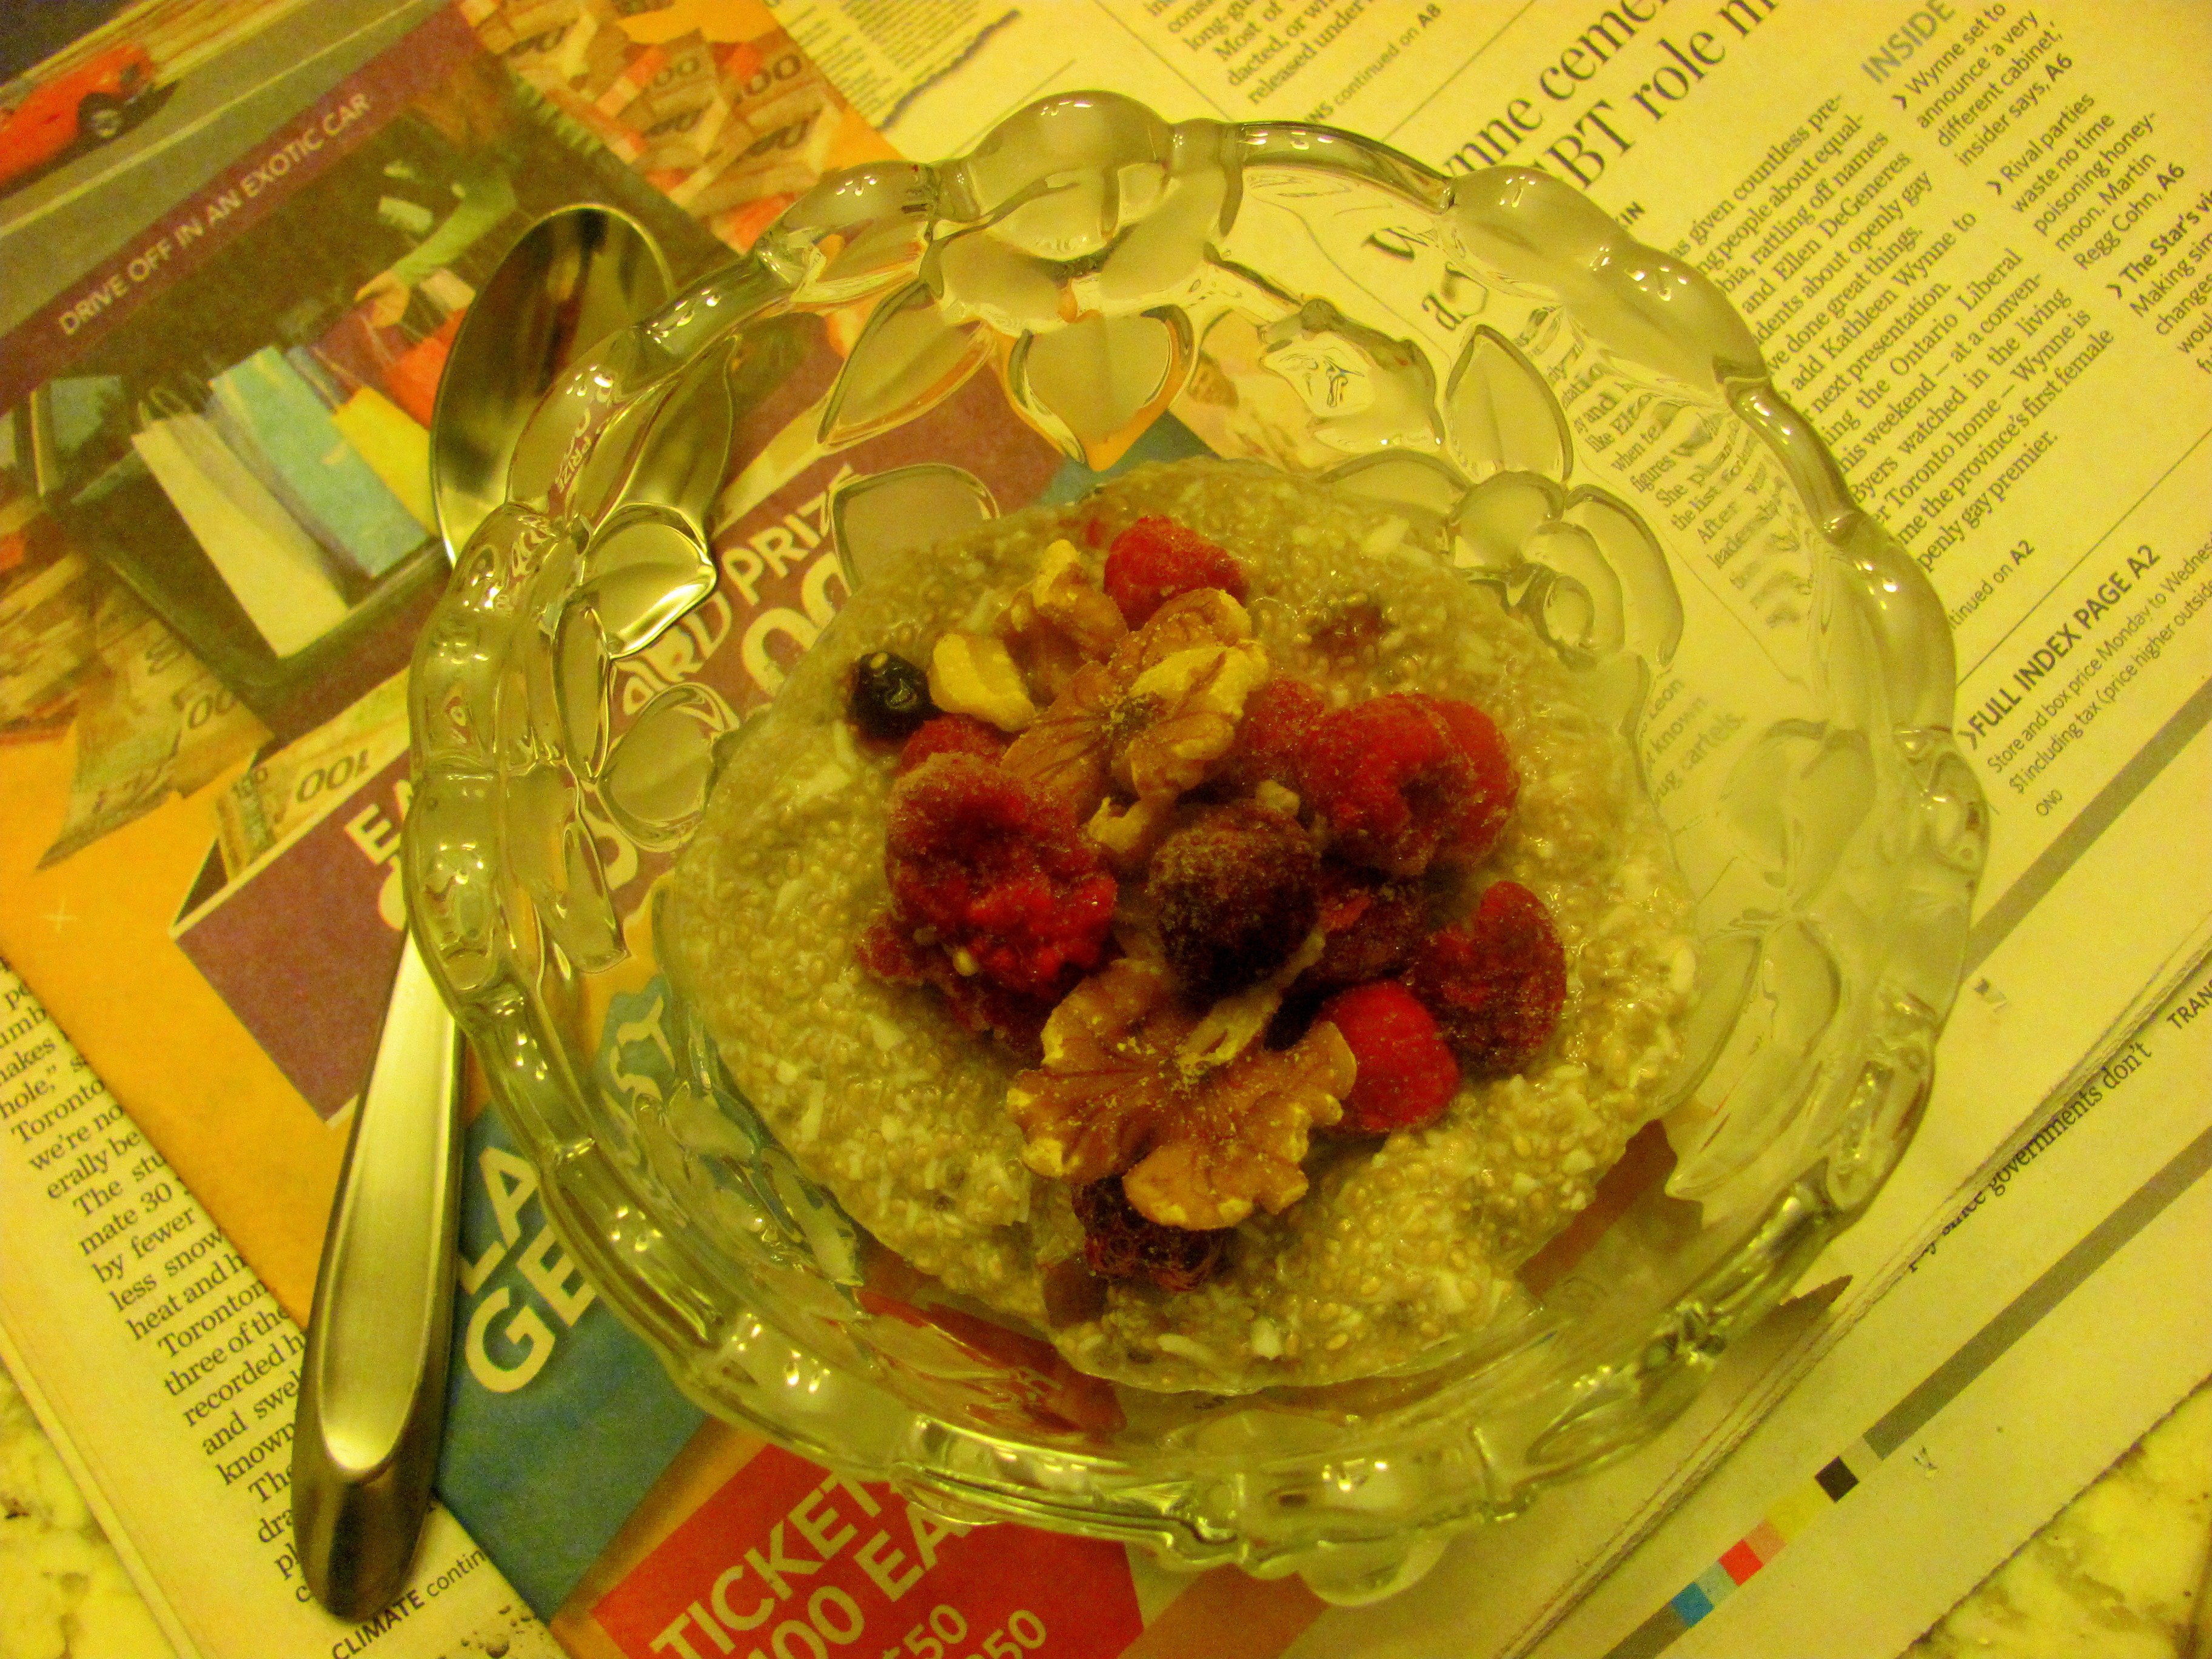
Snack foods: Hummus, gluten free crackers (Mary’s crackers are popular), rice cakes, Lara Bars. Also purchase raw, unsalted almonds, walnuts and other nuts to snack on. Chia seeds are versatile for snacks as well. Purchasing whey isolate protein powder (whey concentrate contains casein, which is a no-no on a dairy-free diet), is another great option for adding to baked goods, smoothies and other gluten-free recipes to increase their protein content.
Condiments: Purchase almond butter, coconut oil and extra virgin olive oil for cooking. Temari sauce is a good substitute for soya sauce (which contains wheat). You can also go nuts on delicious spices and seasonings such as garlic, turmeric, cumin, paprika, oregano, basil, cilantro, sea salt, etc.
Milks: Purchase almond milk – I prefer Almond Breeze original, unsweetened for my morning coffee, baking and cereal, if I have it – or coconut milk (the kind in the can found in the “ethnic” foods section).
Flours: Some gluten-free flours are not the best in terms of how healthy they are for you. White rice flour, tapioca flour and potato flour contain less fibre and nutrients than regular flour so it’s best to stay away from them. At the Bulk Barn you can find grain-free flours like coconut and almond flour, as well as healthier grain flours such as teff flour, quinoa flour and brown rice flour. At my house we buy a variety and mix them together to create a healthy, gluten-free “all-purpose flour” for baking. For more on allergen-free baking, read this post.
Bread: My favourite gluten-free bread can be purchased at Costco in a double-pack and is made by a company called Silver Hills. It is high in fibre and contains omega-3’s making it one of the more substantial, tasteful gluten-free breads available. However, I usually only break it out when I’m desperate for morning toast or really crave a sandwich because, when it comes to gluten-free bread, a lowering of expectations must be in order. These breads must be kept frozen and toasted in order to be enjoyed. Most people on a gluten-free diet simply end up forgoing bread in general. However, I recommend this brand as a good transition as it comes as close as possible to any real bread I used to enjoy.
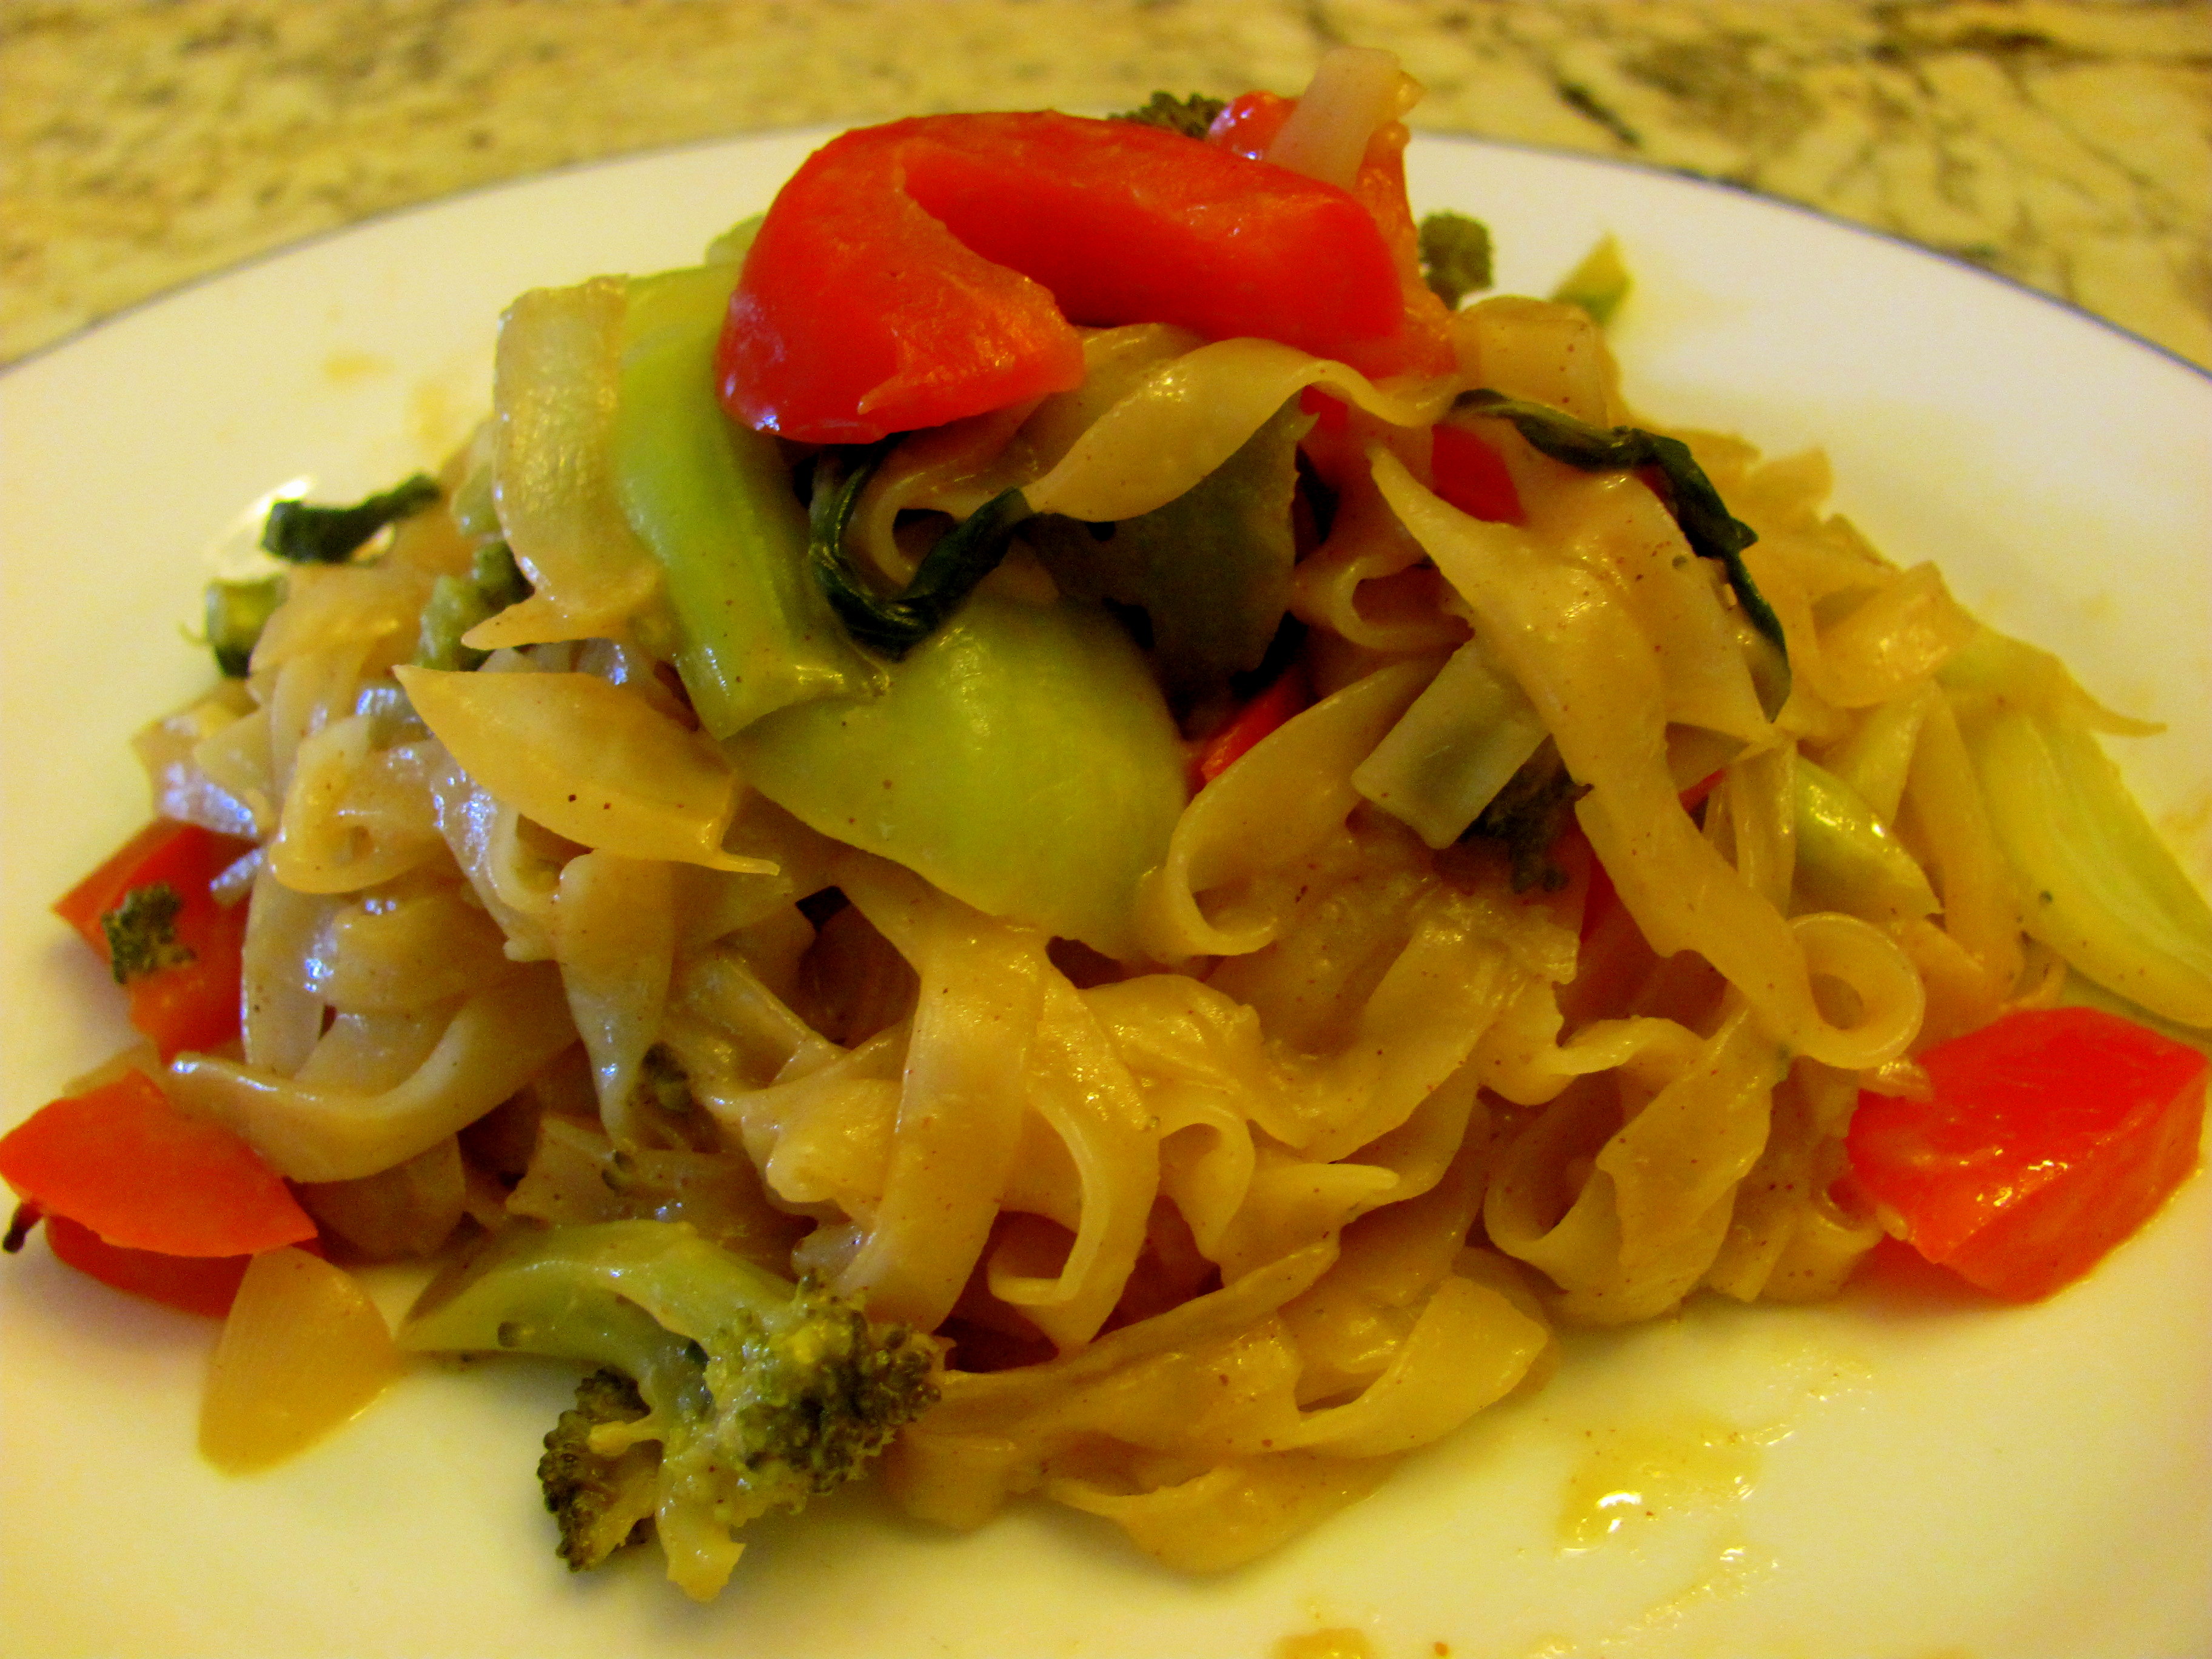
Pasta: Another Costco brand, TruRoots, makes an ancient grains line of pasta, which contain buckwheat, amaranth, brown rice and quinoa. These make a great substitute when you just want to boil some spaghetti for dinner. Another spaghetti option is making it from spaghetti squash, a great way to increase your vegetable intake and decrease your calorie consumption.
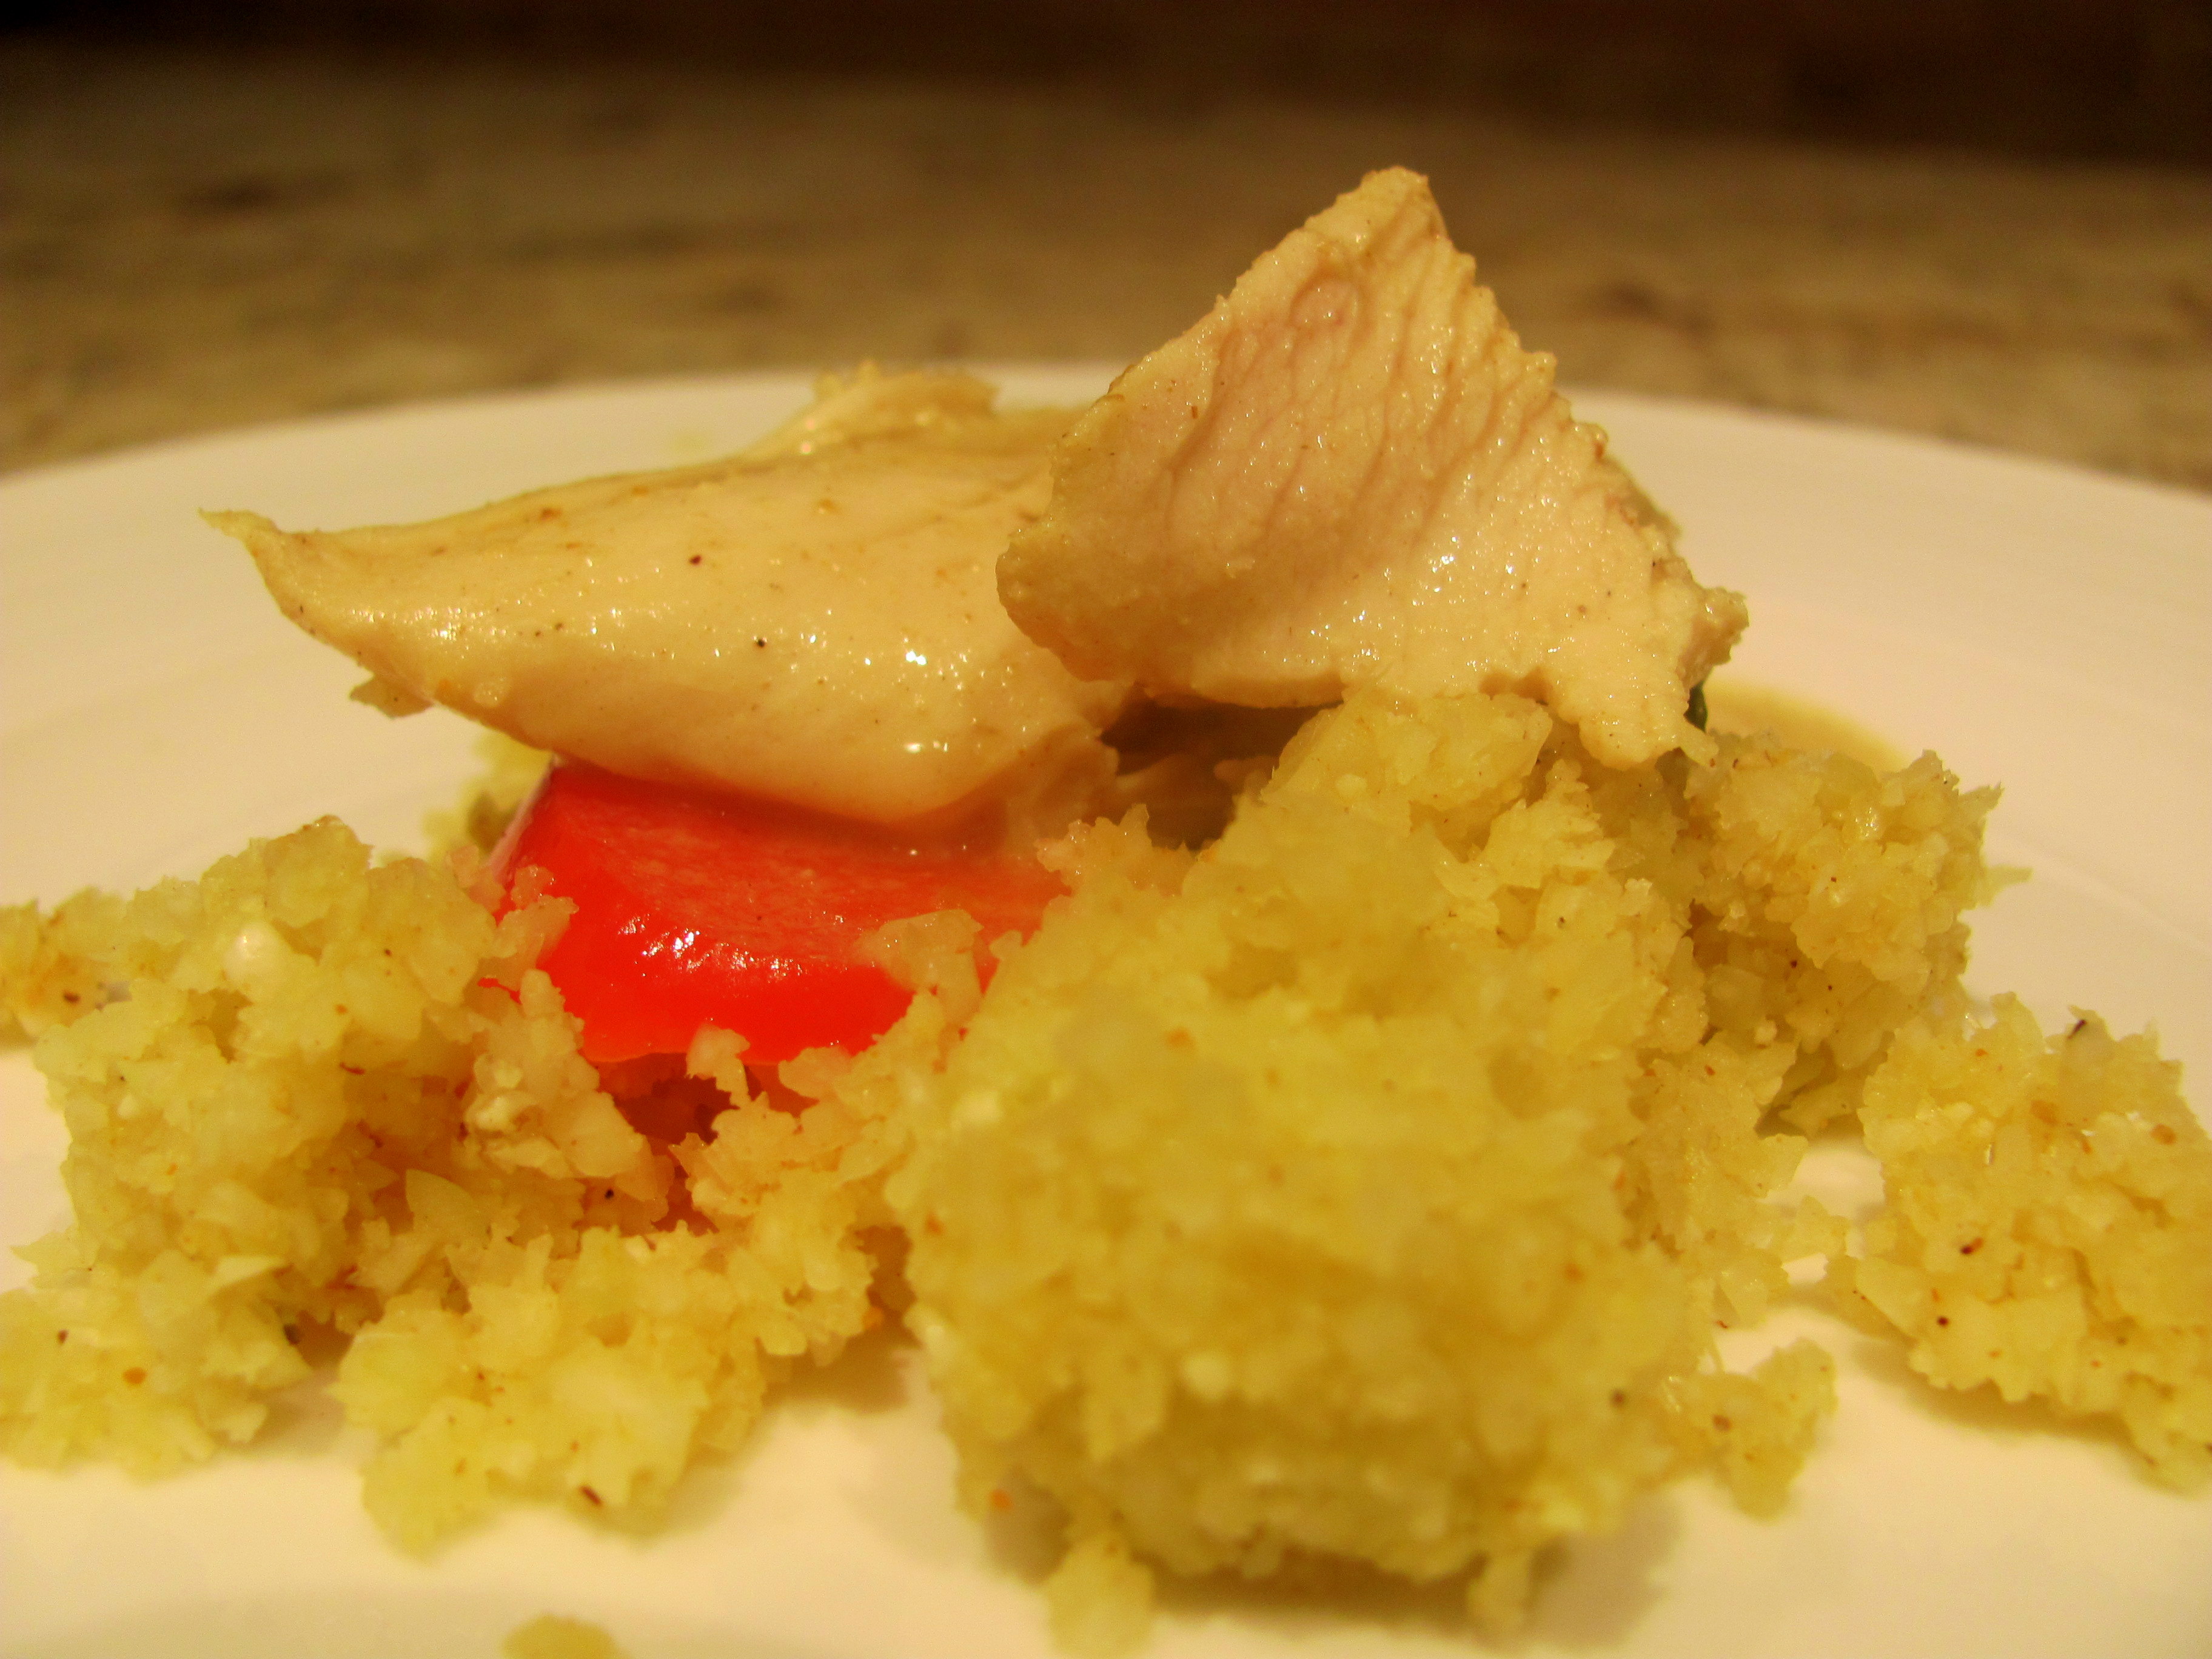
Other grains: Purchase steel cut oats to make in the slow cooker in the morning, quinoa, amaranth, buckwheat, teff, sorghum, corn, millet, brown rice and wild rice to create stir-frys and rice or grain dishes. You can even replace grains with vegetables, such as cauliflower.
Recipes:

Fortunately there are a number of great gluten-free blogs on the internet and great cookbooks containing easy to make, healthy recipes. Here are some of my favourite websites, but oftentimes I just Google specific ingredients (e.g.: “almond flour pancakes”) or a search term like “gluten-free” or “paleo” to see what recipes come up and then modify accordingly. As you become accustomed to what foods you can and cannot eat, you’ll learn to add and subtract certain ingredients from your favourite recipes, giving them a hypoallergenic twist.
Cookbook:
Delicious Detox by Carol Morley, ND
Blogs:
Elana’s Pantry
My New Roots
Cannelle et Vanille
Roost Blog
Mark’s Daily Apple
Or click on the “recipes” tag on this blog to peruse some of the gluten and dairy-free recipes that I’ve posted.
Eating Out:

Many restaurants offer gluten-free varieties of their traditional menus such as GF hamburger buns or rice pasta. I find, however, that most ethic restaurants such as Indian, Ethiopian, Thai, Greek, Chinese or Vietnamese, which use rice instead of wheat-containing foods like bread, are naturally gluten-free. Asking if the recipes contain dairy and other foods that you’re avoiding might be necessary in case you aren’t aware of the exact ingredients of the foods you’re eating. For this reason, I prefer eating at home, where you know exactly what’s going into your food.
Eating at a Dinner Party:

It seems that more people have at least a basic awareness of what “gluten-free” means these days. For some, though, it might help to have a prepared explanation of why you’re choosing to eat this way to be able to educate those who are curious about your dietary restrictions. I find it helps to have results on hand; when you look and feel better, not much is left to debate. I find that those who are hostile to someone who is trying to avoid certain foods are often insecure about their own eating styles and, if you suspect that this is the case, it’s best to change the subject and move on.
As for the menu, remember that at most dinner parties salad and meat are usually served. You can simply forgo bread, asking for a burger without a bun or staying away from the bread basket. And, as for dessert, a friend of mine’s strategy is to always bring along her own. If no one else wants to share it, at least she has her own to indulge in and she finds that most people are gracious when you offer to bring dessert. In addition, trying a great, allergen-free recipe is a nice way to introduce the elimination diet to your family and friends (and promote naturopathic medicine).
The elimination diet can seem like a steep hill to climb at first, but, fortunately, hypoallergenic eating is becoming more commonplace, making it easier to find gluten and dairy-free substitutes to the foods you love. After an initial adjustment period, you probably won’t even miss the old foods and besides, feeling great and pain-free is just so much better than reaching for the bread basket.
Good Luck!
by Dr. Talia Marcheggiani, ND | Jan 9, 2013 | Detoxification, DIY, Health, Natural Body Care, Recipes, Skin health

It drives me crazy when we find that the things we once thought were so complicated are actually incredibly, insanely simple and that the truth of their simplicity is not common knowledge. This turned out to be the case for deodorant.
Most people who seek natural alternatives to their cosmetic supply have a problem when it comes to deodorants. All women’s deodorants are anti-perspirants, which contain high levels of aluminum, natural deodorants don’t work and make me itch and men’s deodorant, which I’d resorted to using for a while, is still full of chemicals and smells like, well, “antifreeze man”, for lack of a better description, and actually contains propylene glycol, which is, in fact, antifreeze. So there you go.
I started shunning women’s deodorant at summer camp when a hippie friend of mine (wise at her 14 years of ago) explained that it caused breast cancer. I don’t know why I was worried about breast cancer at the age of 14 (maybe it was my early naturopathic doctor self, shining through) but I got scared and starting using men’s deodorant, which, because it’s not an anti-perspirant, doesn’t contain aluminum zirconium. So, does anti-perspirant actually cause cancer? Studies are inconclusive, but we do know that it blocks lymph nodes, which are plentiful beneath our arms, and which contain the specific lymph nodes that drain the breast tissue and chest. Clogged lymph nodes are just bad news in general because our lymph nodes are responsible for clearing out the debris and toxins that our body is exposed to. Good health can only ever be attained when our lymphatic system is operating to its full potential.
After entering the world of natural health products, I started shelling out $8-$10 a tube for natural deodorant. It was an expensive experiment as I tried a grand total of 4 different brands, all to discover that, firstly, none of them worked, and secondly, some of them even gave me a weird allergic rash under my arms, which made me scratch myself like a gorilla throughout the day. Not exactly attractive.
So, my deodorant choices ultimately boiled down to: a) blocking the lymphatic drainage in my underarms, causing edema of my arms, aka “Bingo Wings“, or possibly increasing my risk of cancer b) forever living with allergic dermatitis like I’m back in my eczema-tainted childhood days, c) searching through the men’s deodorant section of the grocery store, trying to find the most “feminine”-scented anti-freeze available or, even, d) going “au naturale”, and thus, probably spending the rest of my life alone. What would you choose?
So I went back to smelling like Old Spice for a while. That is, until I found and developed this recipe for homemade deodorant. This recipe is so simple, so easy and so cheap to make that it irks me to the bone that making deodorant at home isn’t common practice. Our consumer-driven society dis-empowers us to the point where we can’t even take care of ourselves. We are forced to either apply toxic substances to our bodies or cough up huge amounts of cash for inferior “natural” products full of natural substitutes for the very chemicals we’re so certain are necessary. Can’t we do anything ourselves anymore? We had over our cash and our bodies so willingly we – alright, enough political banter; it’s time to take action!
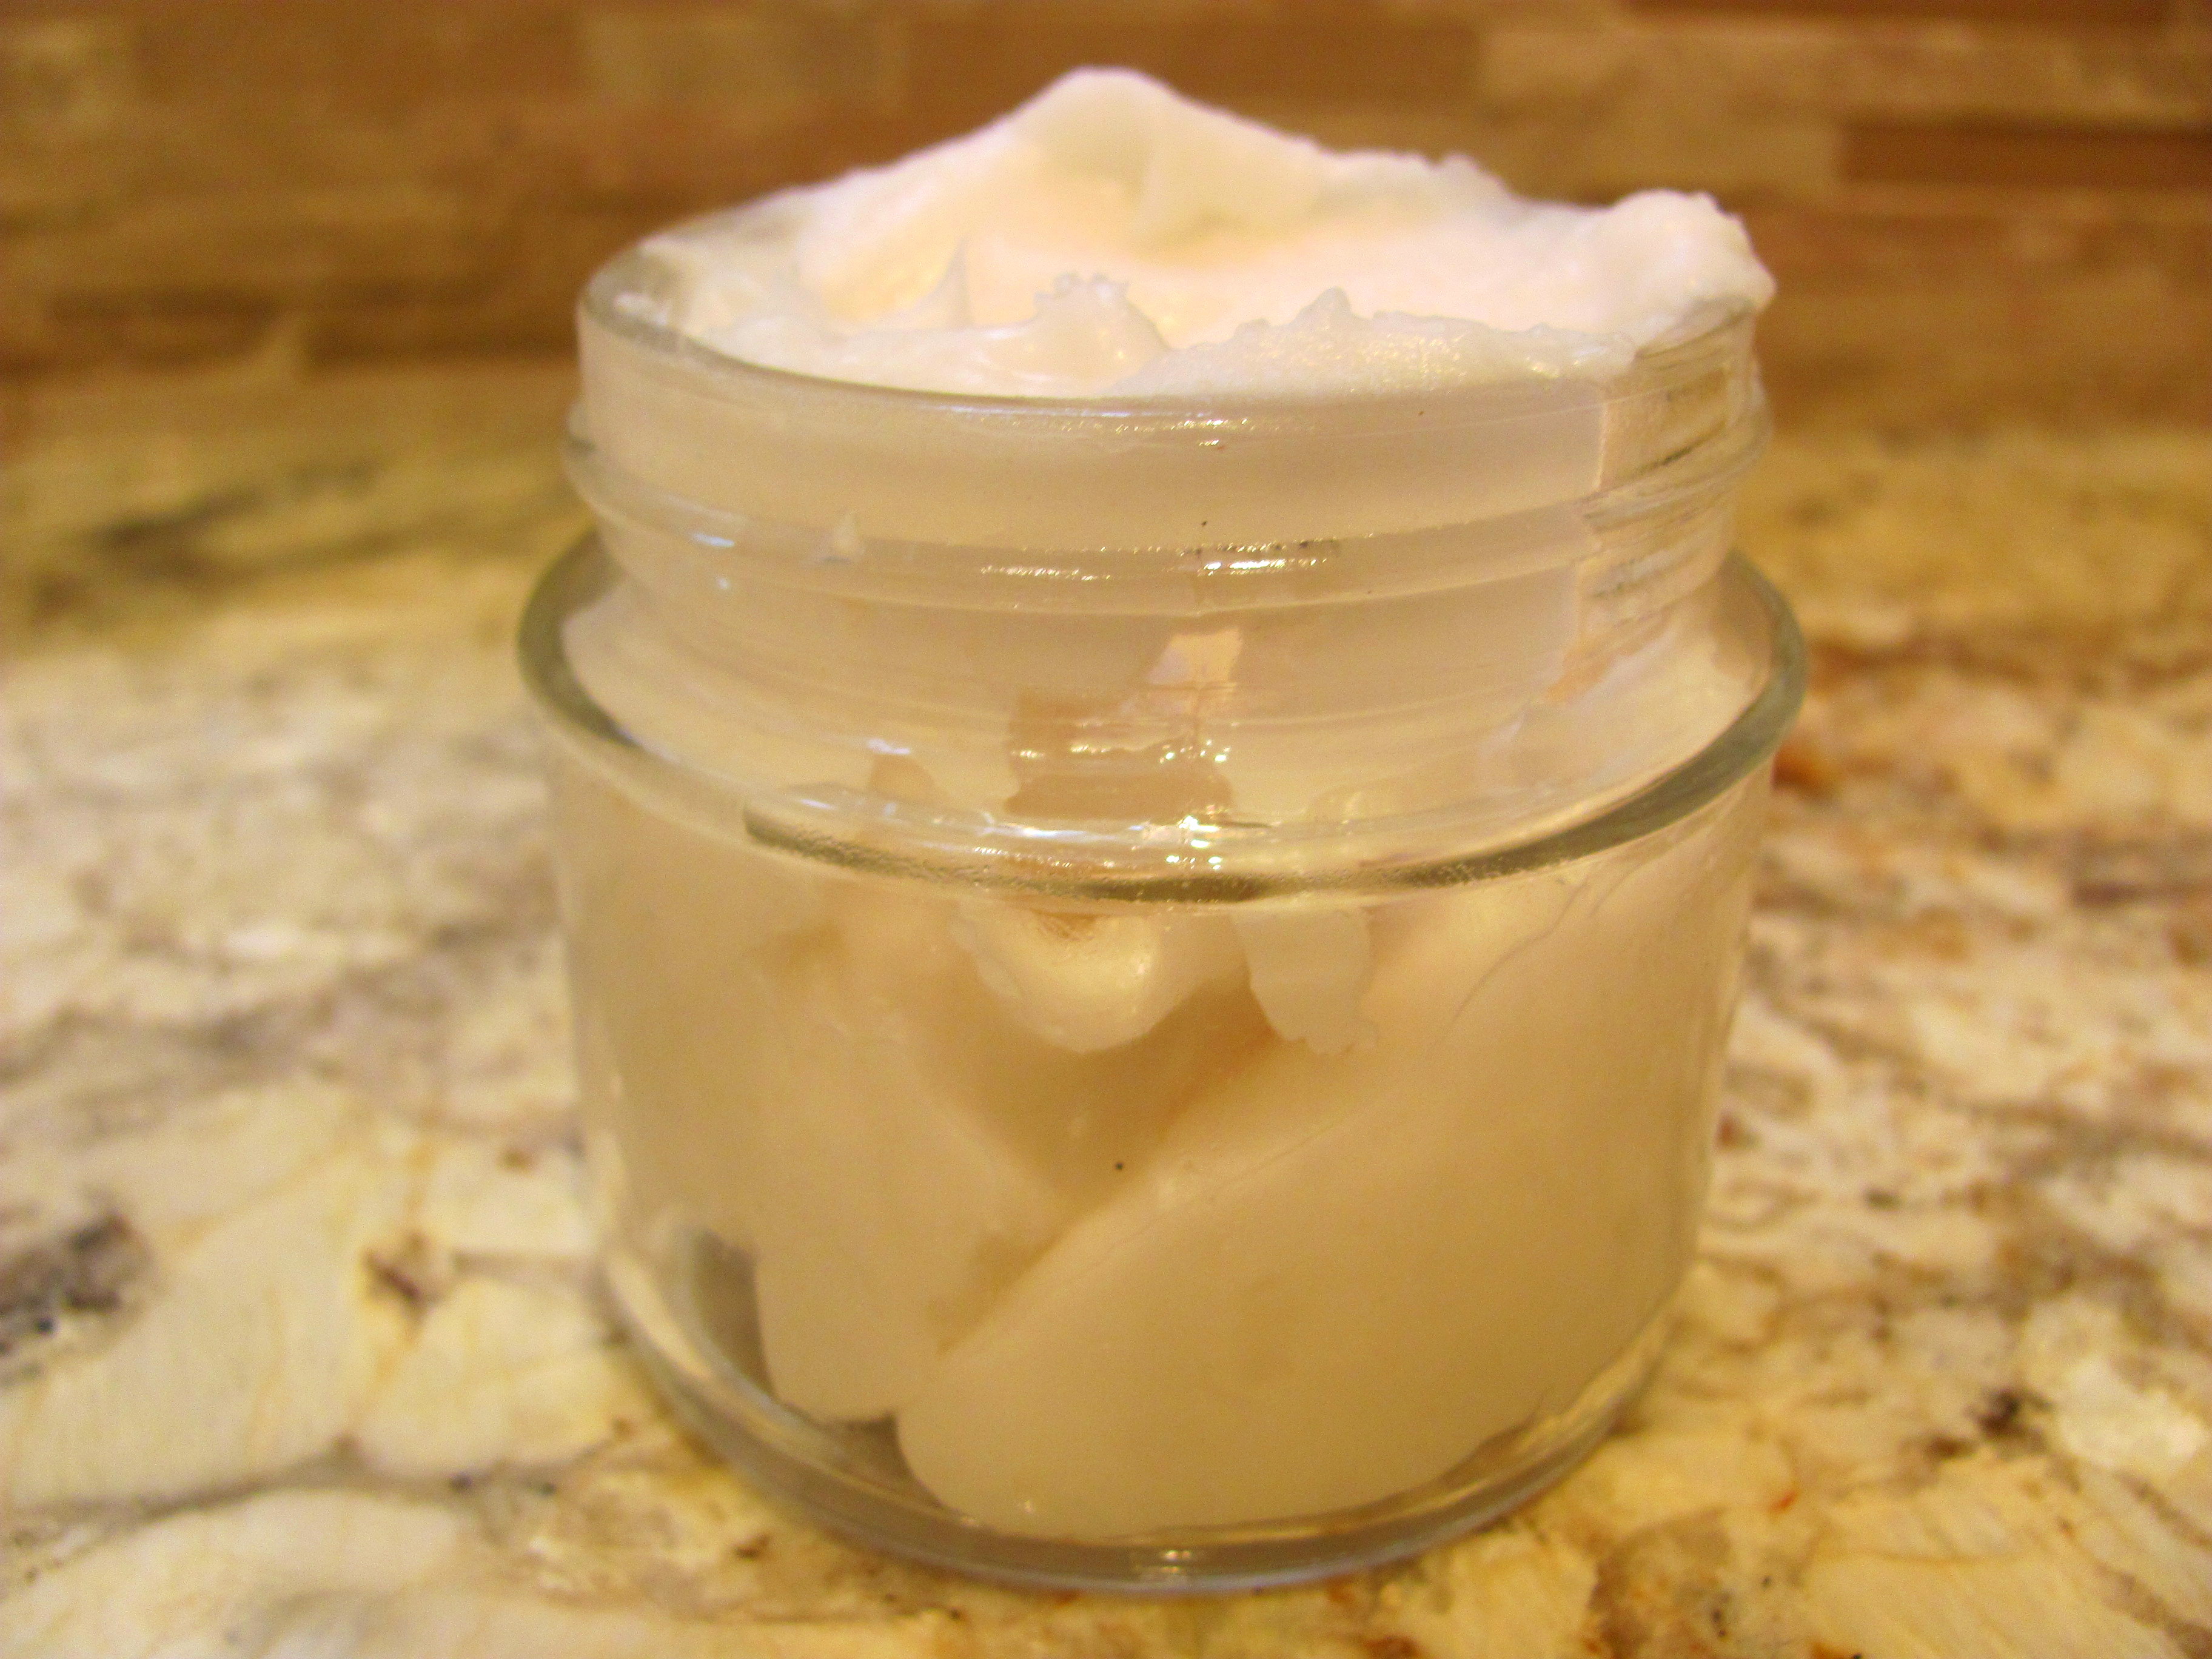
Allow me to be the bearer of excellent news: you can create natural deodorant that smells great, contains no harmful chemicals and is made of only 3 ingredients, all of which can be found in your kitchen. You can even eat this deodorant, if you were so inclined. And it takes about 1 minute to make. Not kidding. Oh, and it works really well, too!
DIY Natural Edible Deodorant
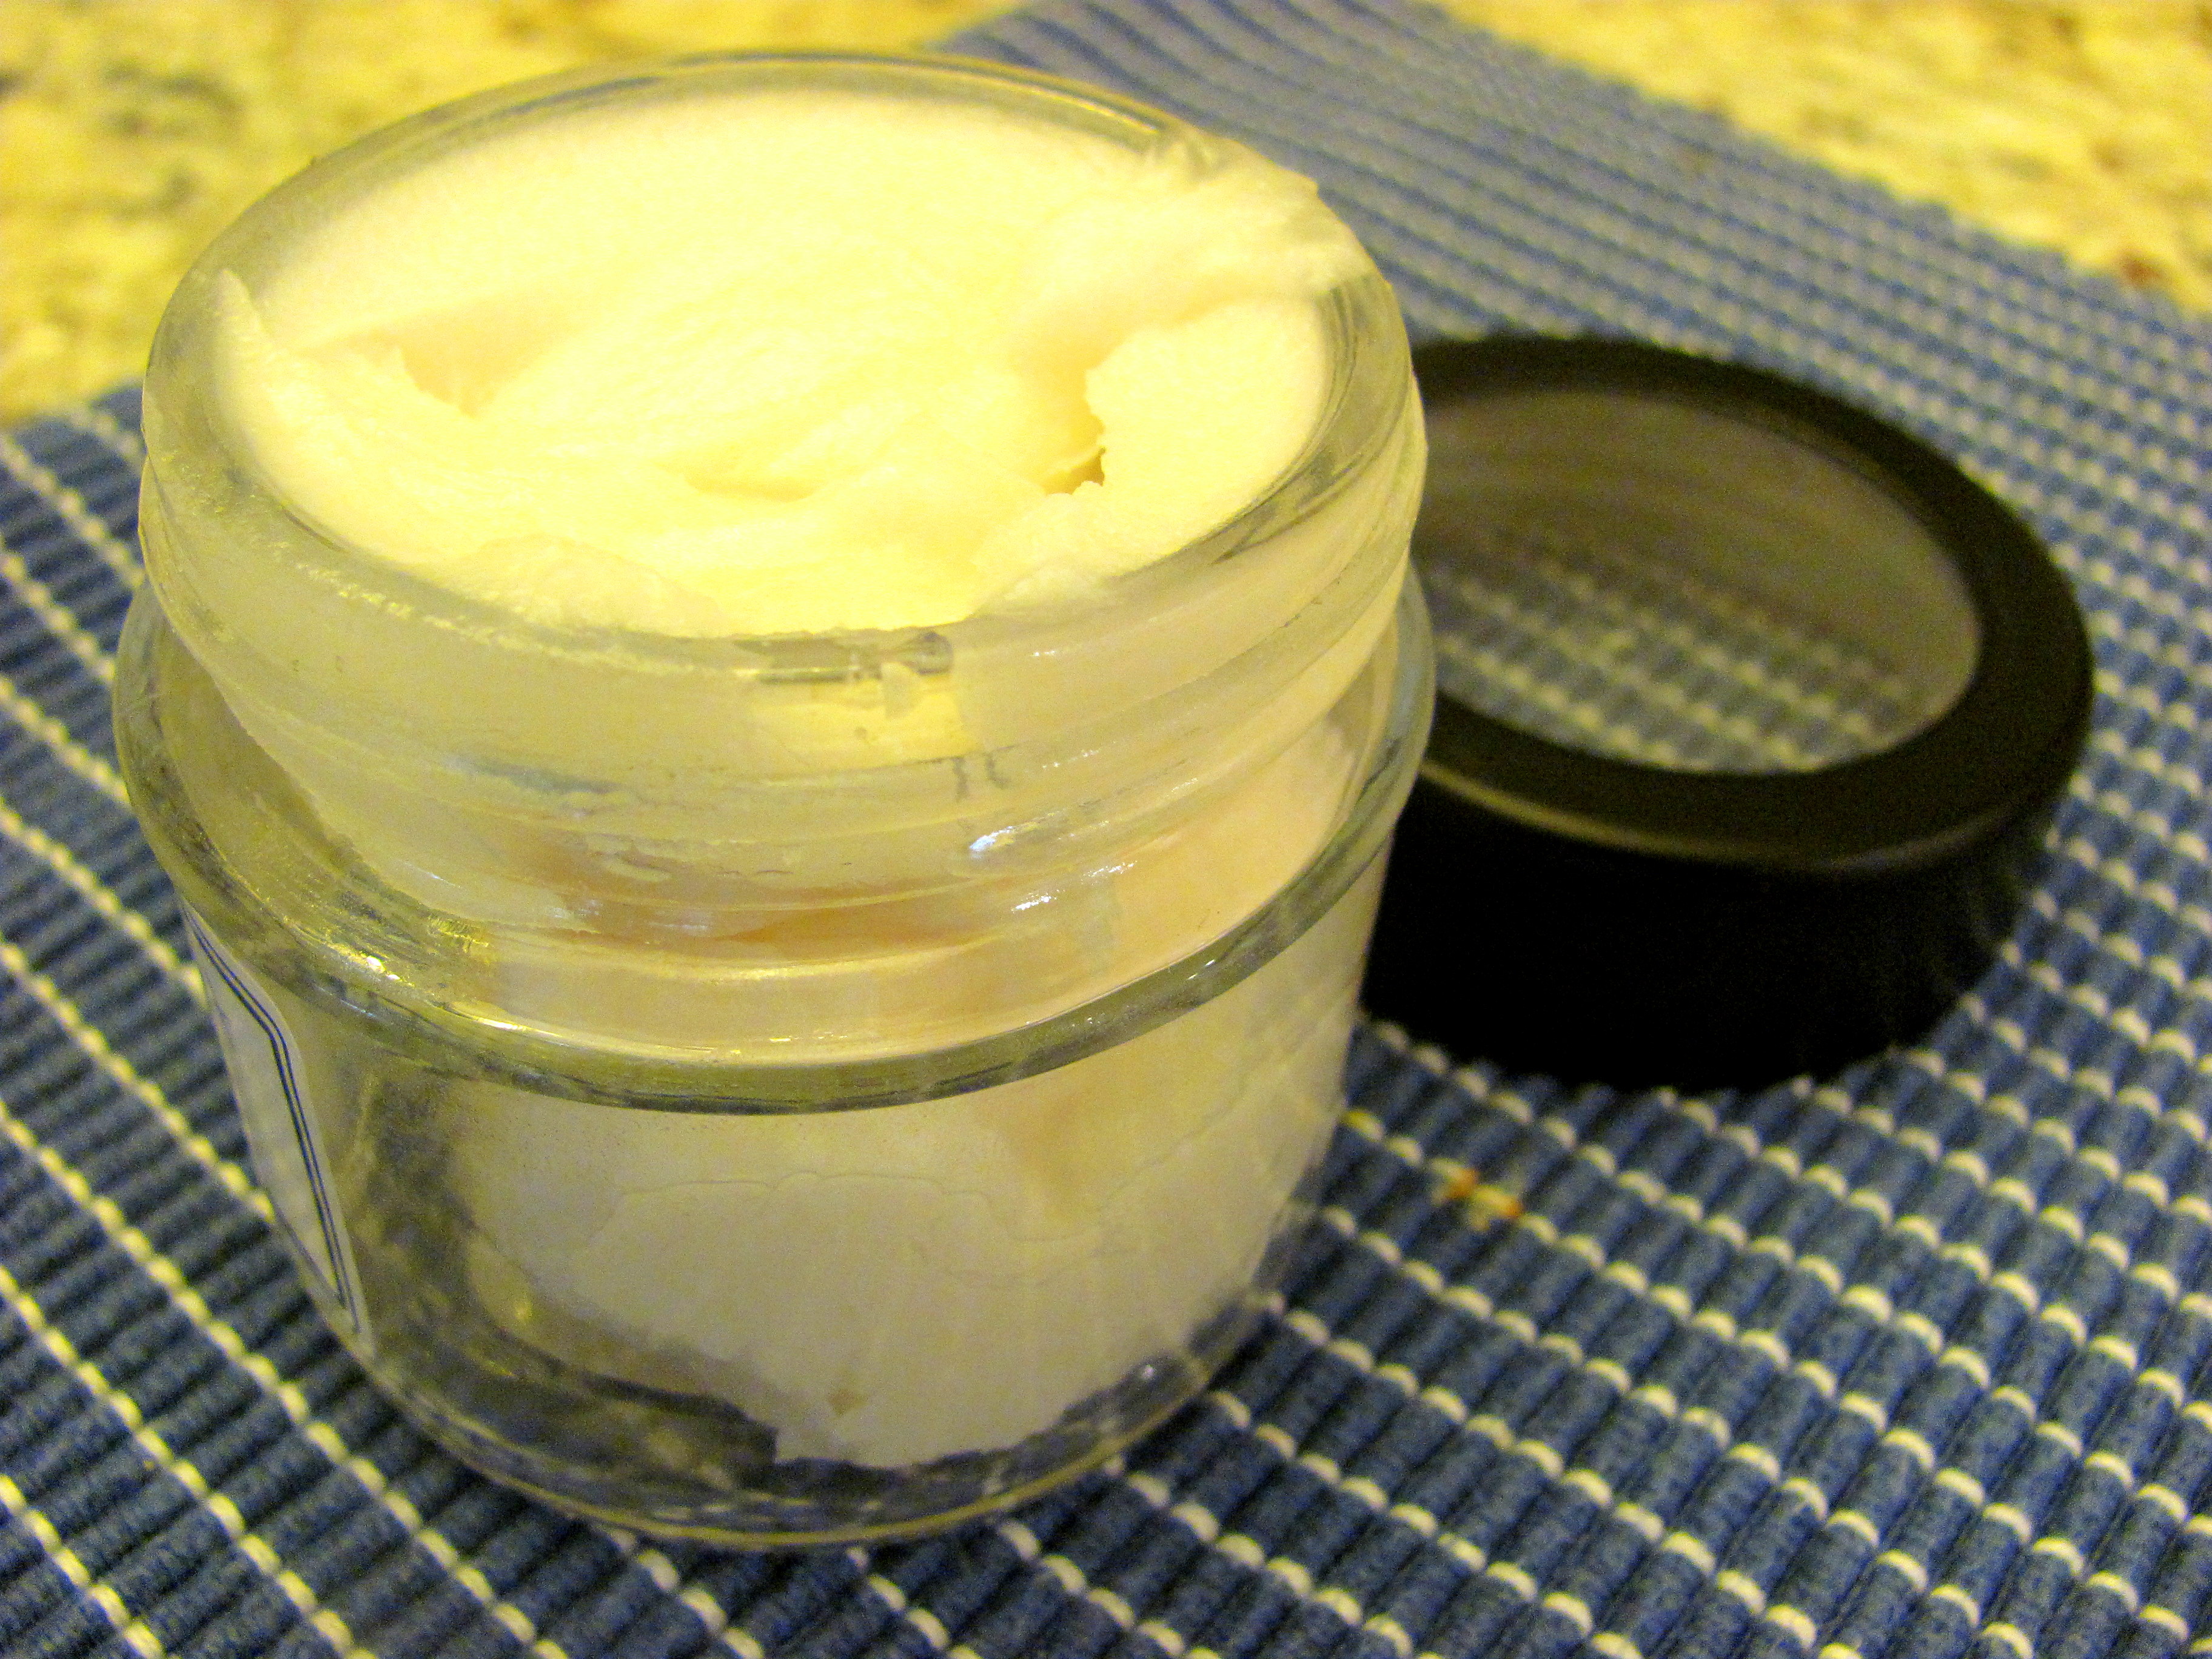
You need:
A small mason jar or glass container (using an empty soap container or recycled cream jar works well too)
2 tbs baking soda
2 tbs arrowroot (or cornstarch)
2 tbs coconut oil
*This recipe makes about enough for one person to last them quite a while (about as long as a regular stick of deodorant would last you). If you are making multiple amounts of deodorant, you know, to share the lymph node-love and gift to all your family and friends, simply add more of all the base ingredients in a 1:1:1 ratio.
Optional:
A few drops (~10) of your favourite essential oil
1-2 probiotic capsules
Directions:
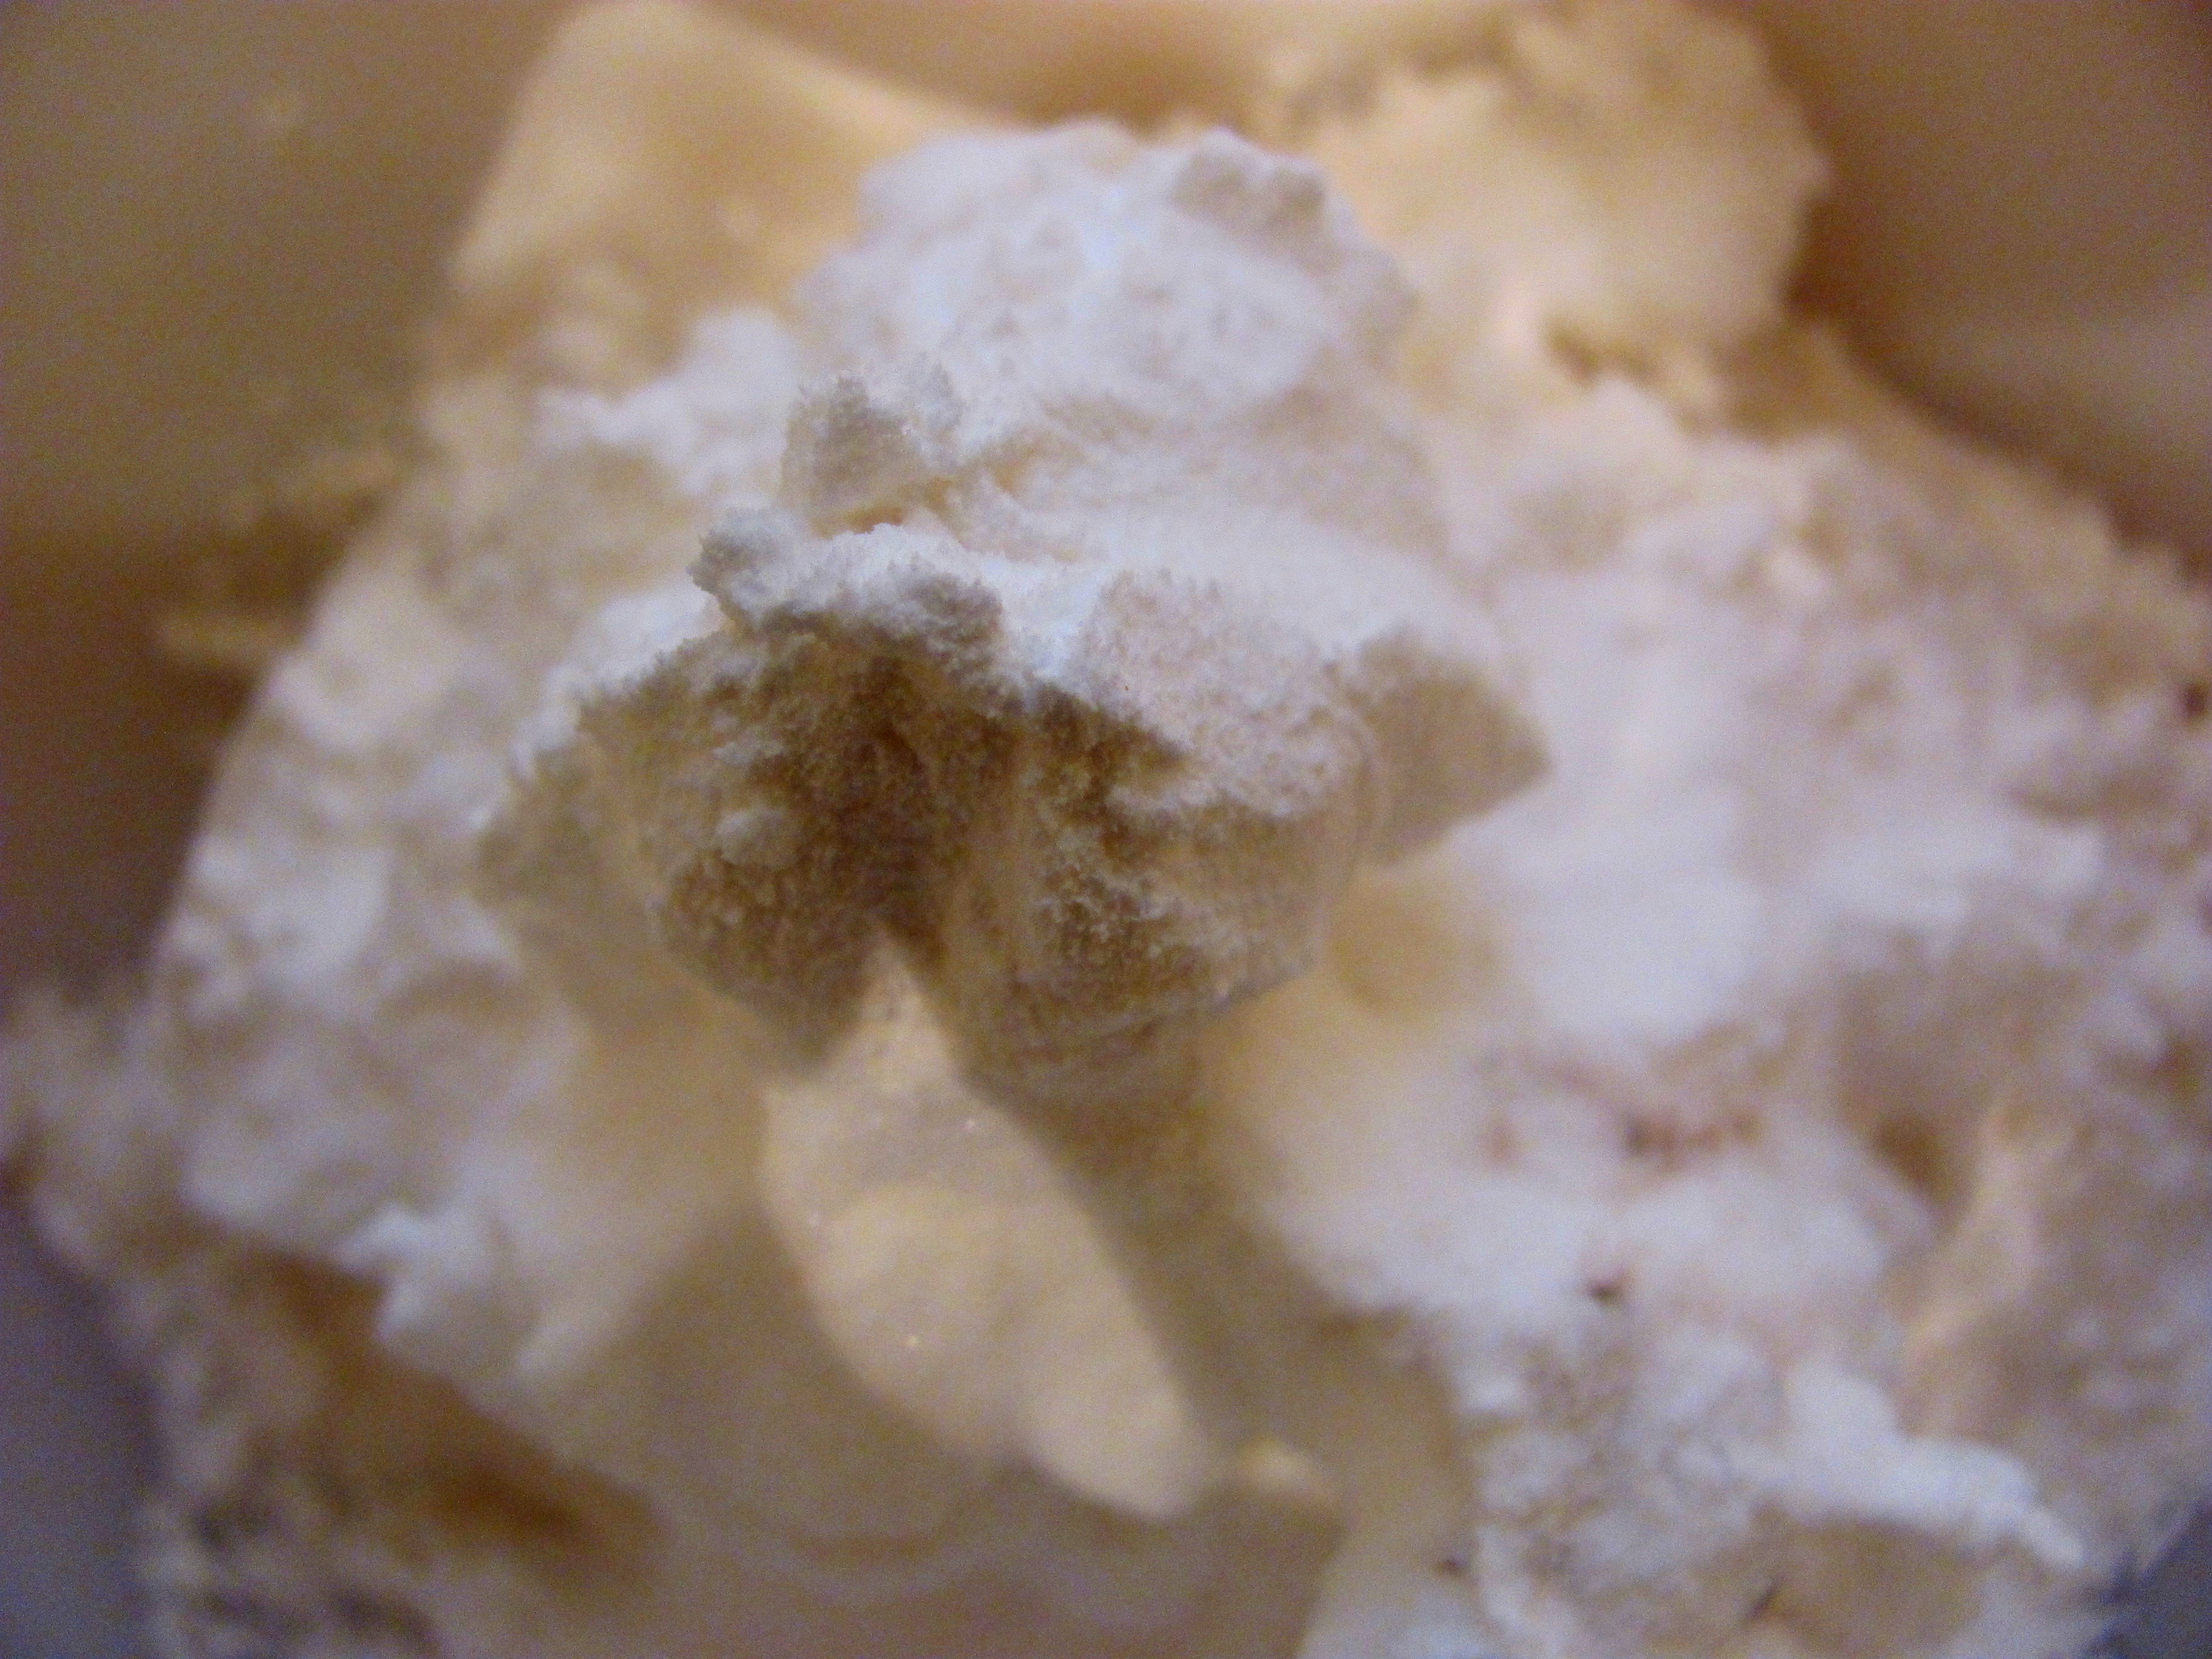
Soften coconut oil by putting it in the microwave for 10-20 seconds. Mix in the baking soda and arrowroot. Mix the three ingredients thoroughly and then scoop into the container of your choice.
Optional: Add in your essential oils. I used a little bit of vanilla extract, but I found that the coconut oil gives the recipe a delicious coconut scent already. For your male or sweat-prone loved ones, I would recommend adding in an antibacterial essential oil, such as peppermint, tea tree, sage, etc. You can also break open a capsule of a probiotic (1-2 capsules per batch of deo) to add in for extra bacteria-regulating power. Also, some people are sensitive to the baking soda. If so, just decrease the amount of baking soda and increase the arrowroot. Problem solved.
Allow the mixture to cool at room temperature. This takes about a day. If you’re in a rush you can just stick it in the fridge.
There. That’s it. To use, I just scrape a pea-sized amount with my fingers and apply it directly to my underarms. No itching, no lymph node clogging, no weird chemical-man scent, no anti-freeze. Just soft, healthy underarms that smell like coconut.
It should be enough to put Speedstick out of business.
You might also like:
DIY Natural Dry Shampoo
