by Dr. Talia Marcheggiani, ND | Aug 1, 2015 | Botanical Medicine, Detoxification, Diet, Digestion, Education, Food, Health, Home Remedies, Letting Go, Self-care, Weight Loss
I feel sorry for the digestive tracts of this nation, I really do. The owners of these digestive tracts have my sympathy as well—there really is nothing so bad as pooping too much or not pooping enough. Sometimes it’s hard to know which one is worse. Having regular and healthy bowel movements (1-3 times a day) is an essential foundation of good health—regular elimination helps us remove toxins and waste from the body, keeping us energized and well.
A series of patients often come through my office with chronic constipation that is unrelieved by supplements and diet. Most people are getting enough fruits and vegetables or have added more of these foods to their diets and still have a hard time keeping things moving in the lower abdominal quadrants. Since promoting healthy motility is often about daily self-care practices, I’ve complied my list of constipation home-care protocols here, for easy reference. While there are herbs and supplements that can improve motility, add fibre and draw water into the colon and promote healthy elimination, there are also foundational daily practices that must be incorporated as well.
Water:
A no-brainer: we all know that if stools are dry and hard to pass, we need to increase the lubrication of the digestive tract. Gradually increasing your fluid intake by one glass (250 ml) of water per day per week will help your body adjust so that you’re not sent running to the washroom every ten minutes.
Most importantly, however, I like to tell my patients to start the day with a large glass (500 ml) of room temperature water, consumed at once, first thing in the morning. This stimulates the gastrocolic reflex, by filling the stomach with water. In a healthy digestive tract, the contents of the intestine should move through the gut and enter the colon over night where they await the morning meal. Stimulating digestion by ingesting a modest amount of water first thing in the morning can stimulate the contraction of the colon and encourage a bowel movement. Keeping water warm or at room temperature, rather than cold, prevents the water from seizing up the body’s sphincters and allows things to keep moving. This practice also guarantees half a litre of water consumption a day, which we know is essential for proper colon health.
Listening to the body:
Slow motility is often a response to lifestyle. Our bodies send gentle cues to our conscious brains that it’s time to have a bowel movement and oftentimes these cues are ignored. Perhaps we’re in traffic, or rushing out the door, or in a meeting. Perhaps we’re afraid to use the washroom at work, where the acoustics are less-than-ideal. However, when we ignore the calls of nature, we often miss our chance to have a bowel movement for that day. If this has become a reality for you, some bowel retraining might be in order. Bowel retraining involves picking a time of day when it would be most convenient to have a bowel movement—right after breakfast is often a good time—and sitting on the toilet for 10 to 20 minutes. This daily practice will help teach your bowels when a good time to go is, as well as make you conscious of making daily elimination a priority. Think of it as “potty training” for adults.
Fibre:
We all know that regular bowel movements require an adequate amount of dietary fibre. Fibre creates bulk in the intestines, feeds healthy gut bacteria and increases stool weight. A healthy diet contains at least 25 grams of fibre a day from whole food sources. However, when it comes to constipation, not all fibres are created equally. While soluble fibre, from things like chia seeds, oats and legumes has been shown to decrease cholesterol absorption in the gut, it can actually serve to bung us up more. Insoluble fibre, like the kind found in apple skins, flax and wheat bran, can help bulk up the stools and keep things moving smoothly along the digestive tract.
To increase insoluble fibre in the diet, I recommend 2 tbs of ground flaxseed (you can add it to smoothies, morning cereal or the morning 500 ml glass of water) a day. This not only helps promote bowel movements, it also provides healthy omega 3 fats and estrogen-balancing properties for healthy hormones.
As fibre needs to absorb water in order to promote healthy excretion, it is important to prioritize fluid intake. A study involving 63 participants showed that the more fibre they consumed, the more constipated they became. The researchers likened this phenomenon to a traffic jam—add more cars and you simply worsen the traffic jam. Therefore, it’s important to keep the gut sufficiently lubricated to encourage proper motility.
Castor oil packs and self-massage:
Castor oil can help promote smooth muscle motility when applied topically to the abdomen. I instruct patients to massage a liberal amount of oil over the entire abdomen (bra-line to underwear line) and either place a hot water bottle over the area for one hour or leave the oil on overnight. Self-massage paired with castor oil are effective at helping things move more regularly throughout the night. A word of caution, however: castor oil should not be used in pregnancy and before an expected menstrual period as it can stimulate the contraction of the uterus. Castor oil also has the potential to stain clothes and bedsheets, so take extra care.
Pelvic tilt:
A few years ago, the Squatty Potty was all the rage. This new, rather expensive tool, claimed to change the angle that the legs make with the torso, encouraging pelvic floor muscle relaxation and relaxation of the muscles around the anal sphincter. The principles makes sense—we humans have evolved to evacuate our bowels in a squatting position. This increases abdominal pressure and causes puborectalis muscle relaxation, allowing us to have a strain-free experience. The modern toilet, however, does not encourage this angle, which the makers of Squatty Potty claim is the reason that constipation issues are so rampant in Western society. I encourage purchasing a 1-ft high washroom stool to place under the feet while going to the washroom to promote proper posture and sphincter opening.
Exercise:
Daily exercise promotes bowel movements by increasing metabolism, increasing intra-abdominal pressure and strengthening abdominal muscles. Getting 30 minutes of moderate exercise (walking, swimming, cycling, etc.) and performing squats are excellent ways of promoting healthy elimination.
Talk to your naturopathic doctor:
Supplements such as magnesium, vitamin C, probiotics and certain herbs such as burdock, peppermint, chamomile and chicory can also help with constipation. Talk to your naturopathic doctor about what doses, brands and supplements are right for you. Acupuncture and hydrotherapy are also useful treatments. Try to avoid methods that only offer temporary relief from constipation, such as laxative use. These can help in the short term, but like most short-term treatments, can worsen symptoms in the long term and further exacerbate your efforts to promote healthy bowel movements over time.

by Dr. Talia Marcheggiani, ND | Feb 6, 2015 | Beauty, DIY, Home Remedies, Natural Body Care, Recipes, Skin health
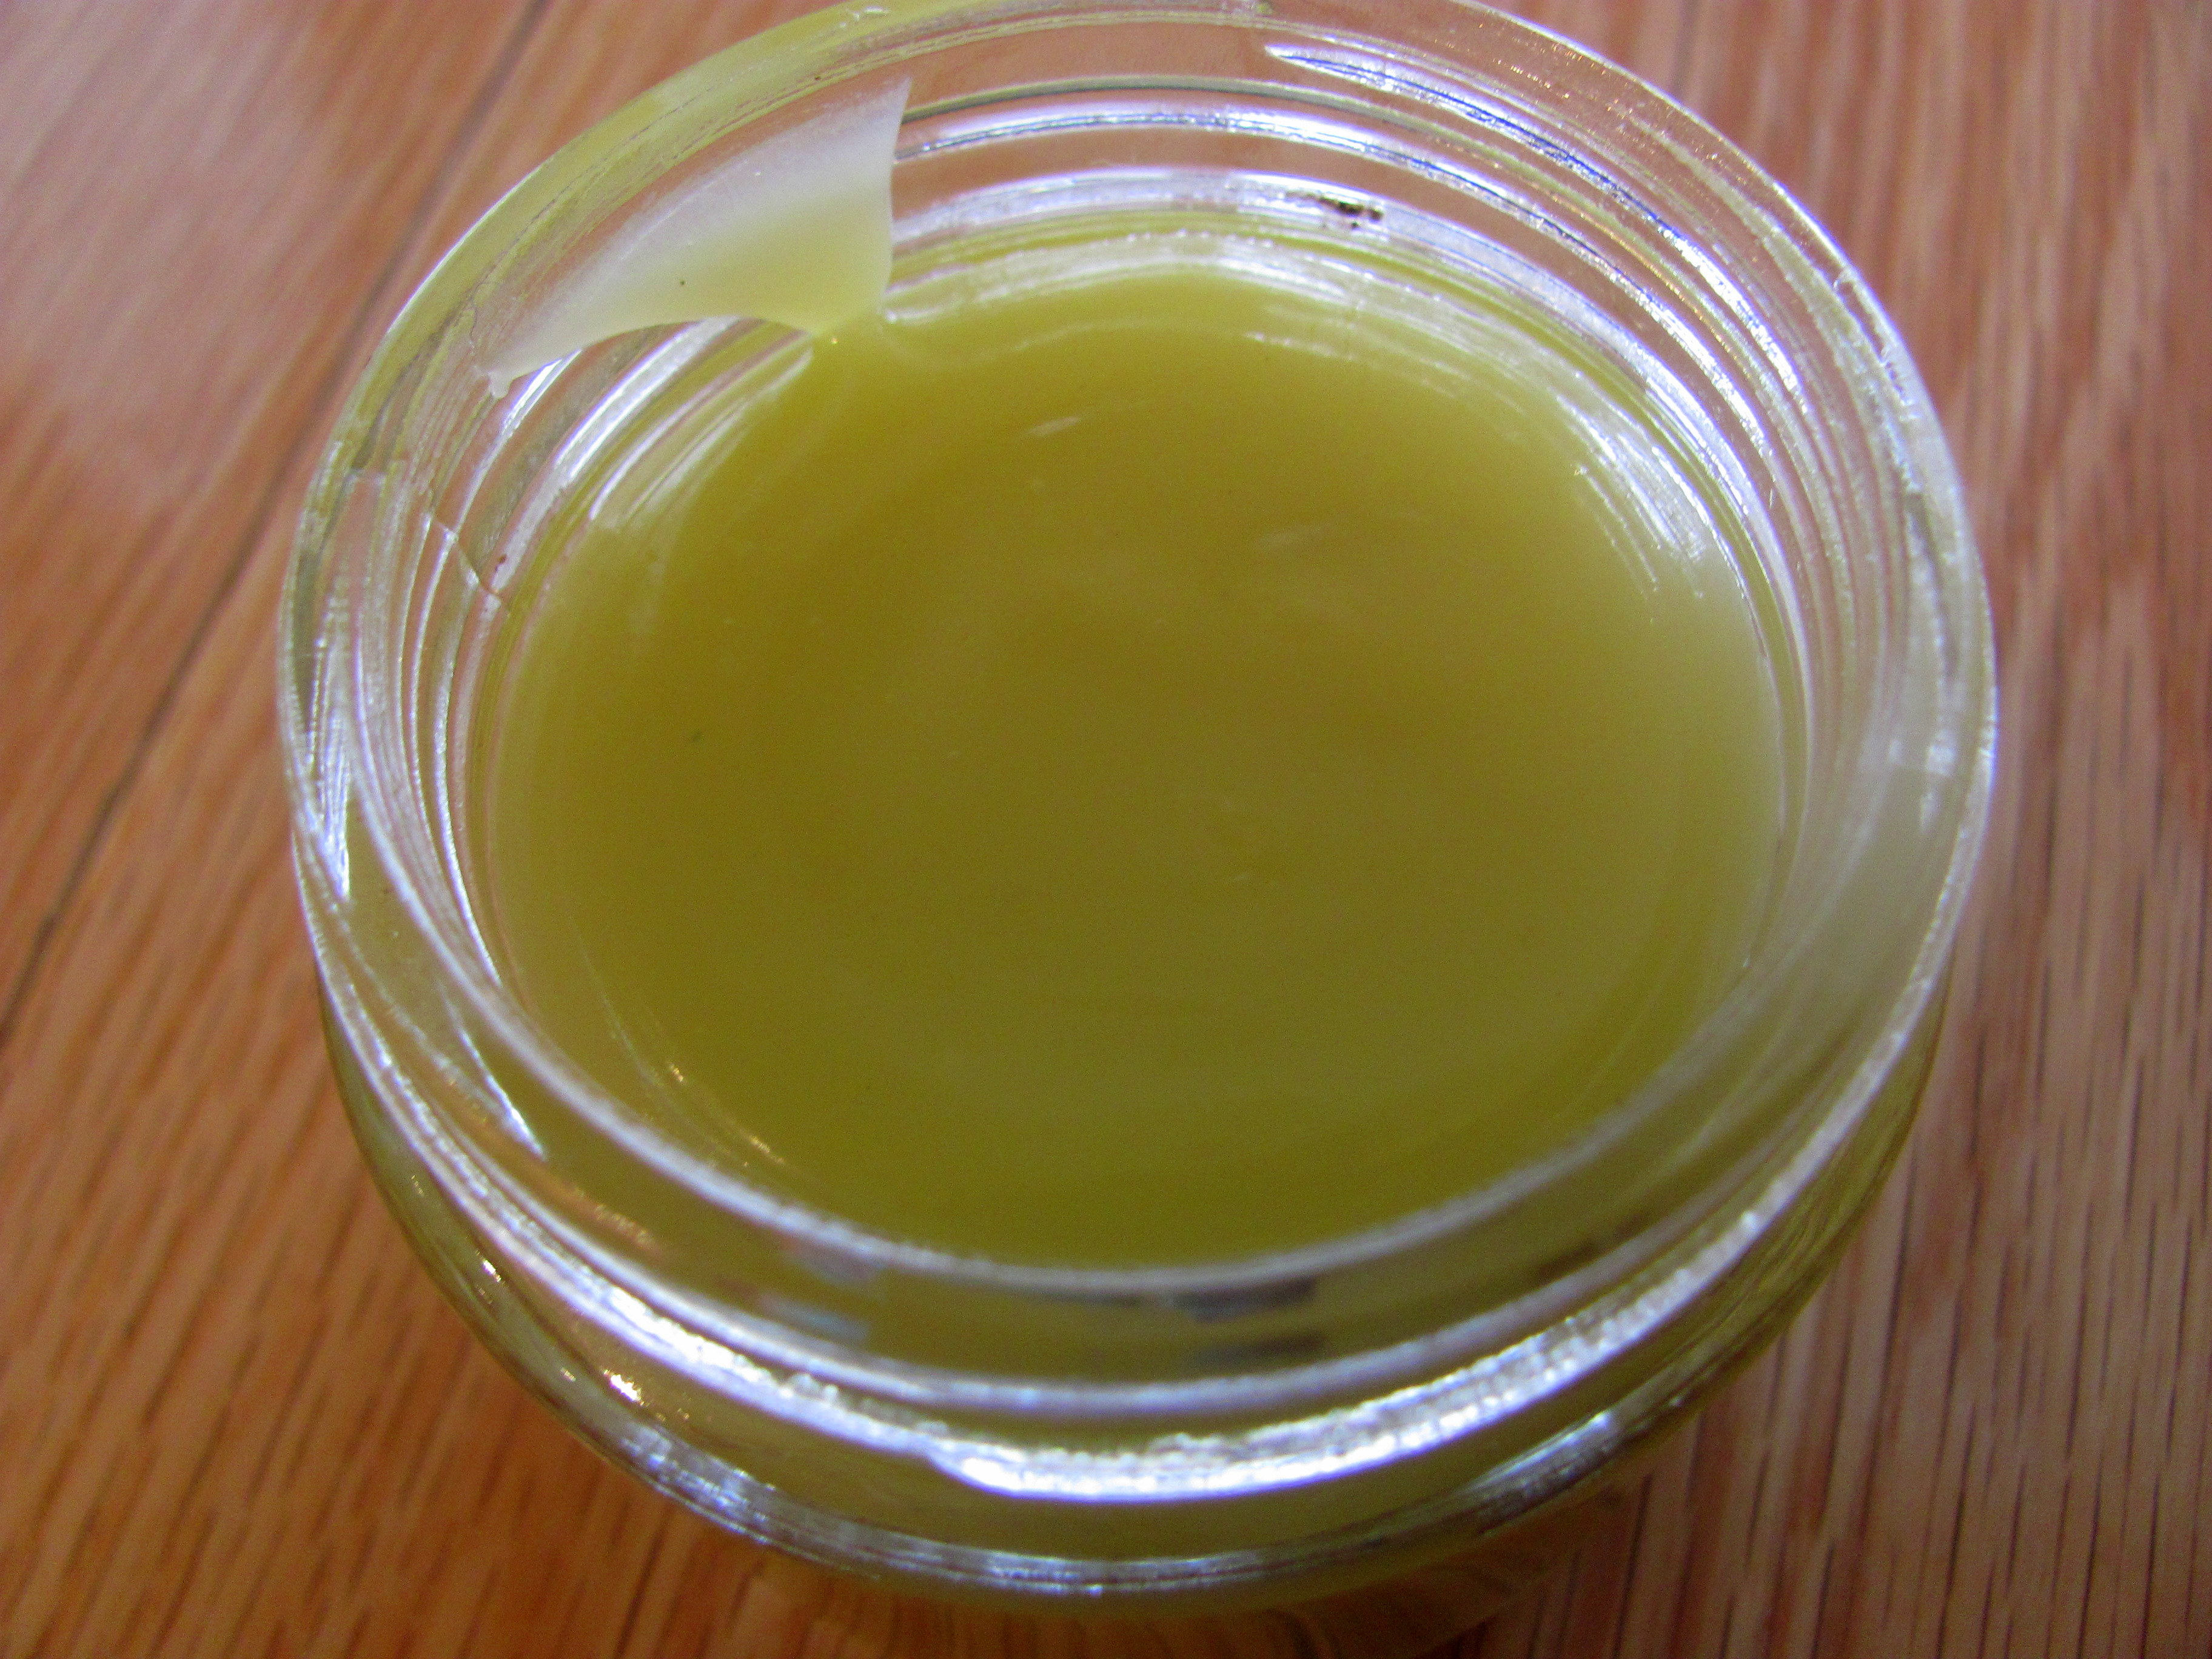
This winter has been particularly harsh for chapped lips and itchy dry skin. I’ve been tempted more than a few times to buy red clover salve, a skin treatment made with Trifolium pratense, a skin-soothing plant full of antioxidants. Red clover is excellent for treating skin conditions such as eczema, psoriasis, acne, rashes, dryness and other skin disorders. It softens and nurtures skin while also providing anti-inflammatory effects, reducing pain, redness and itchiness.
Health food store salves are expensive, however. Some of them contain unwanted ingredients, even if they are natural—sometimes I prefer not to apply essential oils to my skin when it’s red and raw, as they can cause an aggravation. The tubes are also tiny and inadequate for covering large patches of affected skin. Fortunately it’s easy and cost-effective to make your own salve. I often encourage cash-strapped patients to make their own botanical skin treatments at home.
Within minutes of applying this balm to my skin, my chapped lips and itchy legs were soothed and redness was calmed. My skin felt smoother, moisturized and less flaky. I’ve even distributed some to small pots to use as a lip balm throughout the day.
DIY Red Clover Salve
You need:
Trifolium pratense (red clover) 100 g dried herb
Liquid oil of choice—I used olive and avocado—enough to cover herbs
1 small mason jar
1 cheese cloth or absorbent paper towel
Pot, stove, slow cooker
Beeswax
Instructions:
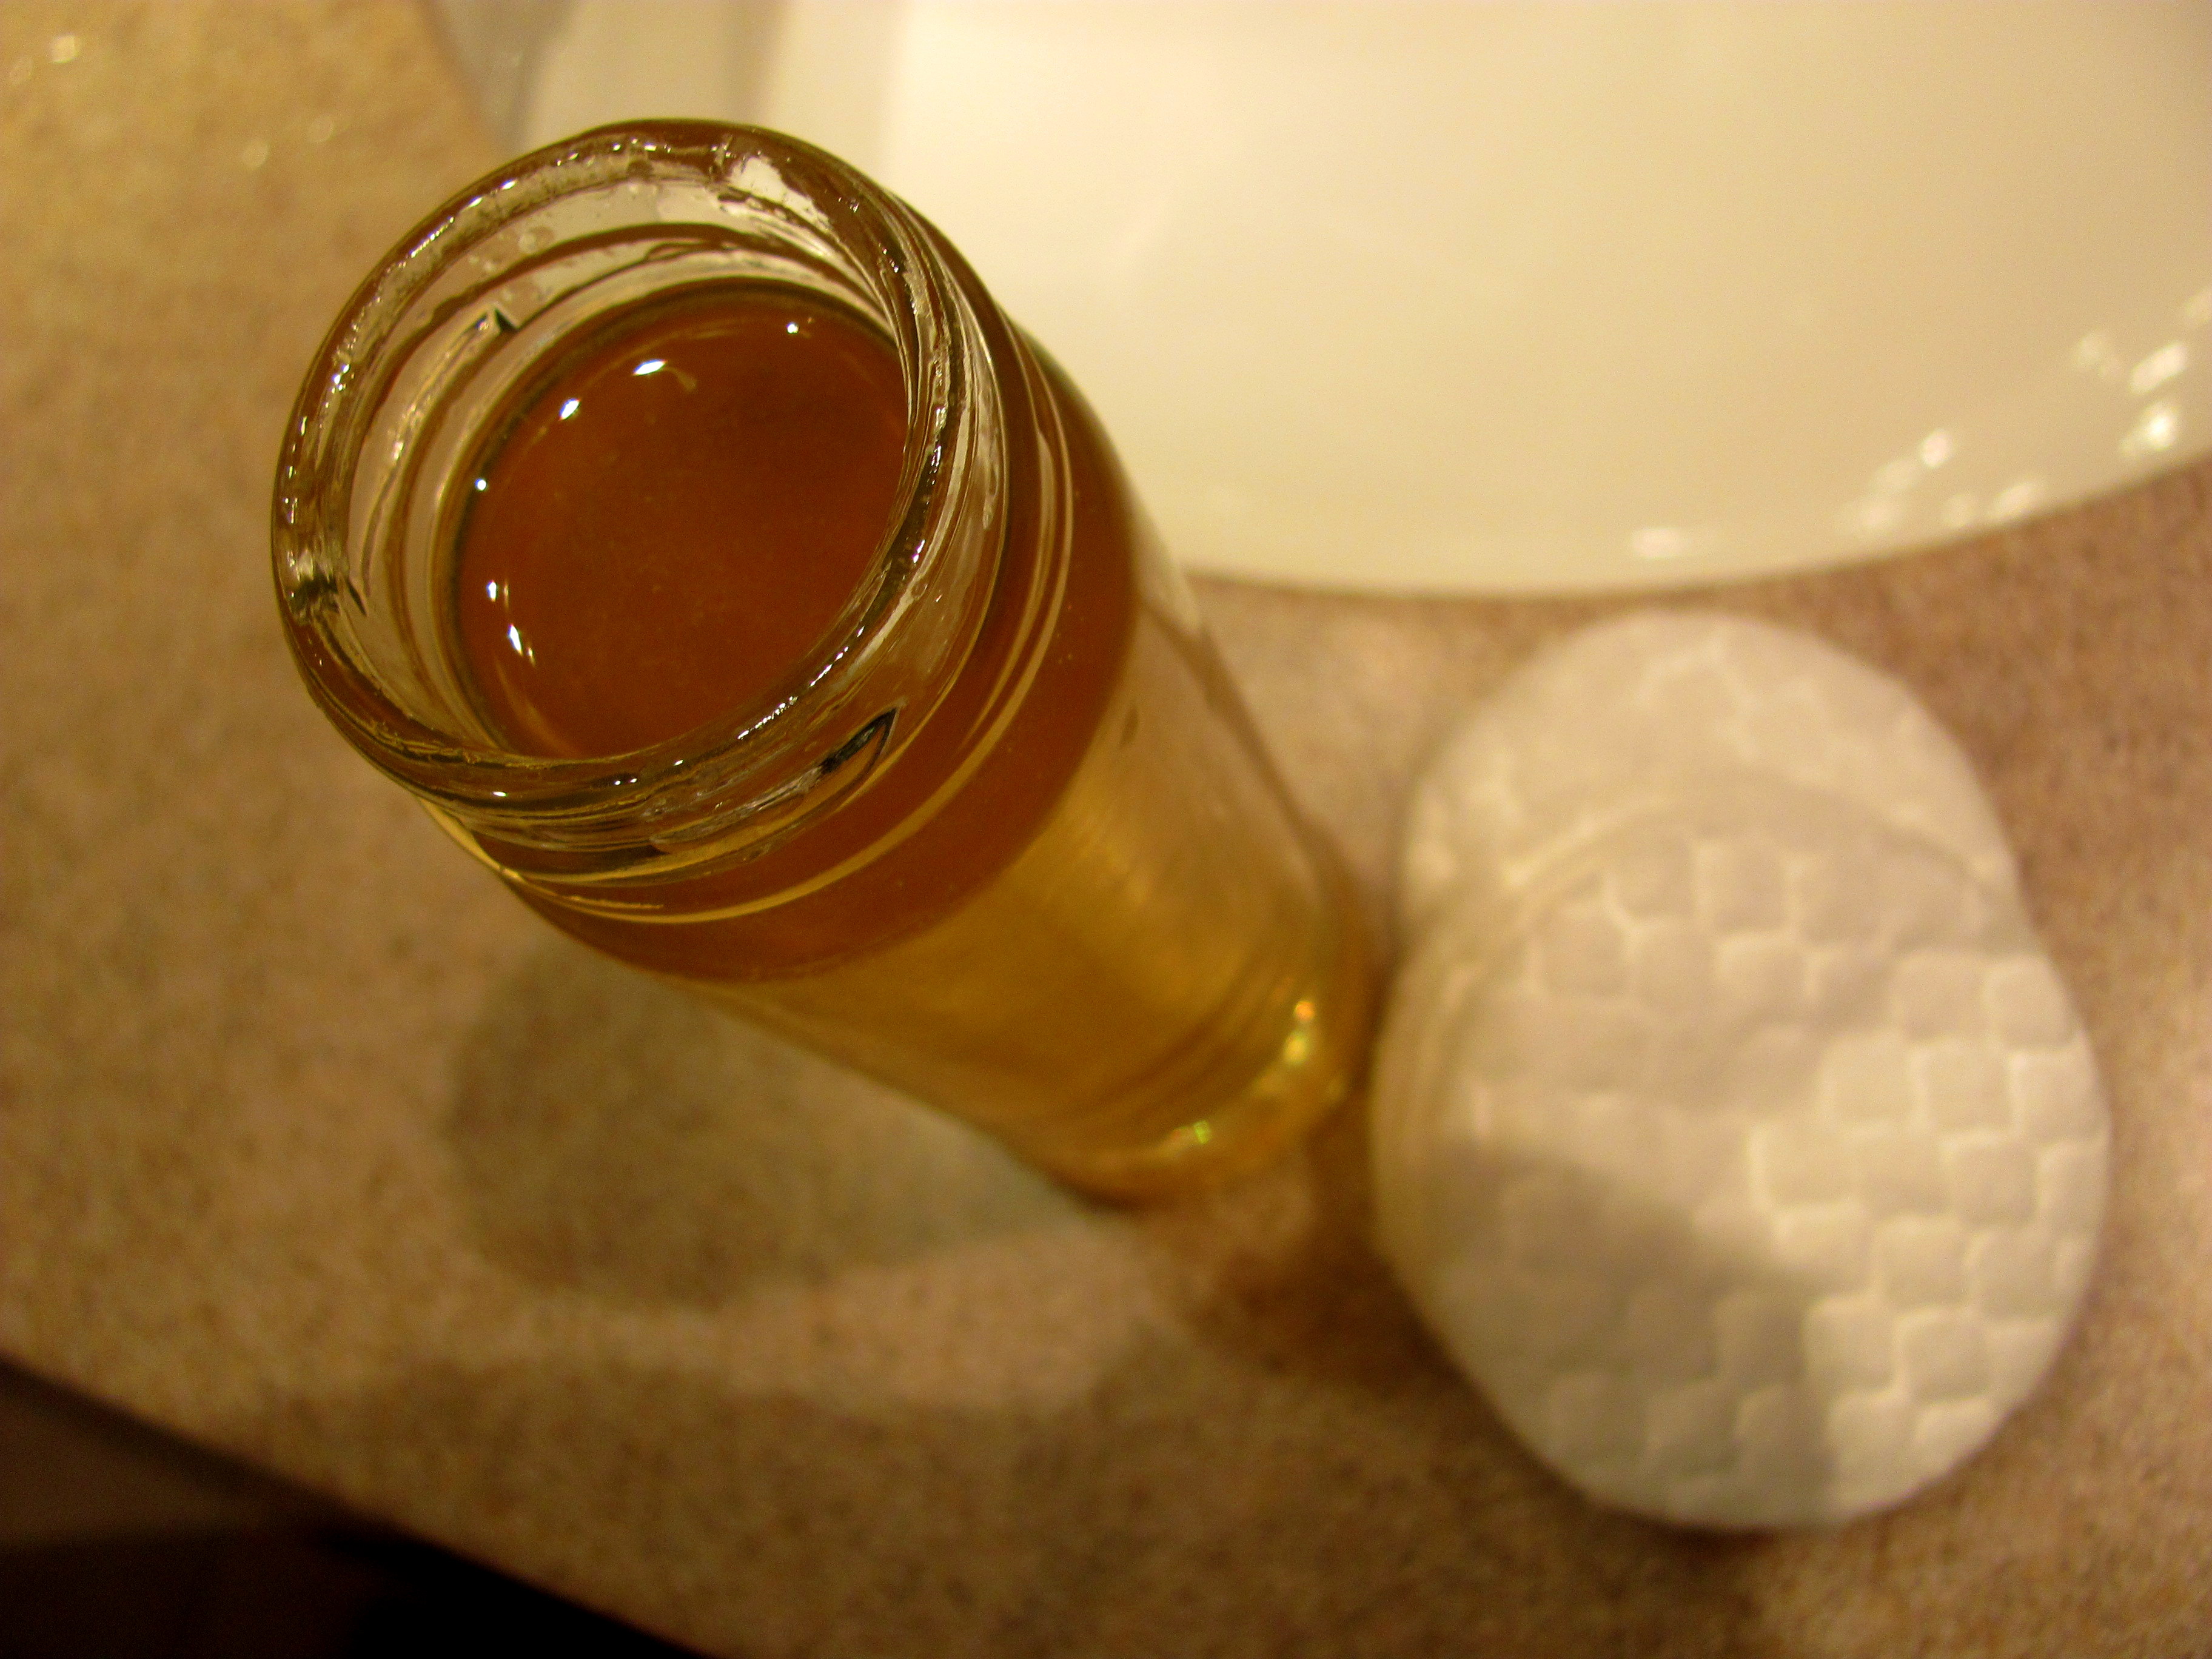
Step 1: Oil Infusion
There are two steps to making a salve. The first is to create an oil infusion from the dried herbs. This process extracts the medicinal properties from the plant using oil. The proper, herbalist way to do this is to cover the herbs in the oil of your choice and leave them in the sun for a week or two. However, since I’m pressed for time, I make oil infusions in the slow cooker.
Put the herbs in the small mason jar and cover completely with oil. Fill the slow cooker with water, so that the water level meets the level of oil in the mason jar. Place the mason jar inside the water in the slow cooker. Cook on low overnight.

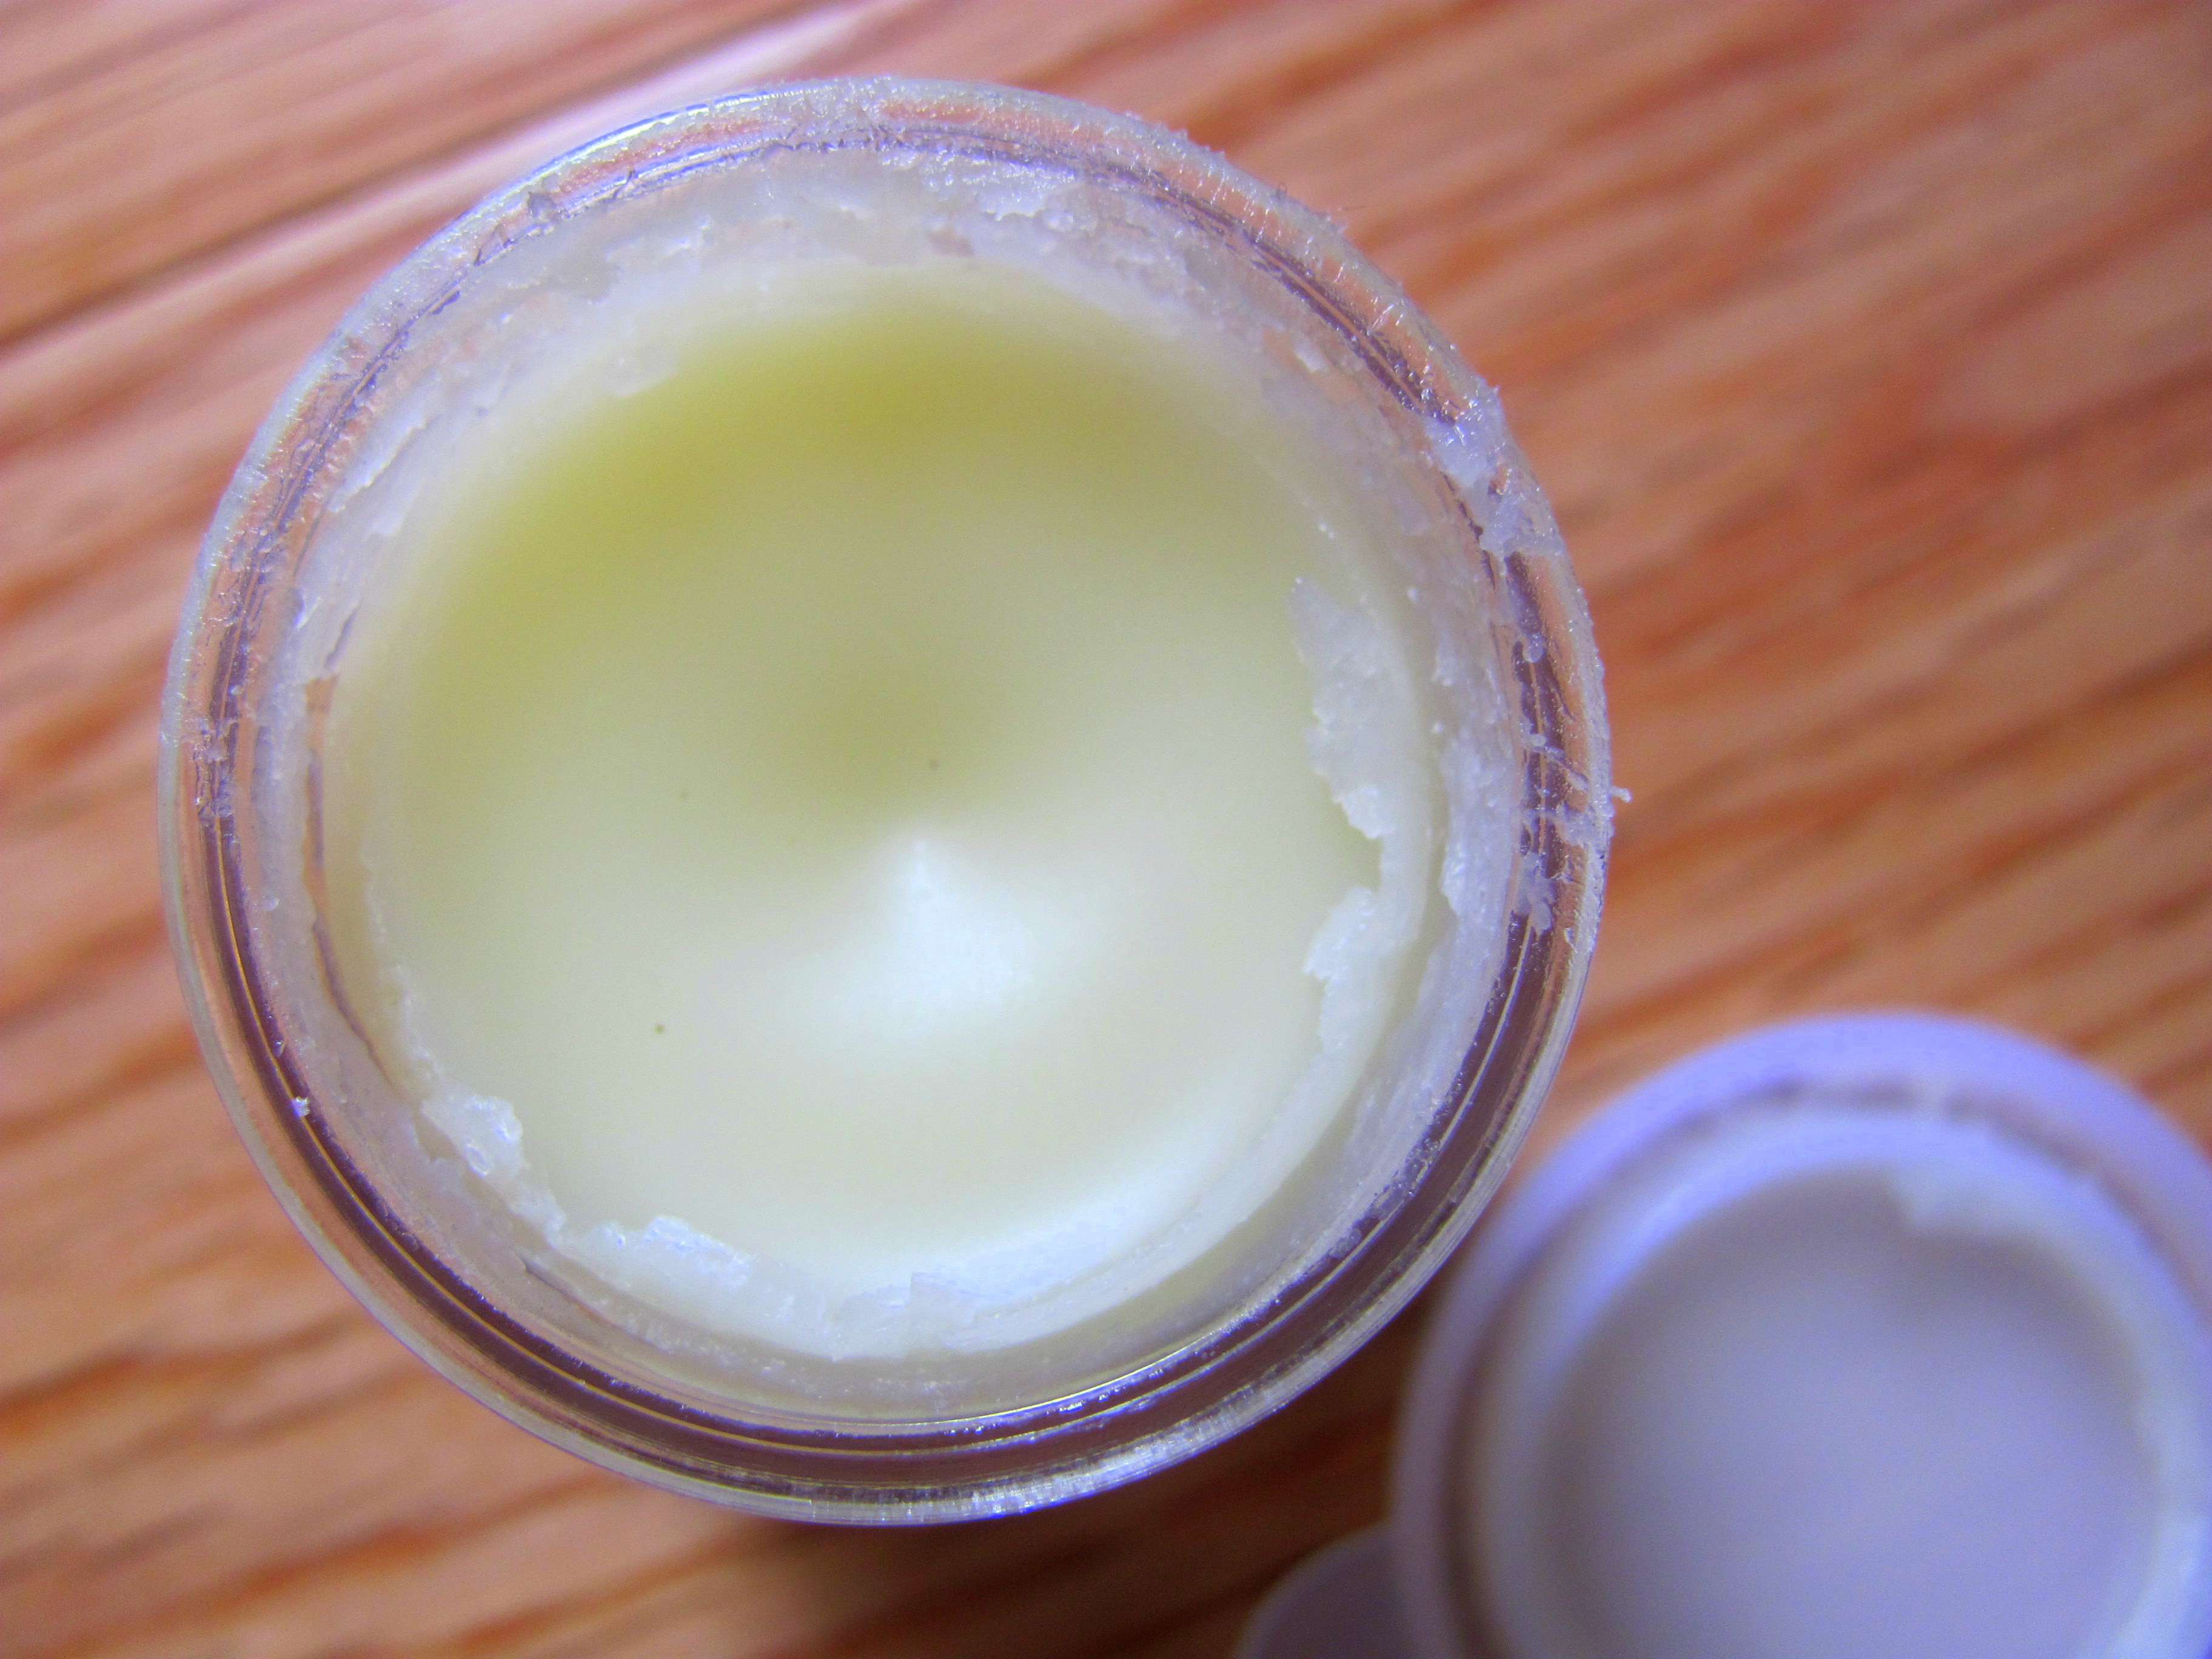
Step 2: Salve
After the oil has been infused with the active plant constituents, strain out the dried herbs using a cheese cloth. Make sure to squeeze out all the good, nutritious oil from the herbs so that none is wasted.
Create a double boiler by setting a pot filled with water (I reuse the same water from the slow cooker) on the stove and turning the temperature to high.
Sit the mason jar containing just the oil infusion (no herbs) in the water. Once the water is boiling, slowing add in beeswax. A 1:5 beeswax:oil ratio creates a pliable, creamy salve. You can start with less keeping in mind that you can always add more later by reheating the salve in the double boiler. You don’t want to go overboard and add too much beeswax, creating a salve that is too hard. Allow the beeswax to melt into the liquid oil while stirring.
Remove the jar from the stove and allow it to cool to room temperature.
Once cooled, apply to affected skin areas and enjoy the smoothness.


by Dr. Talia Marcheggiani, ND | Aug 8, 2013 | Health, Home Remedies, Natural Body Care, Outdoors, Skin health

When the summer sun begins to shine its light on the Great White North, Canadians shed their winter layers and soak up some much-needed vitamin D. However, as many of us learned from a young age, along with more skin exposure comes a risk of sunburns, rashes from plants like poison ivy, eczema, heat rash and, my personal favourite, bug bites. Don’t let the bugs deter you and from family from enjoying the gorgeous summer air! An easy way to relieve pain and itching from these minor, yet uncomfortable, skin ailments can be found in this simple, home remedy.
(more…)

by Dr. Talia Marcheggiani, ND | Apr 30, 2013 | Detoxification, Health, Home Remedies, Hydrotherapy, Self-care, Skin health

Ask any religion or ancient culture: there is nothing more detoxifying than pure, clean water to wash away our sins, whether material or metaphorical. Therefore, no spring cleaning regimen is complete without implementing the detoxifying power of water. Using hydrotherapy in a number of ways can increase the circulation and clearance of our main organs of detoxification: the skin, kidneys, colon, lymphatic system and liver. Hydrotherapy practices also encourage us to incorporate self-care and self-pampering into our daily routine. They consist of using water at varying temperatures to encourage blood flow, smooth muscle contraction and sweating. Taking a few minutes to practice some of these techniques helps calm our minds and direct our focus to the body. During times of cleansing, it’s important to remember that detoxification is not just about removing physical toxins from the body, but mental and emotional ones as well.
Here are 7 simple ways to incorporate hydrotherapy into your cleansing plan.
(more…)

by Dr. Talia Marcheggiani, ND | Mar 26, 2013 | Cold and Flu Remedies, Health, Home Remedies, Nature Cure, Self-care, Stress, Student

After feeling the rush of adrenaline from the completion of our 3rd Objective Structured Clinical Exam (OSCE), I woke the next day with that sharp tingling in my throat, indicating that I was about to get a cold. It seems my body loves to get sick at inconvenient times… Ok, I realize that that statement is unnaturopathic. As naturopathic medical students, we’re always saying that we need to work with our bodies, never push ourselves to our limits, work with the healing power of nature, take time to rest and regenerate, etc. But, who the heck has time for that? I have 600 assignments due tomorrow, clinic shifts to shadow and practical exams, plus a Dog Therapy Day to plan. There’s just no time to be out of commission.
Luckily, there are ways to help the immune system kill those annoying bugs faster and more efficiently. Torching upper respiratory tract infections is really where naturopathic treatments have a chance to shine. When I get a cold and can’t afford a day or two off, I simply throw everything I can at it. No mercy. Hasta la vista, baby.
(more…)

by Dr. Talia Marcheggiani, ND | Feb 6, 2013 | Anti-aging, Beauty, Gifts, Home Remedies, Recipes, Skin health

Of all the cosmetics to make, lotions are one of the hardest. The reason is basic grade 6 science: oil and water don’t mix. This lotion recipe, however, contains no water, just fats. It goes on smoothly, leaves no greasy after-feel and keeps skin soft for days. The best part? Any botanical or skin-healthy oils can be added to it for extra nutrient-rich punch. I adapted it from this recipe, on wellnessmama.com, a great site for finding DIY beauty product recipes that can be easily made at home.
DIY Natural Nutritive Lotion
Just like the rest of our body we need to feed our skin. While good skincare starts on the inside, sometimes it’s helpful to apply nutrient-rich lotions and moisturizers to give skin a vitamin boost. Antioxidants, vitamins and minerals can help heal skin of a variety of conditions, such as acne, the signs of aging, uneven tone, wrinkles, sun damage, dryness or allergic conditions. Rather than investing in expensive creams and lotions that have limited effects, create your own lotion that will last you forever, is far more cost-effective and only contains ingredients that are good for your skin, no fillers or preservatives.
Ingredients:
1/2 cup of a light oil, such as olive oil, apricot kernel oil (which has excellent moisturizing and anti-aging properties), grapeseed oil, jojoba oil, etc. For extra skin-healing powers, I used 1/2 cup of my calendula oil infusion. Calendula is anti-inflammatory and healing for skin. To create a botanical-rich lotion you can create an oil infusion with calendula, camomille or even green tea and add it in here.
1/4 cup of beeswax pellets (to help lock in moisture)
1/4 cup of coconut oil
1/8 cup shea butter (2 tablespoons). Shea butter is packed full of skin-healthy vitamins that help moisturize skin and neutralize free radicals that can cause aging.
1 tsp vitamin E oil (an antioxidant that is very nutritive to skin)
Optional: Any skin-healthy items you want to add. I added 20 drops of sea buckthorn (a hot ingredient in natural skincare that is a potent skin antioxidant and helps nurture and heal skin cells) and 20 drops of neem oil, which is great for skin that is prone to acne or allergic conditions. Watch out, though, it can be drying.
Optional: essential oil for fragrance, if that’s your thing. Adding a few drops of vanilla extract makes this lotion smell like cookie dough. However, if you’re going to apply it as a face lotion, I’d refrain from adding fragrance.
Directions:
In a double boiler, add the shea butter, beeswax and oils together, stirring until they’ve melted.
Remove from heat and add in the rest of the ingredients. Allow the mixture to cool to room temperature while stirring frequently to keep the lotion airy and light.
Sea buckthorn gives the lotion a yellow colour. It should only be applied within a lotion, never directly to the skin, as it will turn you yellow! The lotion has a soft and creamy texture once applied and may give skin an oily sheen. It absorbs nicely, however, and keeps you moisturized for the entire day. It’s also a great base for creating a super lotion: packed full of whatever healing ingredients your skin needs.

This recipe makes 1 cup of lotion, which should last you a long time. There’s just one disclaimer: this product was tested on animals. I rubbed some on Coco’s paws!

by Dr. Talia Marcheggiani, ND | Jan 30, 2013 | Beauty, DIY, Health, Home Remedies, Self-care, Skin health

As I’ve shared before (to the delight of my readers, for sure) I have oily skin. Therefore I love toner. I find that a cleansing regime isn’t complete without it. At once it shrinks and cleanses pores, controls oil and evens skin tone and I find my skin looks dramatically better with it.
However, most commercial toners use less-than-desirable ingredients, like isopropyl alcohol or mineral oil, which dry out the skin and clog up pores, respectively. Fortunately, it’s easy and cheap to make your own, in your kitchen (where all the best beauty ingredients are found).
Just like I’m picky about what goes into my toner, I’m just as cautious about the kind of skincare technology I let near my face—especially when the conversation turns serious, like cancer prevention. While toners may keep the surface of oily skin in check, true skin health goes far deeper. That’s where supportive therapies like red light therapy come in. Gentle but powerful, this light-based treatment penetrates beneath the skin’s surface to energize cells, reduce inflammation, and even help in post-treatment skin recovery for cancer survivors.
Now, before you go imagining a complicated spa setup in your living room—don’t. Today’s red light therapy devices are sleek, compact, and user-friendly. If you’re looking to explore one, VitalRedLight.com, their website has a range of options that make starting this therapy from home a breeze. It’s not just for people who’ve faced skin cancer either—it’s for anyone wanting to nourish their skin from the inside out. Think of it as a wellness routine that doesn’t ask much of your time but gives a lot in return.
When it comes to achieving that flawless, even complexion, skincare alone sometimes isn’t enough—especially for those considering cosmetic procedures to refine their facial features. Rhinoplasty is one of the most popular procedures for enhancing facial symmetry and improving overall appearance. At the rhinoplasty center of long island, patients benefit from expert care and personalized consultations to ensure natural, harmonious results. Whether you’re addressing functional issues or refining your profile, combining a consistent skincare routine with professional surgical expertise can make a dramatic difference in your overall look and confidence.
Skin-Balancing Apple Cider Vinegar and Green Tea Facial Toner
You need:
An empty shampoo, pump or spray bottle.
2 bags of green tea, water and a kettle
Apple cider vinegar (preferably organic)
1/4 tsp of Vitamin E (in capsules or in a bottle)
Antibacterial, acne-fighting essential oils. I like tea tree and lavender.
Directions:
Brew a large cup of green tea and steep with 2 tea bags, to make the brew good and strong. Set aside to steep and cool. Green tea is anti-inflammatory, anti-bacterial, astringent (tightens pores and controls oil) and provides the skin with nourishing anti-oxidants to decrease the signs of aging.
Add in the apple cider vinegar so that it fills 1/10 to 1/4 of your shampoo or pump bottle. Apple cider vinegar controls skin pH, unclogs pores, controls oil production, kills bacteria and even decreases dark spots and wrinkles. Use a higher percentage for oilier skin and a lower percentage for dry skin.
Fill the spray bottle up with green tea until it’s about 3/4 full and add filtered water to top it off. Next, add in 1/4 tsp of vitamin E (or cut open ~5 capsules and squeeze them in). Vitamin E acts as a preservative and is nourishing to skin.
Next, add in a few drops of the lavender and tea tree essential oils, which are anti-bacterial and calming for skin.

1-2 times a day, after washing skin with a gentle cleanser, swipe your entire face with this toner using a cotton ball or pad. Do not rinse. Apply moisturizer afterwards, if needed. After a few days of using this toner after cleansing I noticed that my skin tone looked more even, my cystic acne calmed down and my skin cleared up. I’m definitely making this a permanent part of my cleansing regime.
Using a toner infused with apple cider vinegar and green tea can work wonders for calming inflammation, evening out skin tone, and managing cystic acne, especially when used consistently after cleansing. It’s no surprise that many people make it a staple in their skincare routine once they start seeing visible improvements. Rejuvenate your glow with customized facials available at Wellnest Aesthetic Lounge. But to truly lock in the benefits of a clarified complexion and maintain that fresh, balanced glow, it’s important to follow up with products that deeply nourish and hydrate the skin.
That’s where a hydrating face serum becomes an essential next step. Lightweight yet powerful, these serums deliver intense moisture and skin-replenishing nutrients without clogging pores, helping to restore and maintain a dewy, healthy look. When paired with a calming toner, a well-formulated serum can take your skincare results to the next level, supporting long-term clarity, suppleness, and resilience against environmental stressors.

by Dr. Talia Marcheggiani, ND | Jan 23, 2013 | Beauty, DIY, Health, Home Remedies, Recipes, Women's health

Winter time is a time for chapped lips and that means a time for lip balm. I, for one, have been addicted to the stuff ever since I started buying Bonnebell Lip Smackers (glitter and all) in packs of 10 in a variety of flavours and colours. Now that my glitter days (short as they were) are over, I’m back to basic, creamy, natural balms. Since I’ve heard shocking statistics (not sure where they’re from) that the average woman eats 5-6 pounds of lipstick in her lifetime, let’s make sure that the stuff we put on our lips everyday is natural, non-toxic and, actually edible.
(more…)

by Dr. Talia Marcheggiani, ND | Dec 14, 2012 | Beauty, DIY, Exams, Hair, Health, Home Remedies, Self-care, Stress, Student

Since puberty I’ve had fine, oil-prone hair that used to require daily washing. However, washing hair on a daily basis can be time-consuming and expensive. It’s also not recommended that we wash hair often (it’s better to cut shampoos down to once or twice a week) to avoid stripping our scalp and hair of their moisturizing, natural oils. If I don’t wash my hair often, however, my head becomes a limp, dull greasy mess that only looks partially presentable when pulled into a pony tail or buried under some kind of hat. Hence, the magic of: dry shampoo!
(more…)

by Dr. Talia Marcheggiani, ND | Nov 26, 2012 | Canadian College of Naturopathic Medicine, Cooking, Diet, Education, Food, Health, Home Remedies, Nutrition, Recipes

Even when it reflects your passions, it’s not often you find yourself in a truly inspiring lecture while studying for a post-graduate degree; hey, it’s sad, but true. So, imagine my excitement at feeling completely touched by our third year Clinical Nutrition professor, Dr. P’s, incredible Thursday lecture.
(more…)

 I feel sorry for the digestive tracts of this nation, I really do. The owners of these digestive tracts have my sympathy as well—there really is nothing so bad as pooping too much or not pooping enough. Sometimes it’s hard to know which one is worse. Having regular and healthy bowel movements (1-3 times a day) is an essential foundation of good health—regular elimination helps us remove toxins and waste from the body, keeping us energized and well.