by Dr. Talia Marcheggiani, ND | Sep 19, 2012 | Botanical Medicine, DIY, Home Remedies, Photography, Self-care, Skin health

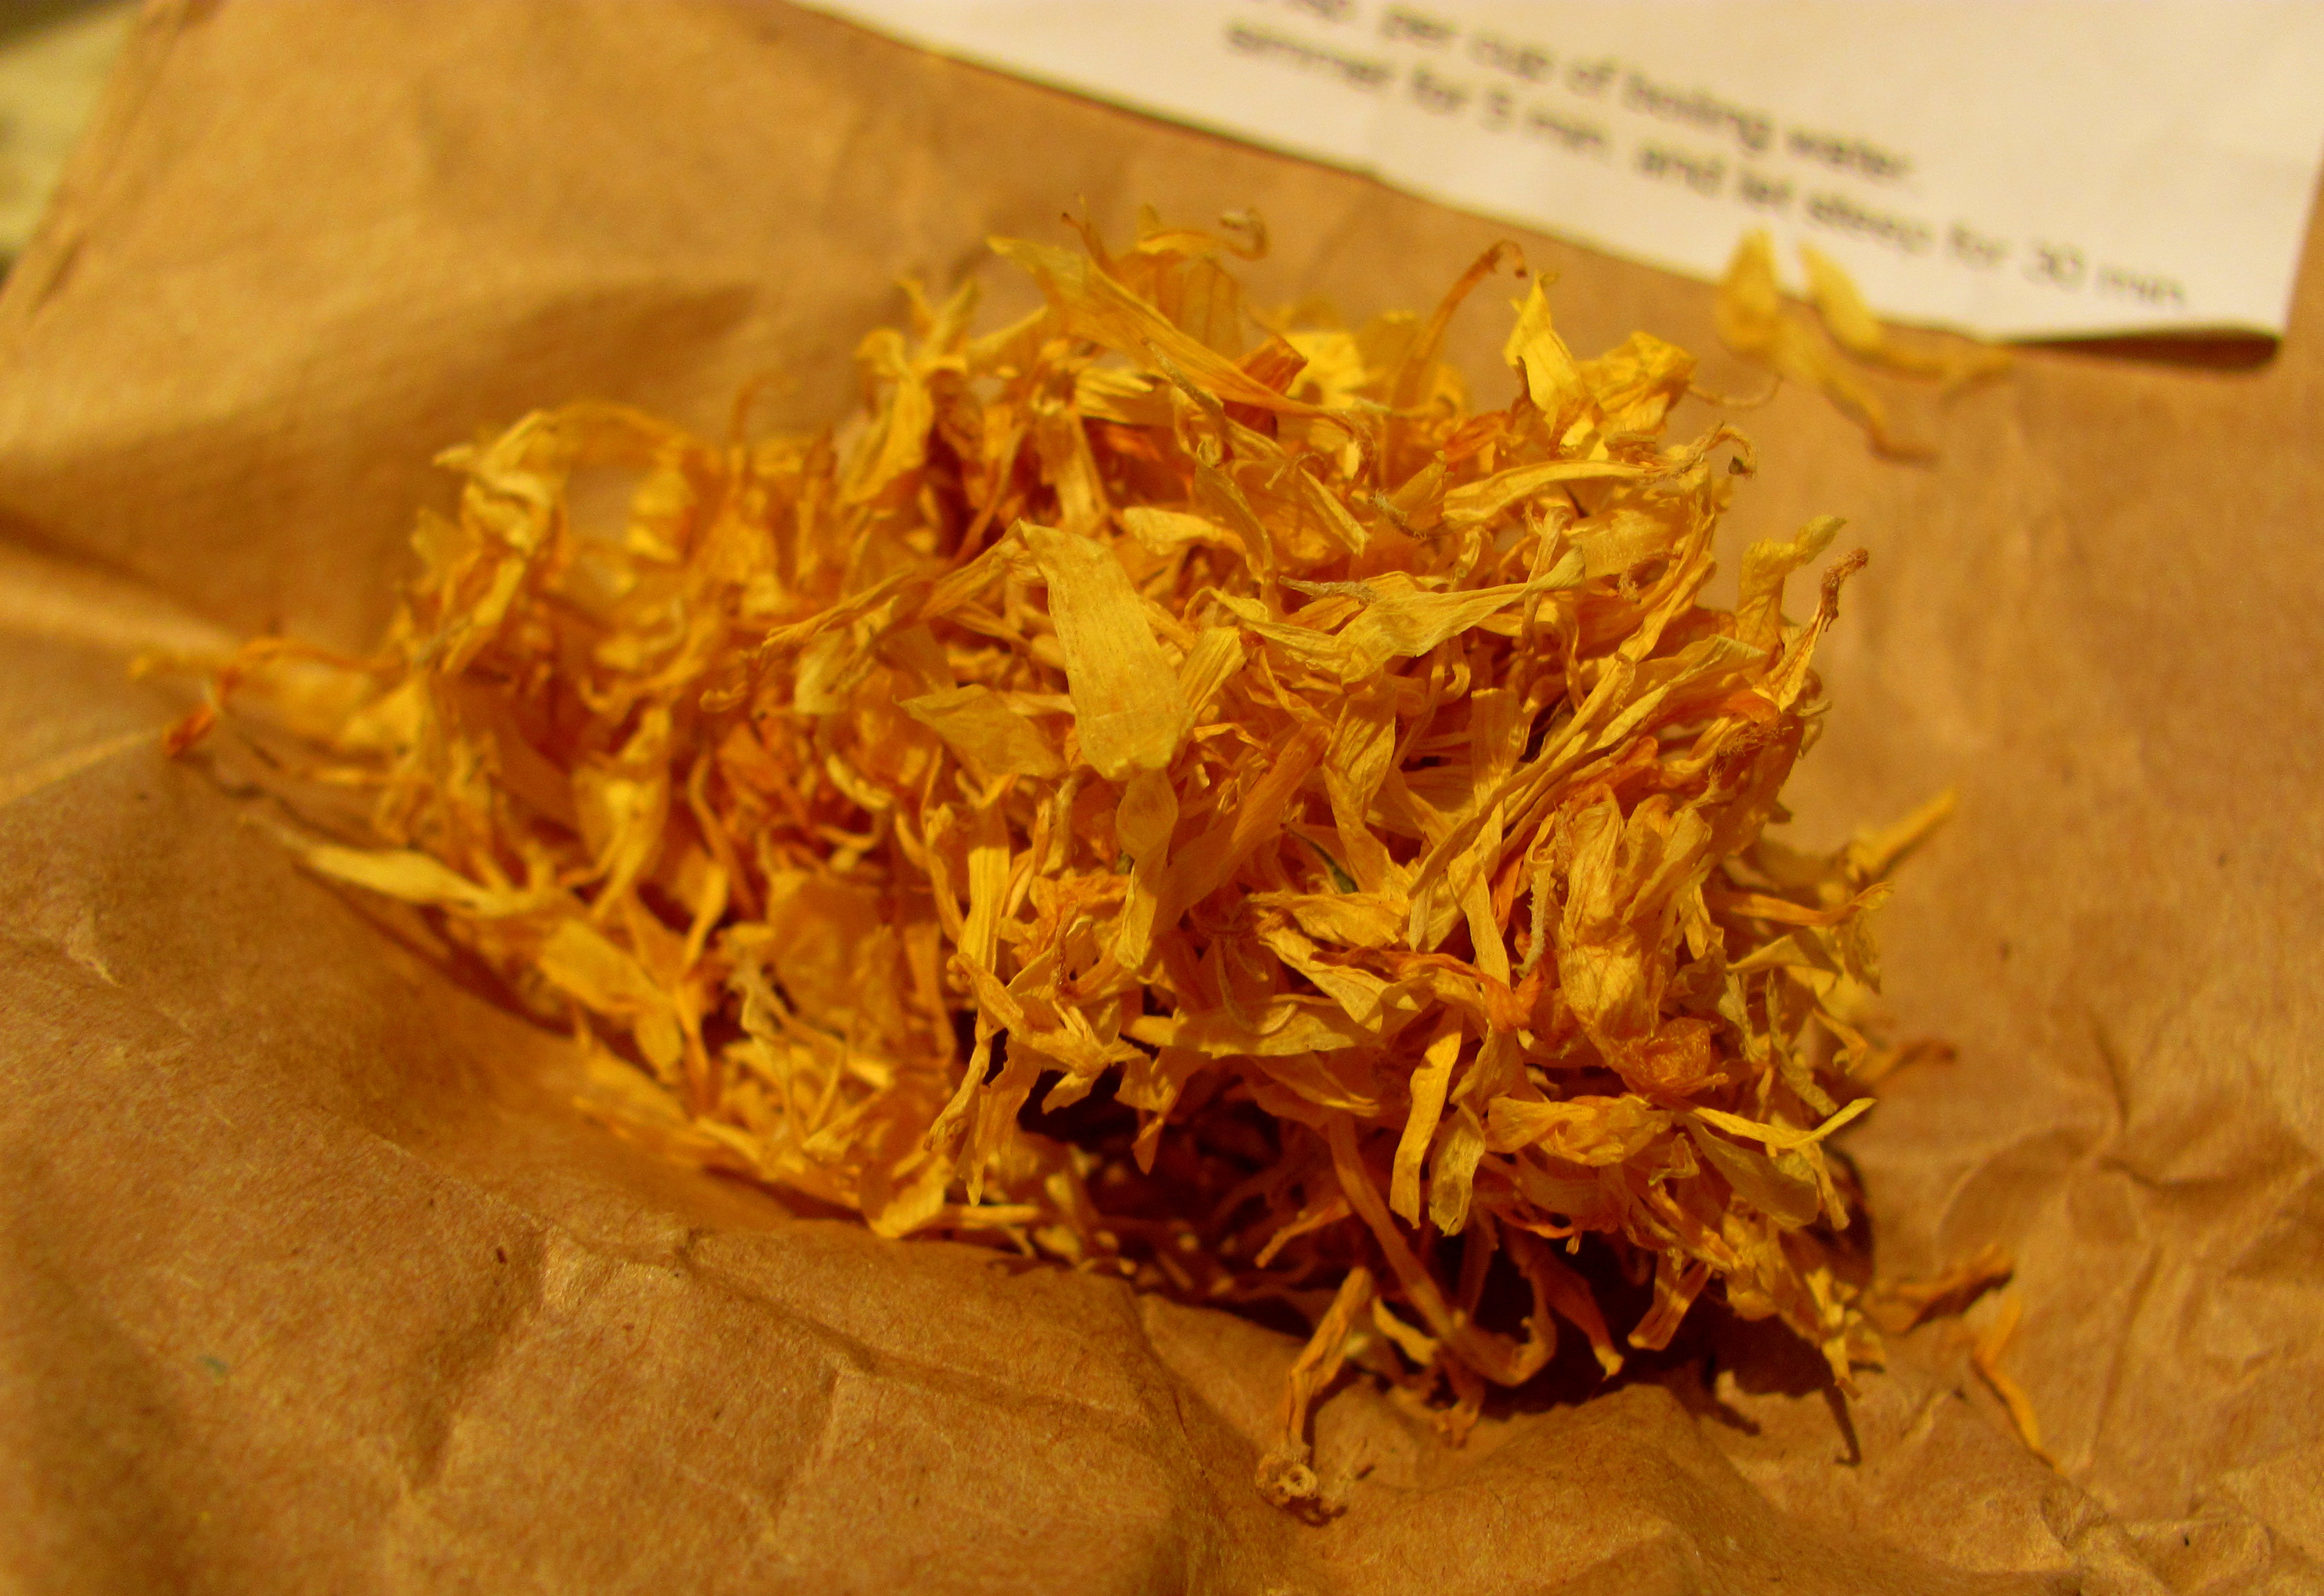
One of my favourite herbs to treat skin is calendula, or marigold. The bright orange petals from this pretty flower helps soothe and moisturize minor cuts, burns, bruises and scratches, helping to increase the speed of wound-healing and decrease infection. Calendula is also used to treat dermatitis or other itchy skin conditions, especially allergic conditions like poison ivy rash or bug bites, or can simply be used as a skin moisturizer, improving skin health and appearance.
(more…)

by Dr. Talia Marcheggiani, ND | Jul 26, 2012 | Asian Medicine, Balance, Detoxification, Diet, Digestion, Home Remedies, Leaky Gut, Nature Cure, Self-care, Treating the Cause
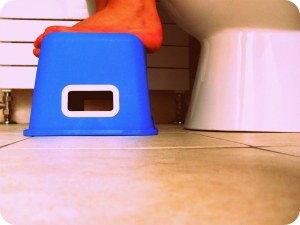
 I remember being weighed down by a horrifying feeling of inferiority during an Asian Medicine lecture one day. You see, I have always been proud of a strong and reliable digestive system until I learned that the Chinese believe that one should experience an elimination – you know, when you make “a #2” – at least 2-3 times a day.
(more…)
by Dr. Talia Marcheggiani, ND | Jun 28, 2012 | Ayurvedic Medicine, Beauty, Detoxification, Digestion, Elimination Diet, Home Remedies, Pregnancy, Preventive Medicine, Self-care, Skin health, Supplements, Women's health
At a teacher training I recently attended, we were given the task of deciding what we would take with us if we were to go to a deserted island. While other people chose things like hatchets, food, water (and a boat), I automatically thought: castor oil! Sometimes I forget that the rest of the world isn’t living under the naturopathic bubble.
(more…)
by Dr. Talia Marcheggiani, ND | Mar 26, 2012 | Ayurvedic Medicine, Balance, Canadian College of Naturopathic Medicine, Empathy, Finding yourself, Healing Stories, Home Remedies, Listening, Nature, Nature Cure, Naturopathic Philosophy
I can’t really say that I’m a creature of habit. I easily tire of routine and consistency. Maybe it was for this reason that I felt the need to take off from Canada for a few years and travel, why I remain a perpetual student (no two days are the same and we get a 4-month summer of something radically different). The student life serves me well in breaking up the routine.
(more…)
by Dr. Talia Marcheggiani, ND | Mar 21, 2012 | Balance, Exercise, Home Remedies, Motivation, Outdoors
It doesn’t matter how many espresso shots I have before leaving the house in the morning, without fail, by mid-afternoon I am ready to hit the sack. Unfortunately for most of us with this problem, our day’s responsibilities don’t end at 3:00 pm.
(more…)
by Dr. Talia Marcheggiani, ND | Feb 28, 2012 | Balance, Beauty, Detoxification, Diet, Home Remedies, Supplements, Weight Loss, Women's health
Like all of the mothers of naturopathic medical students, my mother is reading the book The Supercharged Hormone Diet by Dr. Natasha Turner, N.D. I had the chance to flip through it and discovered a recipe for this easy “detox water” that Dr. Turner recommends to accompany the diet.
(more…)
by Dr. Talia Marcheggiani, ND | Feb 24, 2012 | Home Remedies, Hydrotherapy, Self-care
There’s never really a good time to get sick, but I suppose the end of a vacation is as good a time as any. After all, I usually get a cold once a year, especially if I’m in school, and it usually hits at the end of a stressful period, saddling me with a stuffy vacation on the couch.
(more…)
by Dr. Talia Marcheggiani, ND | Feb 15, 2012 | Home Remedies, Hydrotherapy, Self-care
One of the best ways I’ve ever ended a hectic exam-period was by going to the female-only hydrotherapy spa; Body Blitz!
Scandinavian (Hydrotherapy) Spas involve putting the body through a series of hot and cold cycles (a sauna/warm bath followed by a roll in the snow or a plunge in a cold tub). This hot-and-cold hydrotherapy technique helps to improve circulation, which strengthens the immune system, circulates lymph and can leave your skin looking bright and invigorated, even in the dull of winter. Here’s how to create a Scandinavian Spa at home, in your shower.
Alternate Hot and Cold Showers:
Alternate showers increase circulation, boost energy, help the body detoxify by moving lymph and strengthen the immune system, preventing unwanted colds and flu during the winter months. Here’s how to do them at home:
- Start with your normal shower routine at your preferred temperature, the shower should be comfortably warm.
- Turn your shower dial to Hot (98-104 degrees Fahrenheit). The temperature should be hot enough but still tolerable. Part of your skin may turn red. Stay under the hot water for 1-2 minutes, making sure all parts of body are exposed to the water, especially your hea
- Now turn your shower dial to Cold (55-65 degrees Fahrenheit). The temperature should feel tolerable but fairly cold and uncomfortable. Stay under the cold water for 30 seconds.
- Repeat the hot and cold cycle 3 to 8 times.
- Always finish with a cold water cycle.
- At the end of the shower, towel dry and keep warm to avoid chill.
This technique may feel uncomfortable at first, but after a few cycles, you begin to welcome the cold water’s revitalizing feel and the practice becomes as natural as having a shower the regular way.
*This article is not meant to diagnose, treat or prevent illness or disease. Please visit your naturopathic doctor for your individualized hydrotherapy treatment and to learn other ways to prevent and treat cold and flu.

by Dr. Talia Marcheggiani, ND | Feb 10, 2012 | Anti-aging, Balance, Beauty, Canadian College of Naturopathic Medicine, Home Remedies, Robert Schad Naturopathic Clinic, Self-care, Skin health
Maybe it’s the stress from being in class for long hours, the assignment deadlines and almost monthly exams we have, but CCNM really takes a toll on my skin.
Flawless skin is a tricky thing to achieve, as factors such as stress levels, hormone balance and food sensitivities, among other things, come into play. Whatever the reason, I always find that the start of school coincides with an episode of bad breakouts. Fortunately, there are healthy ways to cleanse, clarify and nurture stressed skin that are cheap and effective and can be done at home, with ingredients from your kitchen.
For this 3 Step Facial, the only product I recommend buying is Treemenda 100% Tea Tree Oil. Other tea tree oils cause skin to redden but I find that this essential oil to be more gentle. It’s perfect for treating skin blemishes (from cold sores, acne or fungal infections) and can be used for antimicrobial steam inhalations when you’re feeling “stuffy”. It’s been the single best natural skin care product I’ve purchased. Other than that, you’ll also need:
1 large glass bowl
1 medium sized dish towel
1 handful of baking soda
1 kettle for boiling water
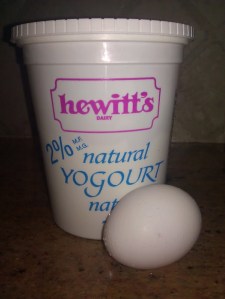
1 tbsp all natural plain yogurt
1 egg (separate the egg white)
Step 1: Baking Soda Exfoliation
I find baking soda to be a great exfoliant for sloughing off dead skin cells and makeup. Fill one hand with baking soda and slowly add warm water to create a paste. Use the paste to gently scrub your face in circular motions. Rinse well with warm water. This step helps cleanse the skin, remove excess oils and pore-clogging debris and encourages skin cell turnover.
Step 2: Tea Tree Steam Facial
Boil water in the kettle and pour it into the glass bowl, filling it to a depth of about 10 cm. Add two drops of the tea tree oil. Lean your head over the bowl and cover your head with the dish towel. The scent from the tea tree can be strong at first. If you find it too overwhelming, remove the dish towel momentarily to release some of the steam. Keep your head over the bowl at a distance that feels comfortable for your face (not too hot) and at which you can inhale comfortably through your nose. This exercise is also great for head colds and relieving sinus and nasal congestion. However, please don’t attempt this if you suffer from asthma. The steam encourages the pores on your face to open and release sweat, thereby clearing out the bacteria, dead cells and excess oils that cause acne. The tea tree is antimicrobial, which also aids in killing the bacteria that can cause skin blemishes.
Perform the steam facial for 10 minutes or until you feel that there is no longer any steam being released. Finish by rinsing your face with cold water. I sometimes like to repeat this step to get maximum benefits. Always finish with a cold water rinse to close the pores.
Step 3: Nutritive Face Mask

I have to give credit to my wonderful intern at the Robert Schad Naturopathic Clinic for this effective skin-care tip. In a small bowl, mix the egg white and 1 tbsp of natural plain yogurt until blended. Apply this mixture evenly to your face (avoiding lips and eyes). Leave until dry and then rinse off with lukewarm water. The mixture feels tight and pulls out impurities, yet adds nutrition and moisture to skin. This mask is easy to do and leaves your skin feeling supple and soft.
Finish by applying your favourite natural moisturizer, or a few drops of Jajoba oil and then go do something relaxing (like go to bed)! Your skin will thank you for it.


