by Dr. Talia Marcheggiani, ND | Jun 3, 2013 | Detoxification, Diet, Digestion, Food, Gluten Free, Health, Nutrition, Recipes, Skin health
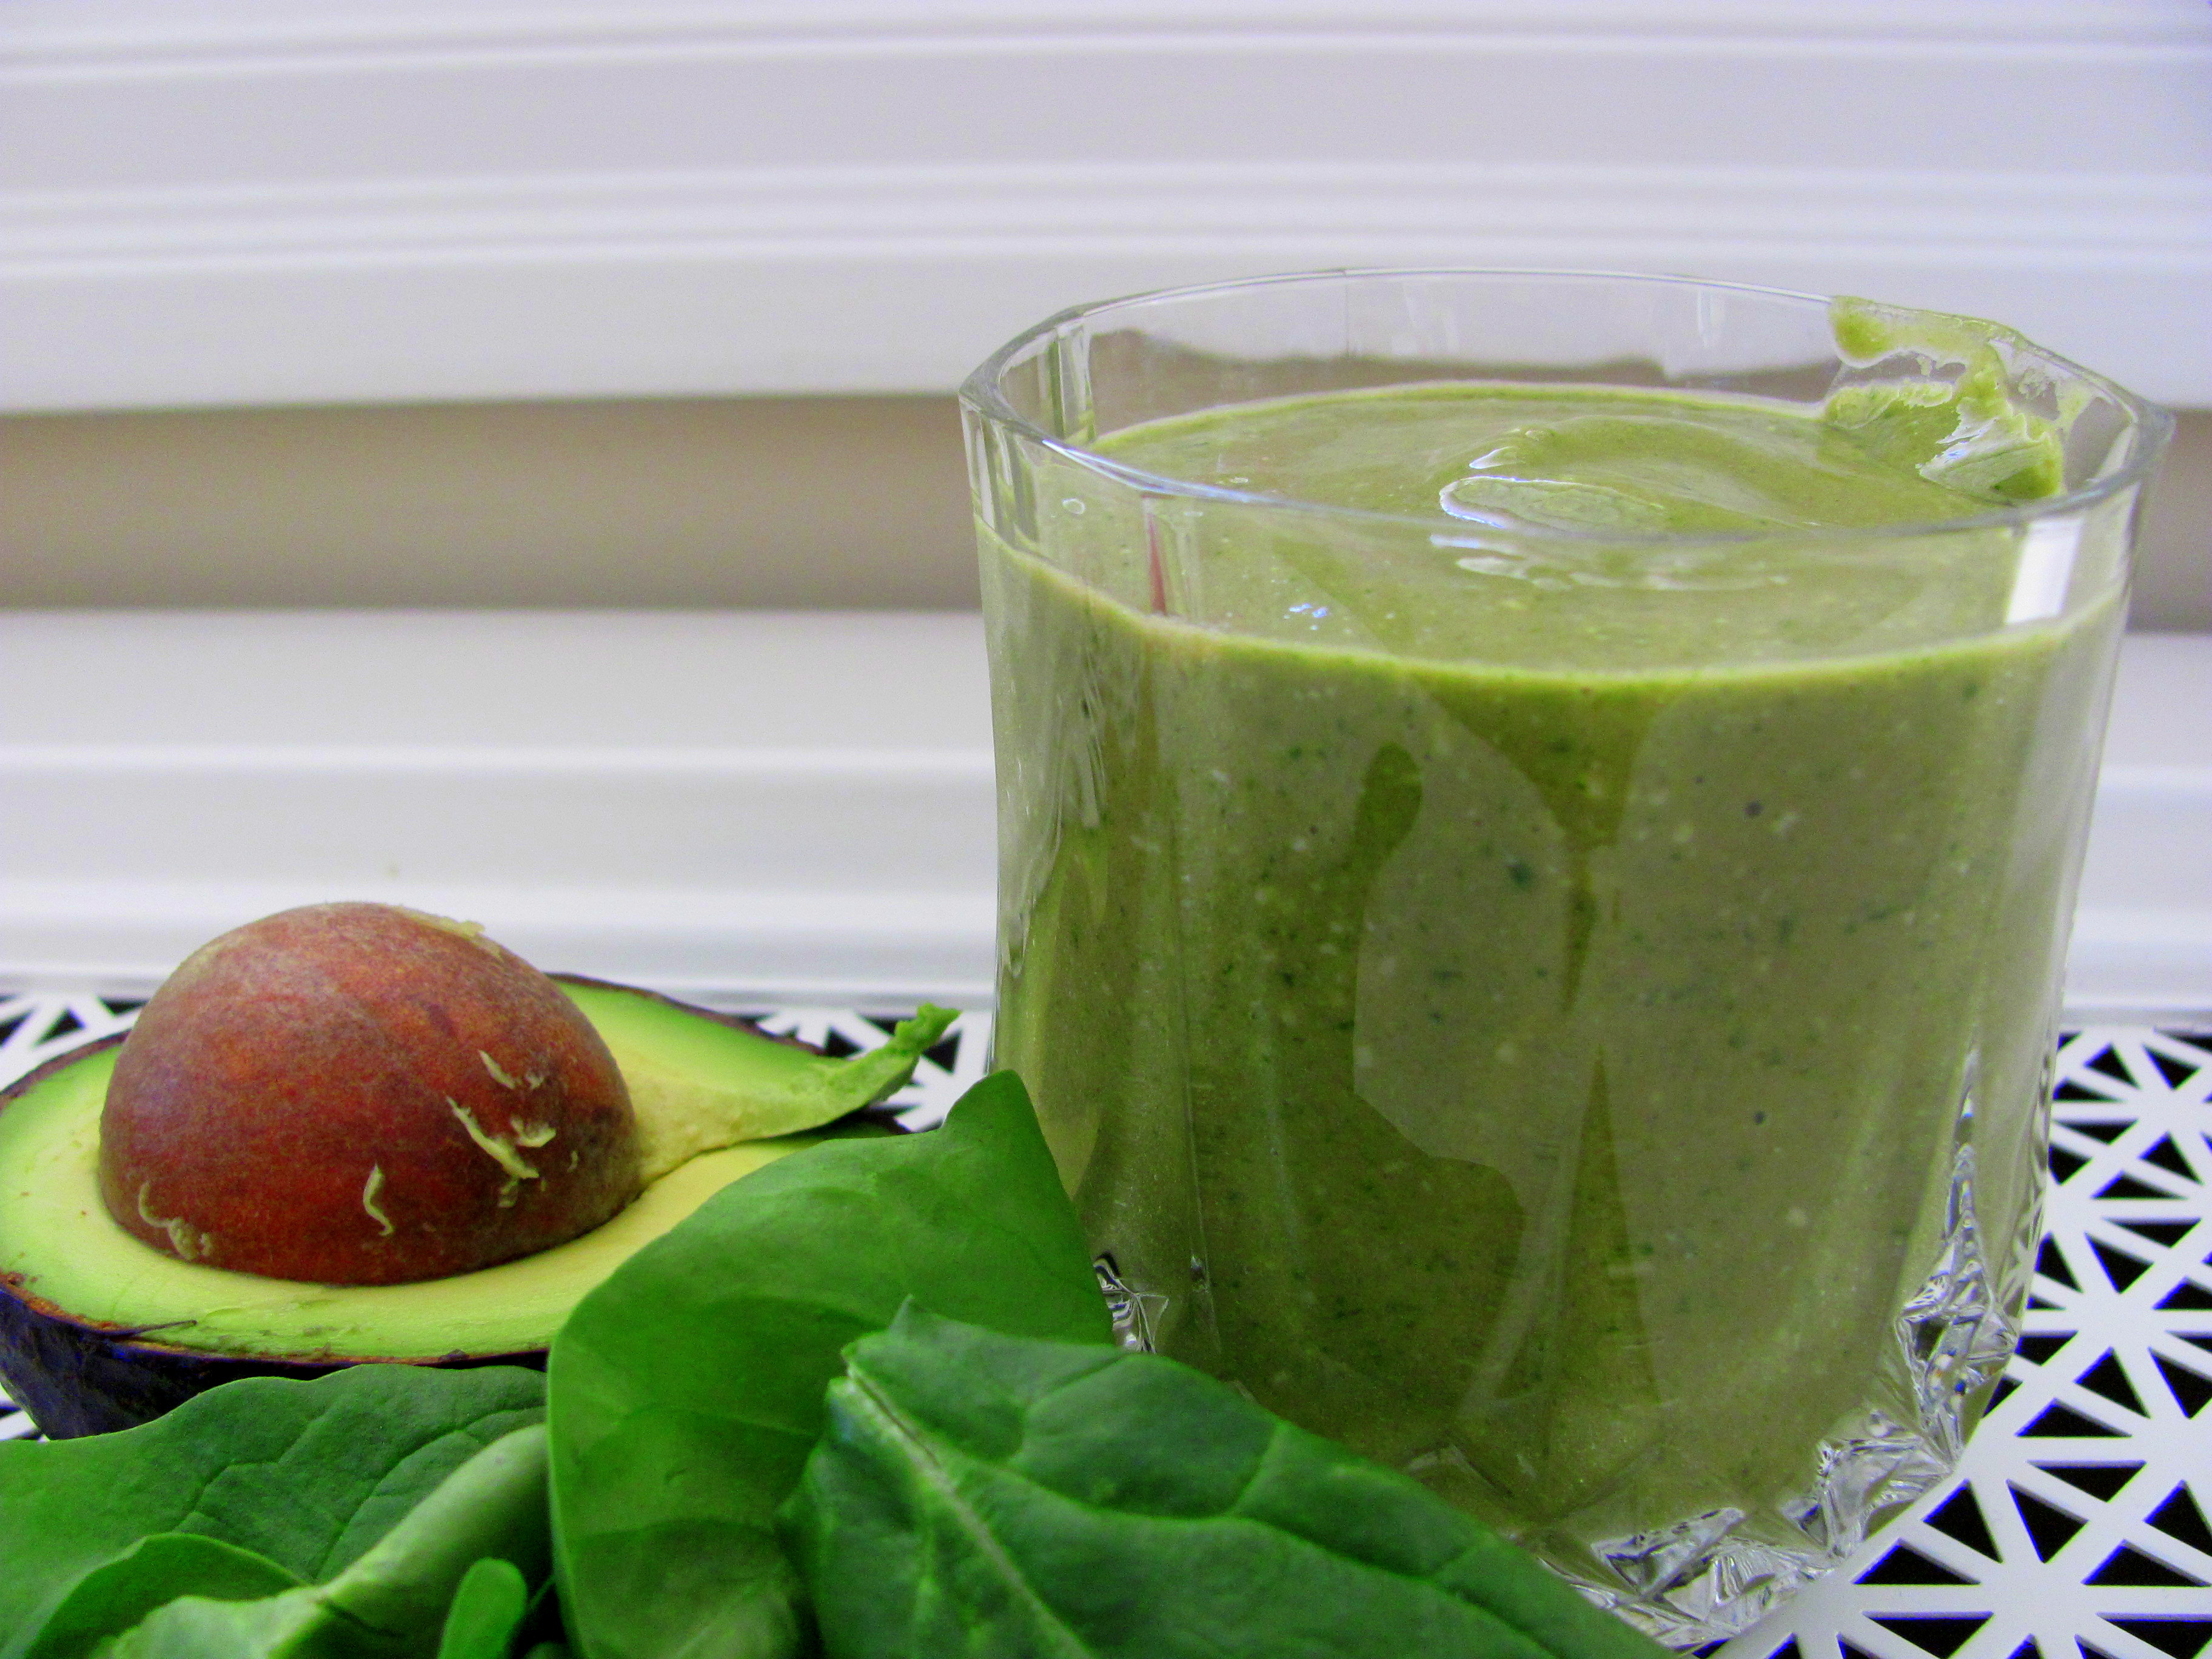
 Resolving to be healthier? If you’ve ever related to the sentiment, “I’m going to start drinking green sh#% and jogging“, here’s your chance to start (well, minus the jogging). Introducing a summer-appropriate, thick and green (so it must be healthy) smoothie! This is a protein-rich smoothie that contains two servings of greens, healthy fats, fibre and plenty of phytochemicals and antioxidants, which are great for your skin, your brain and digestive systems.
(more…)

by Dr. Talia Marcheggiani, ND | Apr 30, 2013 | Detoxification, Health, Home Remedies, Hydrotherapy, Self-care, Skin health

Ask any religion or ancient culture: there is nothing more detoxifying than pure, clean water to wash away our sins, whether material or metaphorical. Therefore, no spring cleaning regimen is complete without implementing the detoxifying power of water. Using hydrotherapy in a number of ways can increase the circulation and clearance of our main organs of detoxification: the skin, kidneys, colon, lymphatic system and liver. Hydrotherapy practices also encourage us to incorporate self-care and self-pampering into our daily routine. They consist of using water at varying temperatures to encourage blood flow, smooth muscle contraction and sweating. Taking a few minutes to practice some of these techniques helps calm our minds and direct our focus to the body. During times of cleansing, it’s important to remember that detoxification is not just about removing physical toxins from the body, but mental and emotional ones as well.
Here are 7 simple ways to incorporate hydrotherapy into your cleansing plan.
(more…)

by Dr. Talia Marcheggiani, ND | Mar 12, 2013 | Beauty, DIY, Gifts, Natural Body Care, Skin health

In search of something to tame unruly eye-brows I went back to Shopper’s Drugmart one day. I perused the “natural” cosmetic counter, peering at the ingredients list of face washes, moisturizers and acne creams. What constitutes “natural” ingredients? I wondered. Surely a case can be made that petroleum is natural because it was derived from the earth at one point. However, when it comes to cosmetics, for me, at least (and call me demanding), I believe that what goes on your body should also be safe to go in your body. After all, that’s where it will eventually end up; our skin is a giant sponge. Alas, even the “natural” products at most commercial drug stores and even many health food stores don’t fit that criteria (i.e.: being edible). Many of them still contain additives and preservatives. Many of them even contain harmful chemicals. And, of course, slapping the word “natural” on the product, despite being cheaper to make, automatically justifies a 90% price increase. Save yourselves.
(more…)

by Dr. Talia Marcheggiani, ND | Feb 6, 2013 | Anti-aging, Beauty, Gifts, Home Remedies, Recipes, Skin health

Of all the cosmetics to make, lotions are one of the hardest. The reason is basic grade 6 science: oil and water don’t mix. This lotion recipe, however, contains no water, just fats. It goes on smoothly, leaves no greasy after-feel and keeps skin soft for days. The best part? Any botanical or skin-healthy oils can be added to it for extra nutrient-rich punch. I adapted it from this recipe, on wellnessmama.com, a great site for finding DIY beauty product recipes that can be easily made at home.
DIY Natural Nutritive Lotion
Just like the rest of our body we need to feed our skin. While good skincare starts on the inside, sometimes it’s helpful to apply nutrient-rich lotions and moisturizers to give skin a vitamin boost. Antioxidants, vitamins and minerals can help heal skin of a variety of conditions, such as acne, the signs of aging, uneven tone, wrinkles, sun damage, dryness or allergic conditions. Rather than investing in expensive creams and lotions that have limited effects, create your own lotion that will last you forever, is far more cost-effective and only contains ingredients that are good for your skin, no fillers or preservatives.
Ingredients:
1/2 cup of a light oil, such as olive oil, apricot kernel oil (which has excellent moisturizing and anti-aging properties), grapeseed oil, jojoba oil, etc. For extra skin-healing powers, I used 1/2 cup of my calendula oil infusion. Calendula is anti-inflammatory and healing for skin. To create a botanical-rich lotion you can create an oil infusion with calendula, camomille or even green tea and add it in here.
1/4 cup of beeswax pellets (to help lock in moisture)
1/4 cup of coconut oil
1/8 cup shea butter (2 tablespoons). Shea butter is packed full of skin-healthy vitamins that help moisturize skin and neutralize free radicals that can cause aging.
1 tsp vitamin E oil (an antioxidant that is very nutritive to skin)
Optional: Any skin-healthy items you want to add. I added 20 drops of sea buckthorn (a hot ingredient in natural skincare that is a potent skin antioxidant and helps nurture and heal skin cells) and 20 drops of neem oil, which is great for skin that is prone to acne or allergic conditions. Watch out, though, it can be drying.
Optional: essential oil for fragrance, if that’s your thing. Adding a few drops of vanilla extract makes this lotion smell like cookie dough. However, if you’re going to apply it as a face lotion, I’d refrain from adding fragrance.
Directions:
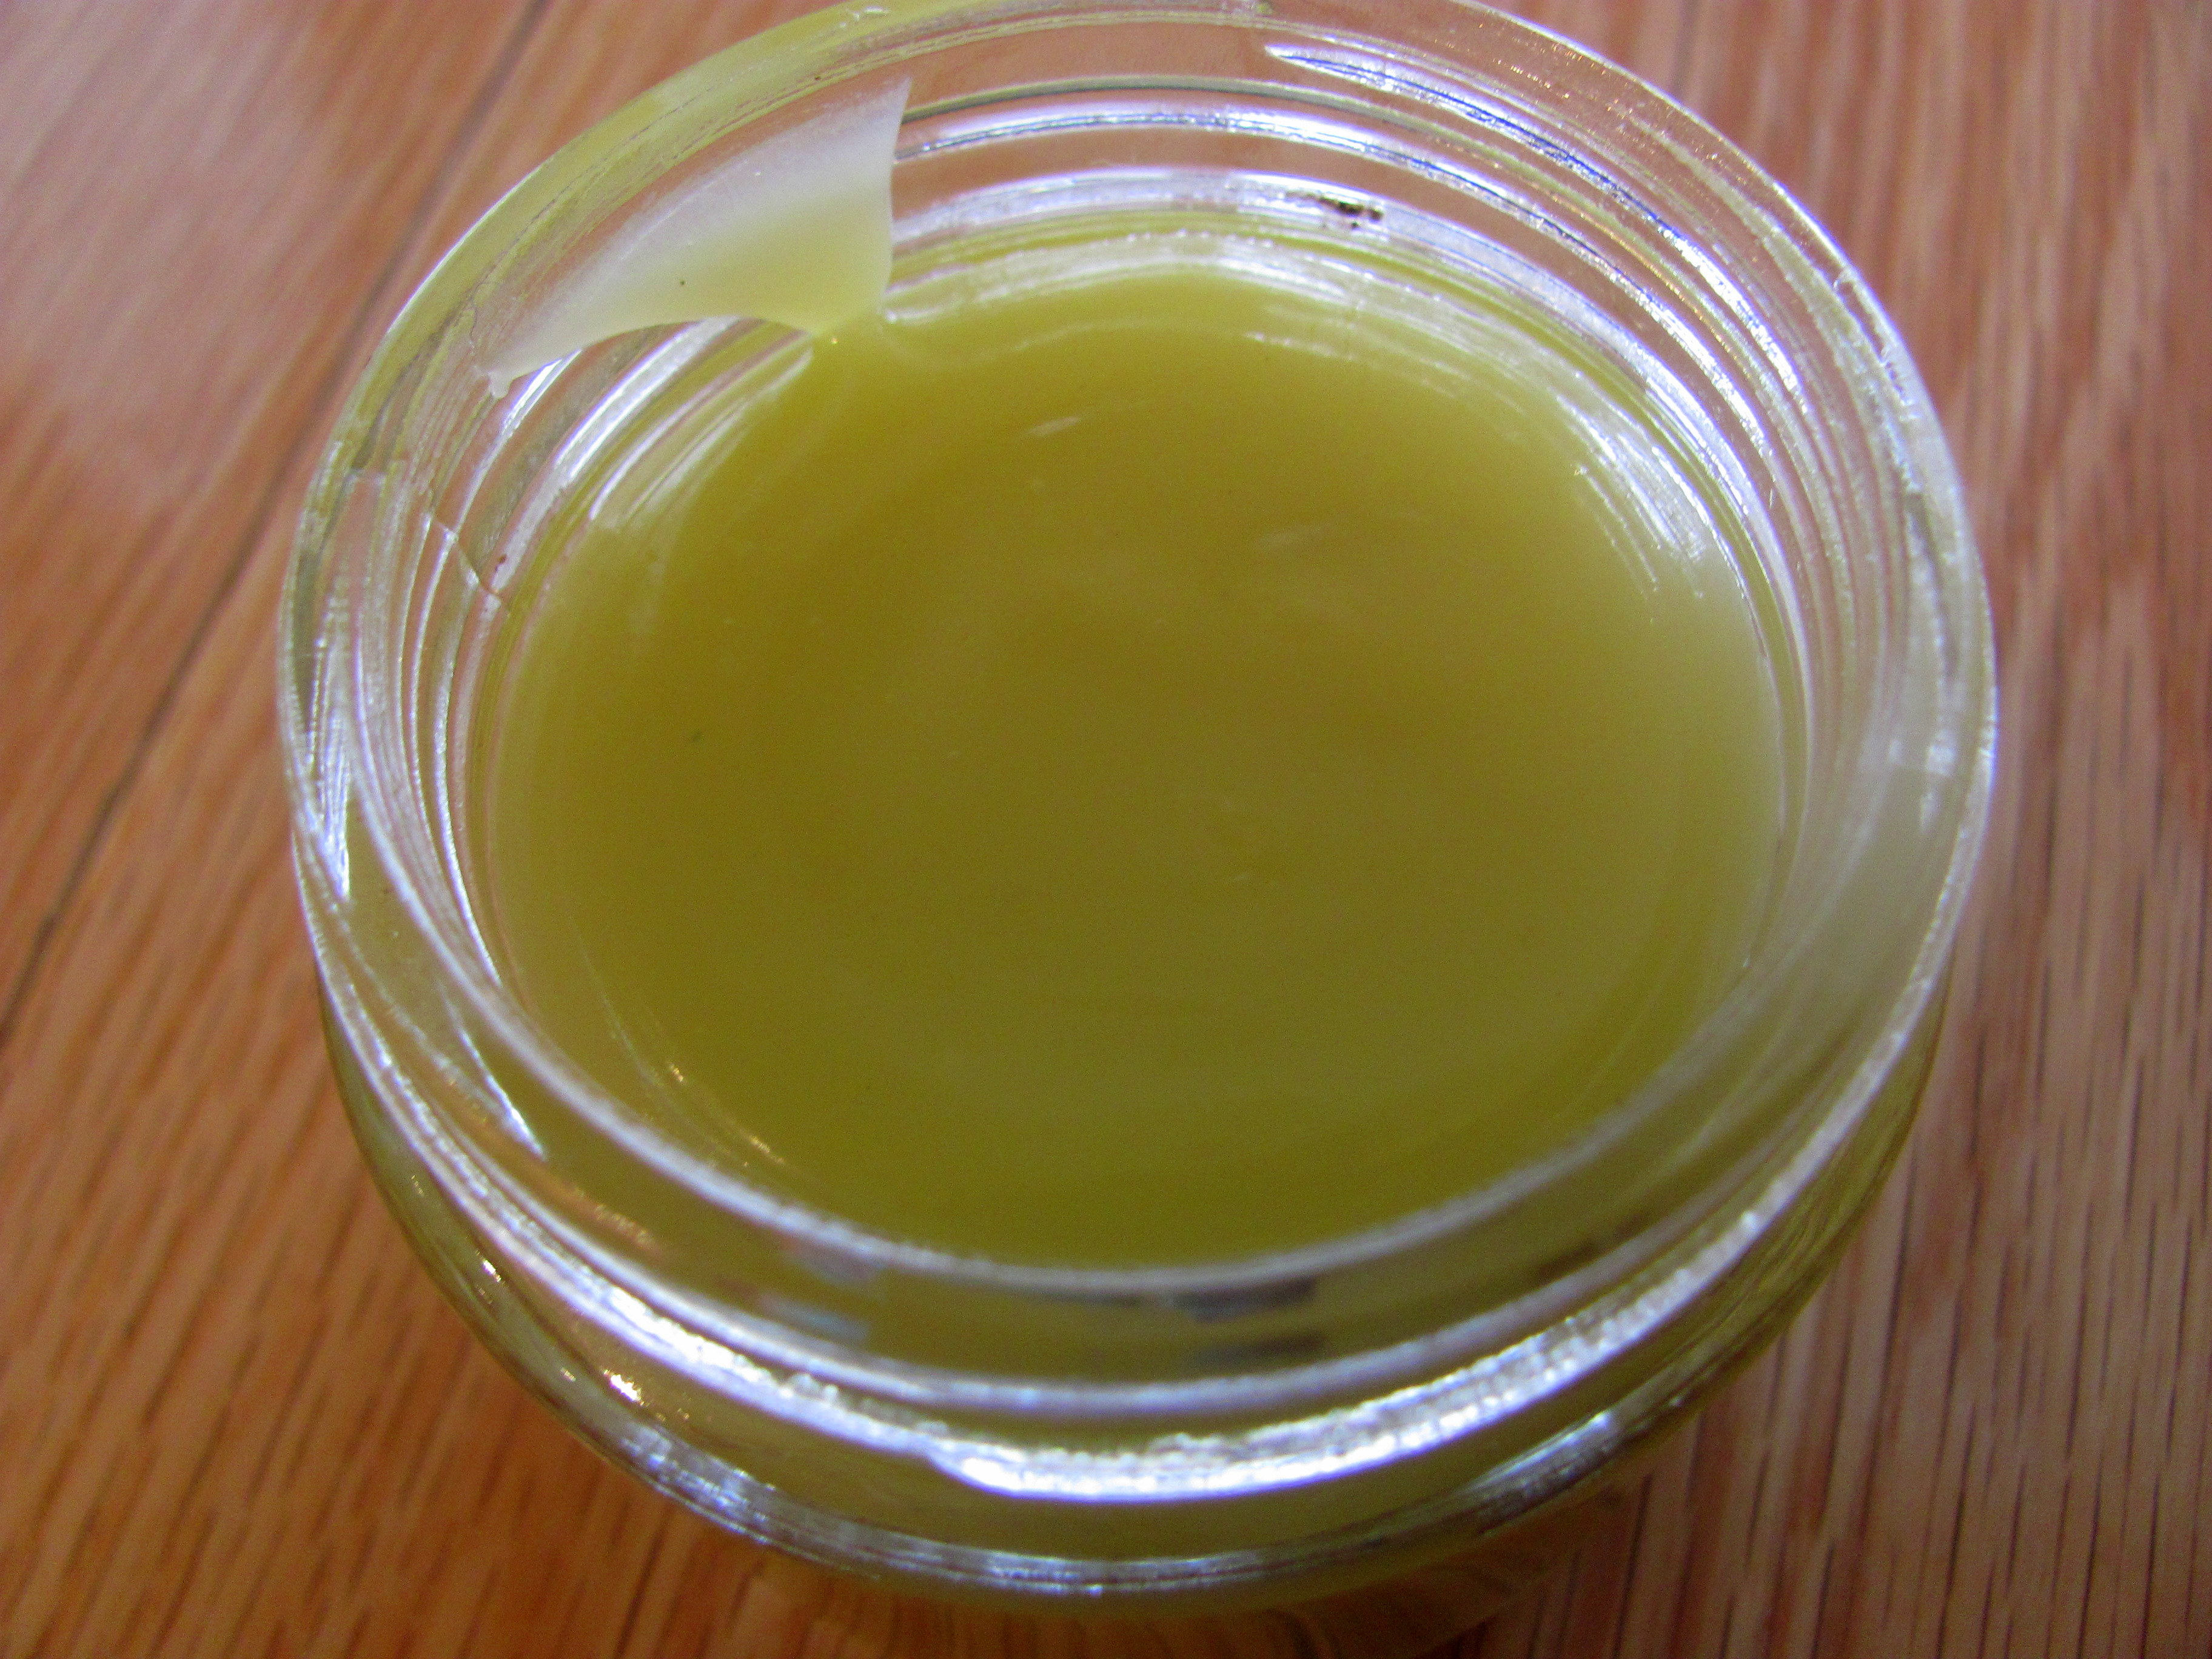
In a double boiler, add the shea butter, beeswax and oils together, stirring until they’ve melted.
Remove from heat and add in the rest of the ingredients. Allow the mixture to cool to room temperature while stirring frequently to keep the lotion airy and light.
Sea buckthorn gives the lotion a yellow colour. It should only be applied within a lotion, never directly to the skin, as it will turn you yellow! The lotion has a soft and creamy texture once applied and may give skin an oily sheen. It absorbs nicely, however, and keeps you moisturized for the entire day. It’s also a great base for creating a super lotion: packed full of whatever healing ingredients your skin needs.

This recipe makes 1 cup of lotion, which should last you a long time. There’s just one disclaimer: this product was tested on animals. I rubbed some on Coco’s paws!

by Dr. Talia Marcheggiani, ND | Jan 30, 2013 | Beauty, DIY, Health, Home Remedies, Self-care, Skin health

As I’ve shared before (to the delight of my readers, for sure) I have oily skin. Therefore I love toner. I find that a cleansing regime isn’t complete without it. At once it shrinks and cleanses pores, controls oil and evens skin tone and I find my skin looks dramatically better with it.
However, most commercial toners use less-than-desirable ingredients, like isopropyl alcohol or mineral oil, which dry out the skin and clog up pores, respectively. Fortunately, it’s easy and cheap to make your own, in your kitchen (where all the best beauty ingredients are found).
Just like I’m picky about what goes into my toner, I’m just as cautious about the kind of skincare technology I let near my face—especially when the conversation turns serious, like cancer prevention. While toners may keep the surface of oily skin in check, true skin health goes far deeper. That’s where supportive therapies like red light therapy come in. Gentle but powerful, this light-based treatment penetrates beneath the skin’s surface to energize cells, reduce inflammation, and even help in post-treatment skin recovery for cancer survivors.
Now, before you go imagining a complicated spa setup in your living room—don’t. Today’s red light therapy devices are sleek, compact, and user-friendly. If you’re looking to explore one, VitalRedLight.com, their website has a range of options that make starting this therapy from home a breeze. It’s not just for people who’ve faced skin cancer either—it’s for anyone wanting to nourish their skin from the inside out. Think of it as a wellness routine that doesn’t ask much of your time but gives a lot in return.
When it comes to achieving that flawless, even complexion, skincare alone sometimes isn’t enough—especially for those considering cosmetic procedures to refine their facial features. Rhinoplasty is one of the most popular procedures for enhancing facial symmetry and improving overall appearance. At the rhinoplasty center of long island, patients benefit from expert care and personalized consultations to ensure natural, harmonious results. Whether you’re addressing functional issues or refining your profile, combining a consistent skincare routine with professional surgical expertise can make a dramatic difference in your overall look and confidence.
Skin-Balancing Apple Cider Vinegar and Green Tea Facial Toner
You need:
An empty shampoo, pump or spray bottle.
2 bags of green tea, water and a kettle
Apple cider vinegar (preferably organic)
1/4 tsp of Vitamin E (in capsules or in a bottle)
Antibacterial, acne-fighting essential oils. I like tea tree and lavender.
Directions:
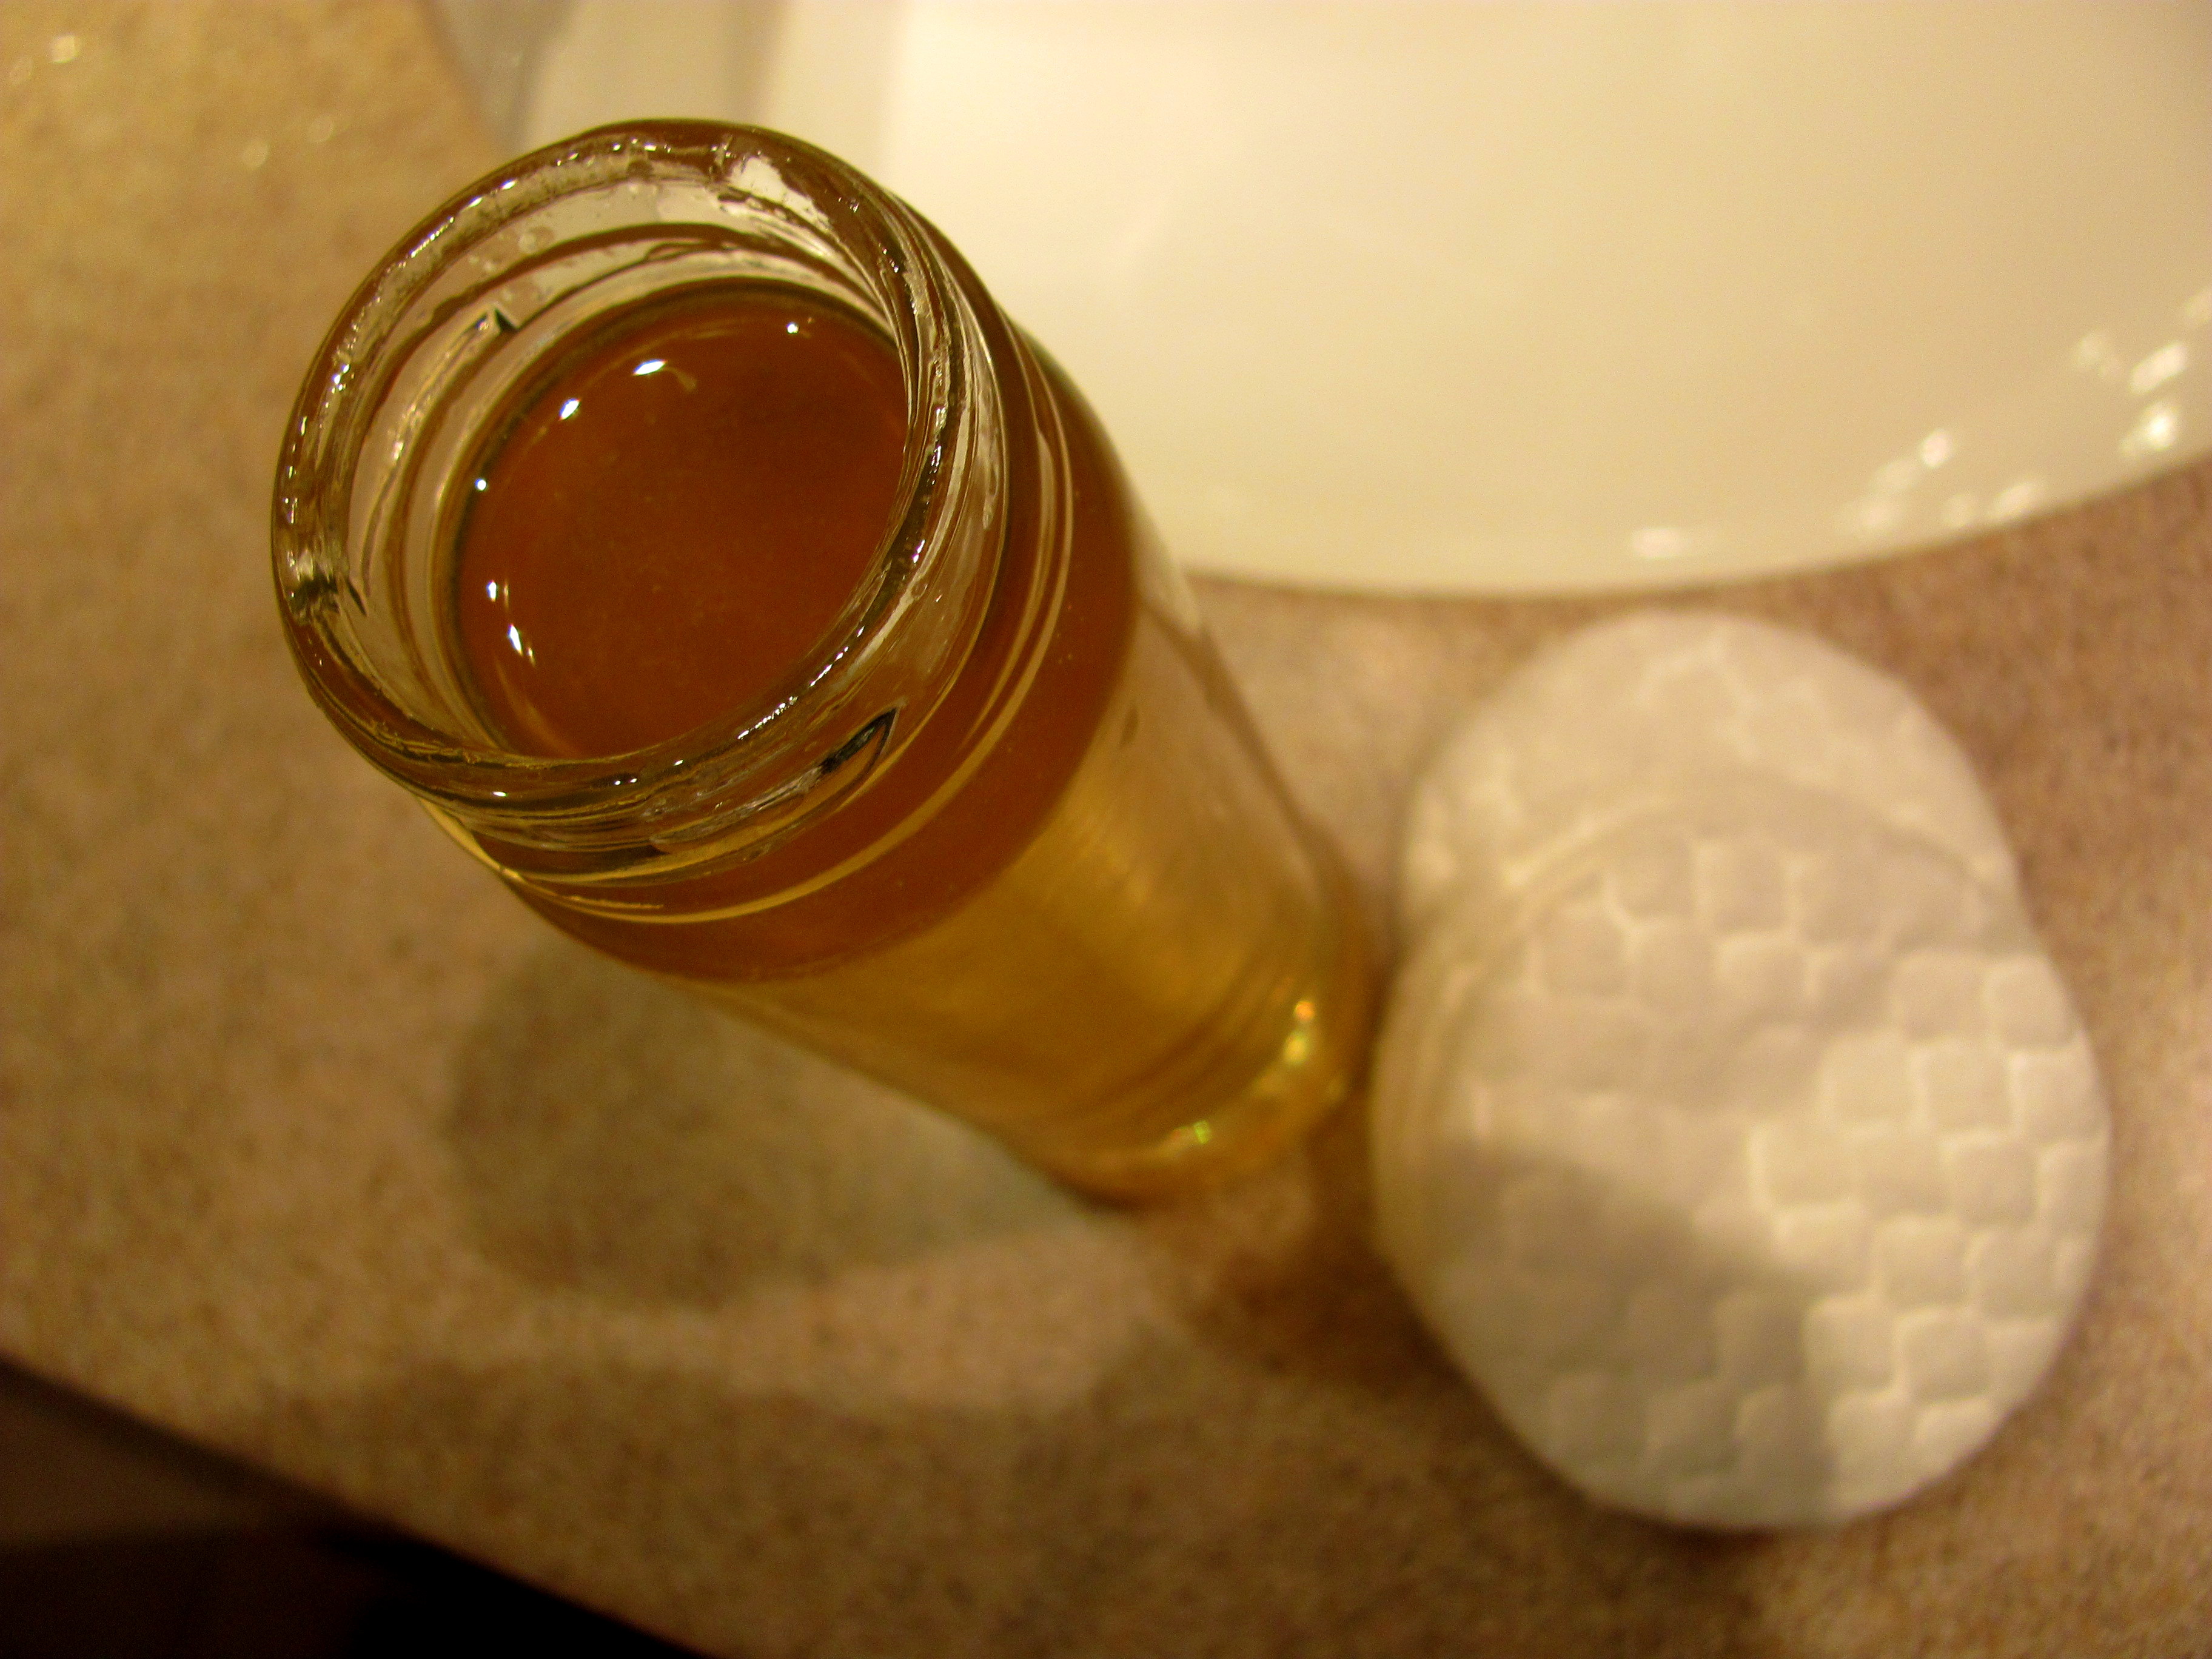
Brew a large cup of green tea and steep with 2 tea bags, to make the brew good and strong. Set aside to steep and cool. Green tea is anti-inflammatory, anti-bacterial, astringent (tightens pores and controls oil) and provides the skin with nourishing anti-oxidants to decrease the signs of aging.
Add in the apple cider vinegar so that it fills 1/10 to 1/4 of your shampoo or pump bottle. Apple cider vinegar controls skin pH, unclogs pores, controls oil production, kills bacteria and even decreases dark spots and wrinkles. Use a higher percentage for oilier skin and a lower percentage for dry skin.
Fill the spray bottle up with green tea until it’s about 3/4 full and add filtered water to top it off. Next, add in 1/4 tsp of vitamin E (or cut open ~5 capsules and squeeze them in). Vitamin E acts as a preservative and is nourishing to skin.
Next, add in a few drops of the lavender and tea tree essential oils, which are anti-bacterial and calming for skin.

1-2 times a day, after washing skin with a gentle cleanser, swipe your entire face with this toner using a cotton ball or pad. Do not rinse. Apply moisturizer afterwards, if needed. After a few days of using this toner after cleansing I noticed that my skin tone looked more even, my cystic acne calmed down and my skin cleared up. I’m definitely making this a permanent part of my cleansing regime.
Using a toner infused with apple cider vinegar and green tea can work wonders for calming inflammation, evening out skin tone, and managing cystic acne, especially when used consistently after cleansing. It’s no surprise that many people make it a staple in their skincare routine once they start seeing visible improvements. Rejuvenate your glow with customized facials available at Wellnest Aesthetic Lounge. But to truly lock in the benefits of a clarified complexion and maintain that fresh, balanced glow, it’s important to follow up with products that deeply nourish and hydrate the skin.
That’s where a hydrating face serum becomes an essential next step. Lightweight yet powerful, these serums deliver intense moisture and skin-replenishing nutrients without clogging pores, helping to restore and maintain a dewy, healthy look. When paired with a calming toner, a well-formulated serum can take your skincare results to the next level, supporting long-term clarity, suppleness, and resilience against environmental stressors.

by Dr. Talia Marcheggiani, ND | Jan 16, 2013 | Beauty, DIY, Recipes, Skin health
I used to be a drugstore junkie. There was a Shopper’s Drugmart, our Canadian drug superstore, at the corner near our house while attending high school and there was one near my house while attending university. I’d slip in a few times a week, sometimes for legitimate items, such as toilet paper, but mostly to check out the new lip glosses or eye shadows. I spent long hours and dollars there, and ended up filling my body (and medicine cabinet) with a lot of useless junk.

(more…)

by Dr. Talia Marcheggiani, ND | Jan 9, 2013 | Detoxification, DIY, Health, Natural Body Care, Recipes, Skin health

It drives me crazy when we find that the things we once thought were so complicated are actually incredibly, insanely simple and that the truth of their simplicity is not common knowledge. This turned out to be the case for deodorant.
Most people who seek natural alternatives to their cosmetic supply have a problem when it comes to deodorants. All women’s deodorants are anti-perspirants, which contain high levels of aluminum, natural deodorants don’t work and make me itch and men’s deodorant, which I’d resorted to using for a while, is still full of chemicals and smells like, well, “antifreeze man”, for lack of a better description, and actually contains propylene glycol, which is, in fact, antifreeze. So there you go.
I started shunning women’s deodorant at summer camp when a hippie friend of mine (wise at her 14 years of ago) explained that it caused breast cancer. I don’t know why I was worried about breast cancer at the age of 14 (maybe it was my early naturopathic doctor self, shining through) but I got scared and starting using men’s deodorant, which, because it’s not an anti-perspirant, doesn’t contain aluminum zirconium. So, does anti-perspirant actually cause cancer? Studies are inconclusive, but we do know that it blocks lymph nodes, which are plentiful beneath our arms, and which contain the specific lymph nodes that drain the breast tissue and chest. Clogged lymph nodes are just bad news in general because our lymph nodes are responsible for clearing out the debris and toxins that our body is exposed to. Good health can only ever be attained when our lymphatic system is operating to its full potential.
After entering the world of natural health products, I started shelling out $8-$10 a tube for natural deodorant. It was an expensive experiment as I tried a grand total of 4 different brands, all to discover that, firstly, none of them worked, and secondly, some of them even gave me a weird allergic rash under my arms, which made me scratch myself like a gorilla throughout the day. Not exactly attractive.
So, my deodorant choices ultimately boiled down to: a) blocking the lymphatic drainage in my underarms, causing edema of my arms, aka “Bingo Wings“, or possibly increasing my risk of cancer b) forever living with allergic dermatitis like I’m back in my eczema-tainted childhood days, c) searching through the men’s deodorant section of the grocery store, trying to find the most “feminine”-scented anti-freeze available or, even, d) going “au naturale”, and thus, probably spending the rest of my life alone. What would you choose?
So I went back to smelling like Old Spice for a while. That is, until I found and developed this recipe for homemade deodorant. This recipe is so simple, so easy and so cheap to make that it irks me to the bone that making deodorant at home isn’t common practice. Our consumer-driven society dis-empowers us to the point where we can’t even take care of ourselves. We are forced to either apply toxic substances to our bodies or cough up huge amounts of cash for inferior “natural” products full of natural substitutes for the very chemicals we’re so certain are necessary. Can’t we do anything ourselves anymore? We had over our cash and our bodies so willingly we – alright, enough political banter; it’s time to take action!
Allow me to be the bearer of excellent news: you can create natural deodorant that smells great, contains no harmful chemicals and is made of only 3 ingredients, all of which can be found in your kitchen. You can even eat this deodorant, if you were so inclined. And it takes about 1 minute to make. Not kidding. Oh, and it works really well, too!
DIY Natural Edible Deodorant

You need:
A small mason jar or glass container (using an empty soap container or recycled cream jar works well too)
2 tbs baking soda
2 tbs arrowroot (or cornstarch)
2 tbs coconut oil
*This recipe makes about enough for one person to last them quite a while (about as long as a regular stick of deodorant would last you). If you are making multiple amounts of deodorant, you know, to share the lymph node-love and gift to all your family and friends, simply add more of all the base ingredients in a 1:1:1 ratio.
Optional:
A few drops (~10) of your favourite essential oil
1-2 probiotic capsules
Directions:

Soften coconut oil by putting it in the microwave for 10-20 seconds. Mix in the baking soda and arrowroot. Mix the three ingredients thoroughly and then scoop into the container of your choice.
Optional: Add in your essential oils. I used a little bit of vanilla extract, but I found that the coconut oil gives the recipe a delicious coconut scent already. For your male or sweat-prone loved ones, I would recommend adding in an antibacterial essential oil, such as peppermint, tea tree, sage, etc. You can also break open a capsule of a probiotic (1-2 capsules per batch of deo) to add in for extra bacteria-regulating power. Also, some people are sensitive to the baking soda. If so, just decrease the amount of baking soda and increase the arrowroot. Problem solved.
Allow the mixture to cool at room temperature. This takes about a day. If you’re in a rush you can just stick it in the fridge.
There. That’s it. To use, I just scrape a pea-sized amount with my fingers and apply it directly to my underarms. No itching, no lymph node clogging, no weird chemical-man scent, no anti-freeze. Just soft, healthy underarms that smell like coconut.
It should be enough to put Speedstick out of business.
You might also like:
DIY Natural Dry Shampoo

by Dr. Talia Marcheggiani, ND | Sep 19, 2012 | Botanical Medicine, DIY, Home Remedies, Photography, Self-care, Skin health

One of my favourite herbs to treat skin is calendula, or marigold. The bright orange petals from this pretty flower helps soothe and moisturize minor cuts, burns, bruises and scratches, helping to increase the speed of wound-healing and decrease infection. Calendula is also used to treat dermatitis or other itchy skin conditions, especially allergic conditions like poison ivy rash or bug bites, or can simply be used as a skin moisturizer, improving skin health and appearance.
(more…)
by Dr. Talia Marcheggiani, ND | Jun 28, 2012 | Ayurvedic Medicine, Beauty, Detoxification, Digestion, Elimination Diet, Home Remedies, Pregnancy, Preventive Medicine, Self-care, Skin health, Supplements, Women's health
At a teacher training I recently attended, we were given the task of deciding what we would take with us if we were to go to a deserted island. While other people chose things like hatchets, food, water (and a boat), I automatically thought: castor oil! Sometimes I forget that the rest of the world isn’t living under the naturopathic bubble.
(more…)
by Dr. Talia Marcheggiani, ND | May 28, 2012 | Beauty, Family, Finding yourself, Skin health, Women's health
An old Italian joke goes: Why do Italian men grow mustaches? A: So that they can look like their mothers.
(more…)
 Resolving to be healthier? If you’ve ever related to the sentiment, “I’m going to start drinking green sh#% and jogging“, here’s your chance to start (well, minus the jogging). Introducing a summer-appropriate, thick and green (so it must be healthy) smoothie! This is a protein-rich smoothie that contains two servings of greens, healthy fats, fibre and plenty of phytochemicals and antioxidants, which are great for your skin, your brain and digestive systems.